


The short video below walks through the Assets area: searching for a title, opening an asset to view its details, moving between the Metadata, Media, Classification, Offers and Audit tabs, editing metadata, and deleting an asset.
The Assets area is where you browse and manage all of your on-demand content – titles, shows, box sets and episodes. From here you can search and filter the full library, open any item to review its metadata and media, see how it has been classified and which catalogues it belongs to, manage its offers, and review its full change history.
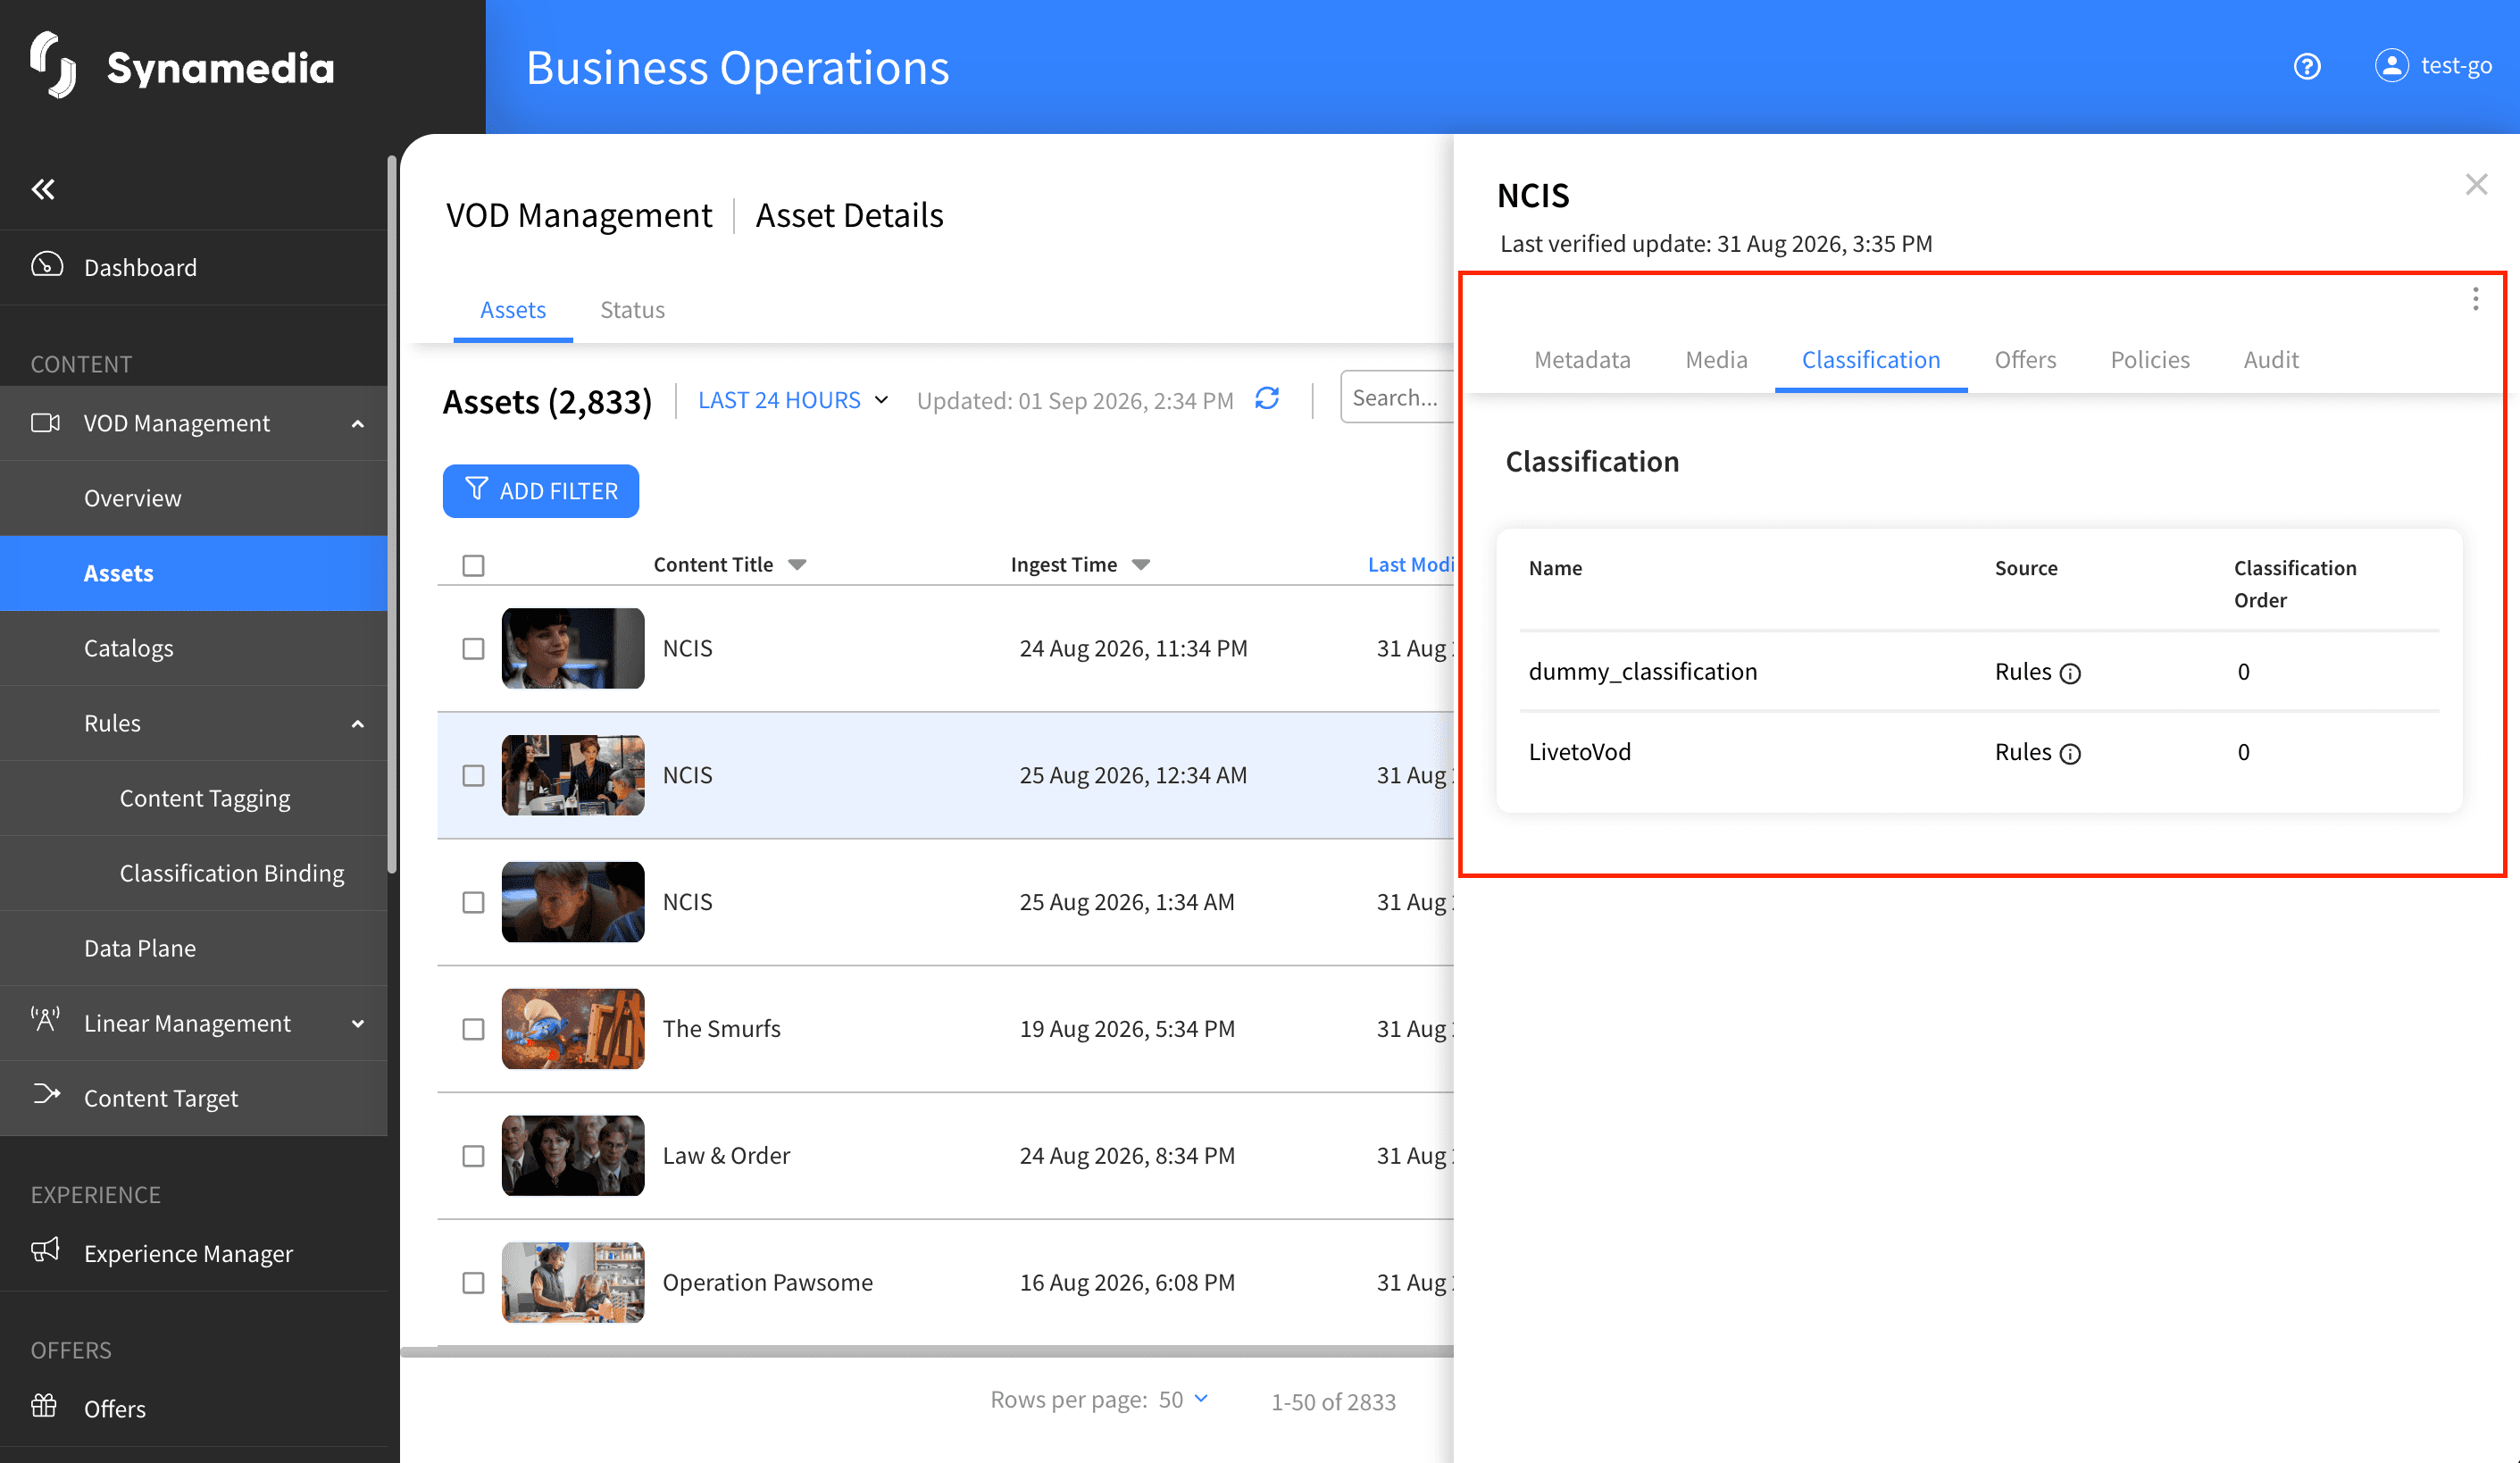
The module is opened from the sidebar under: VOD Management > Asset Details > Assets (You can also reach it by clicking the Total Jobs card on the Overview.)
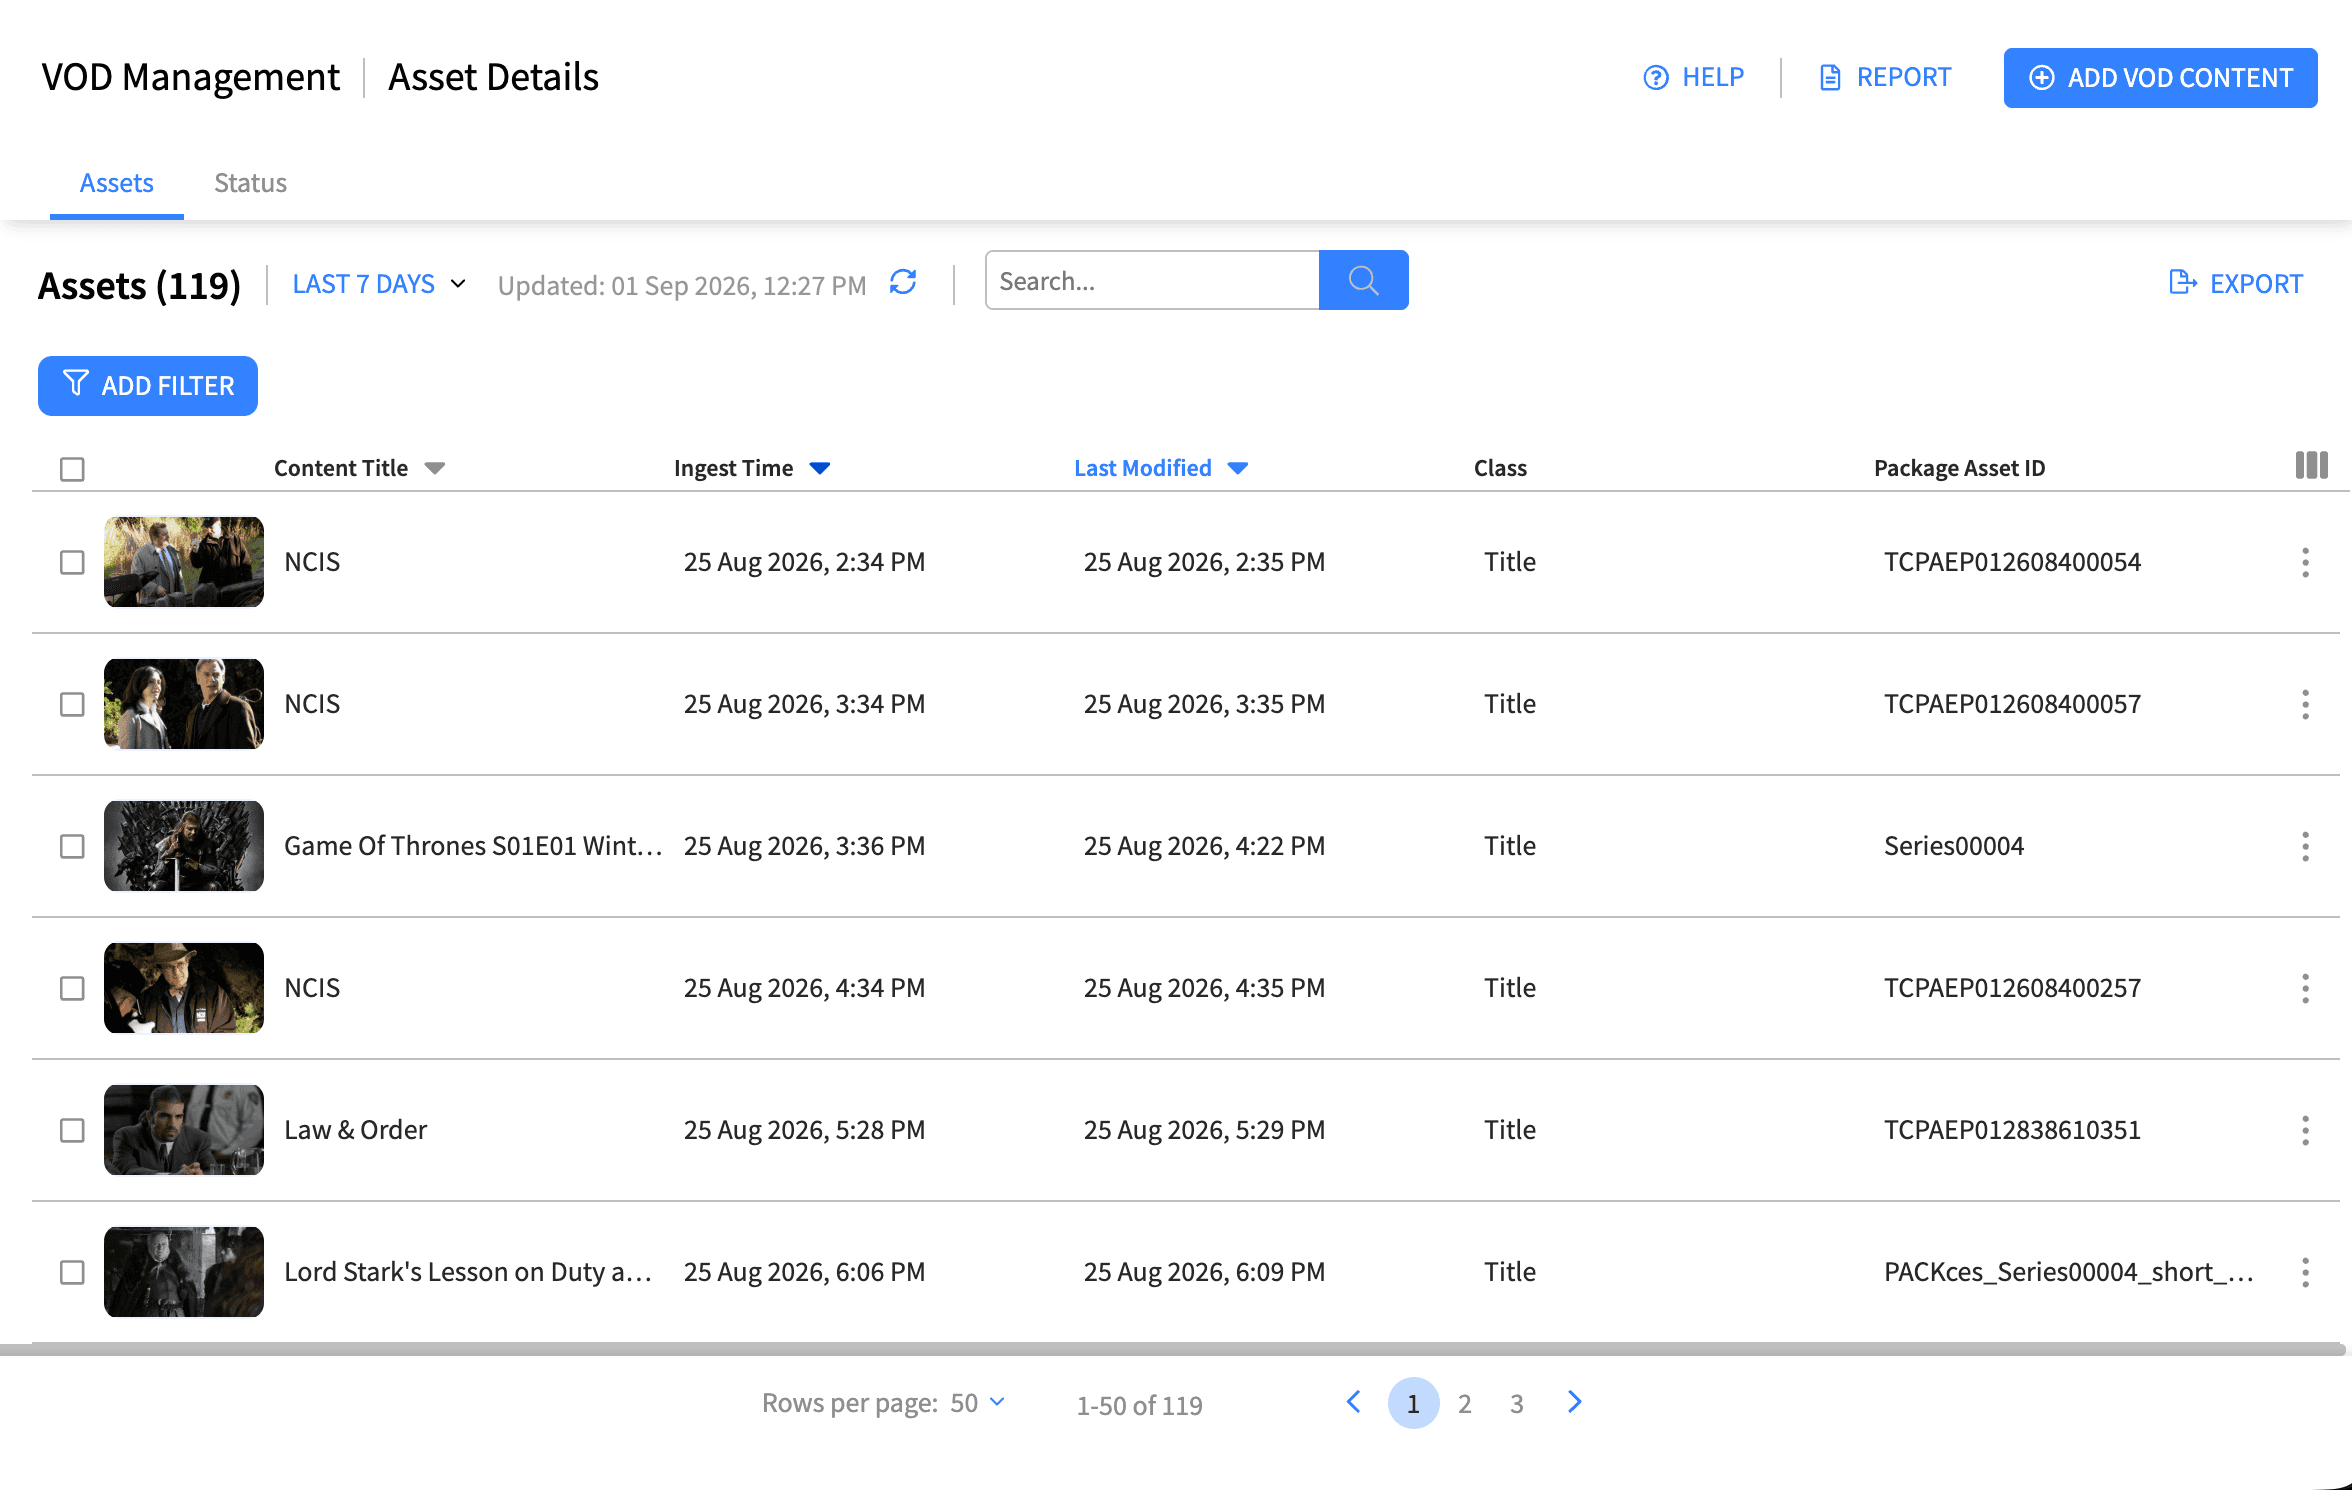
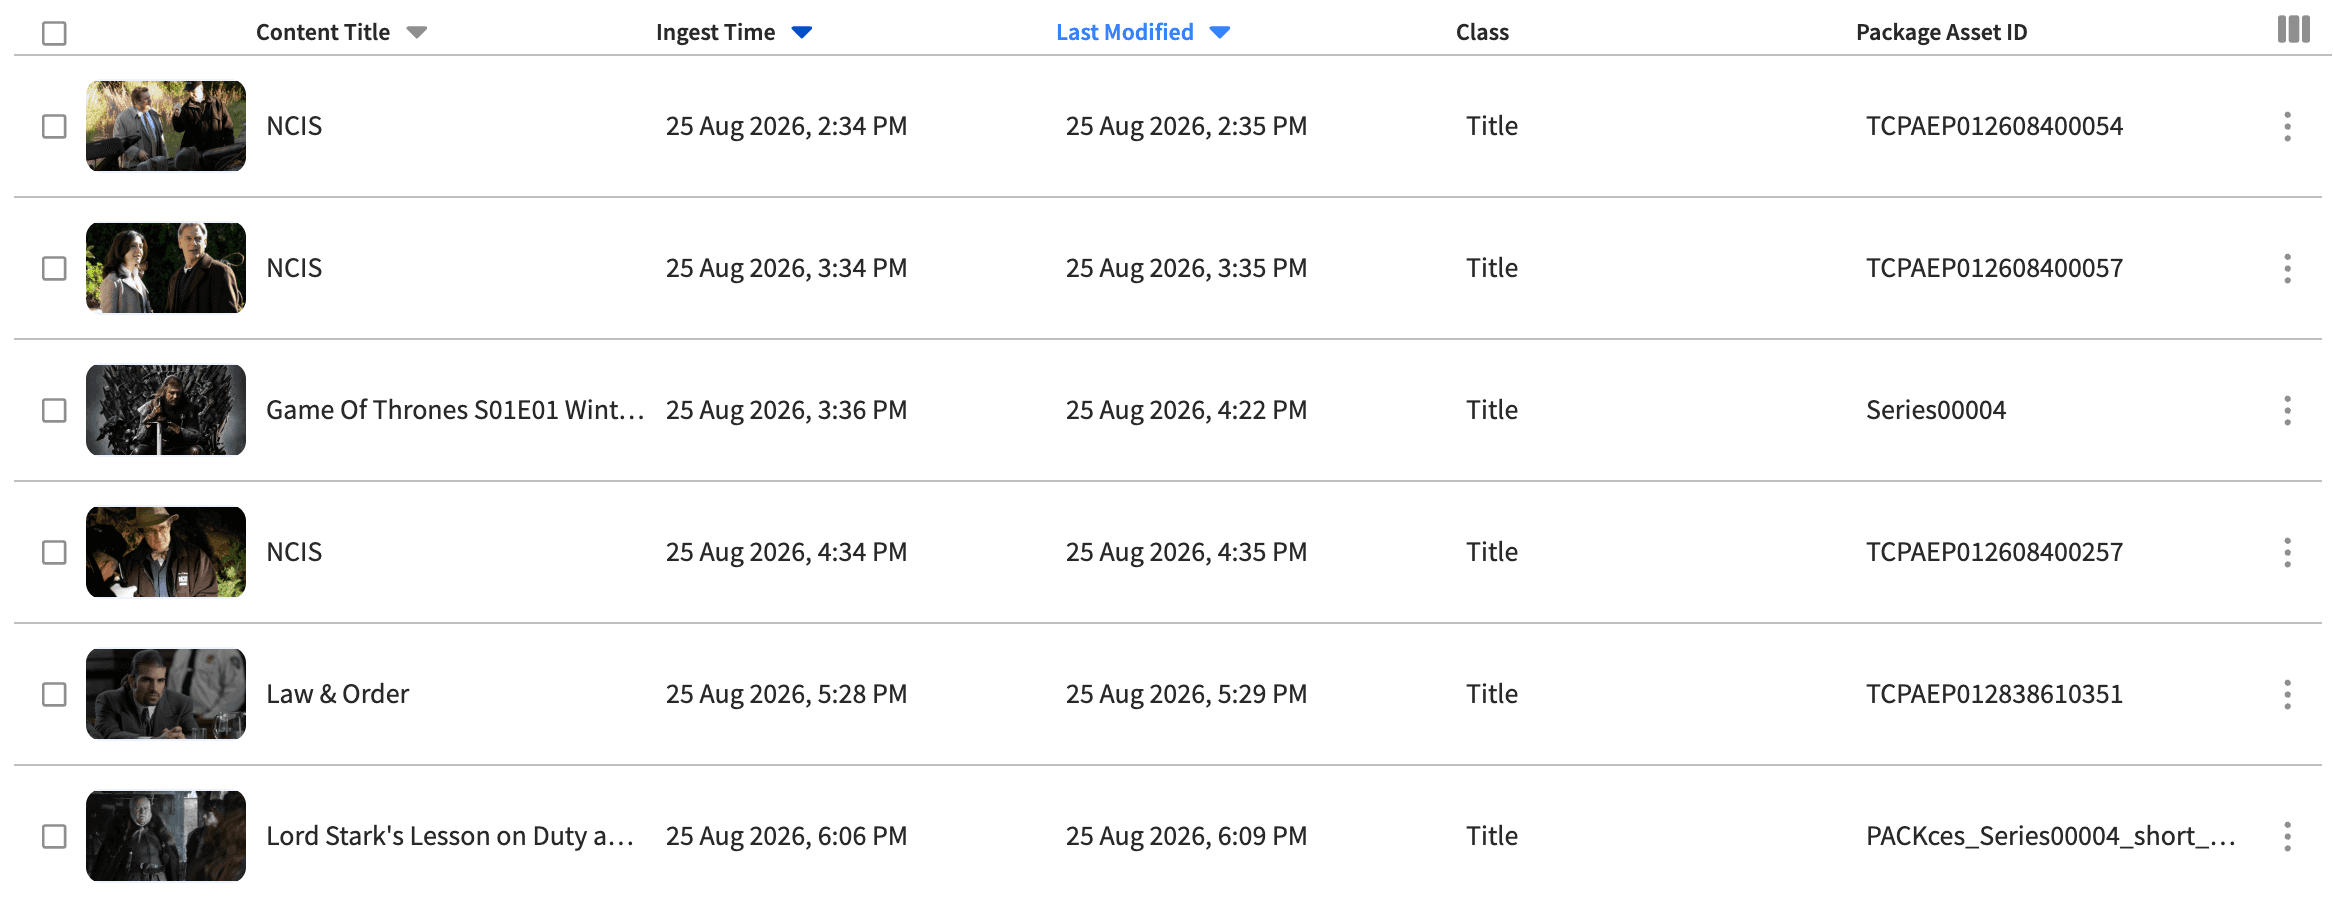
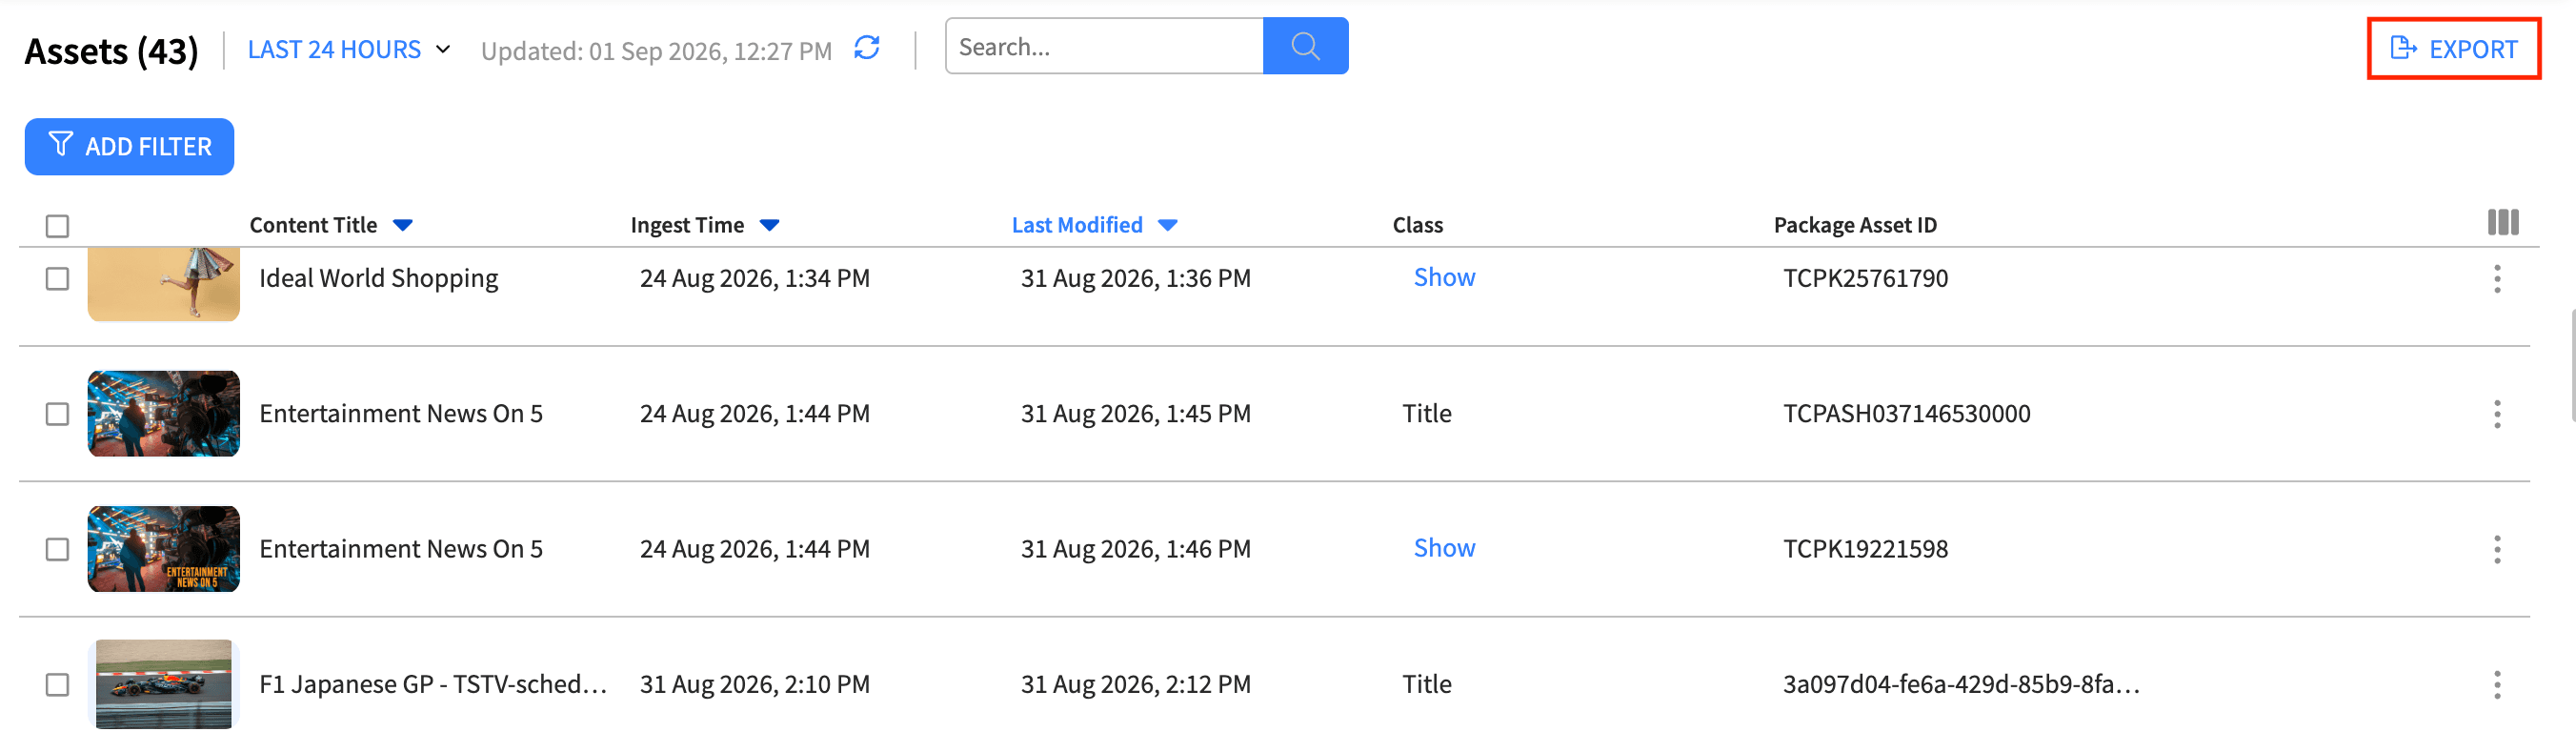
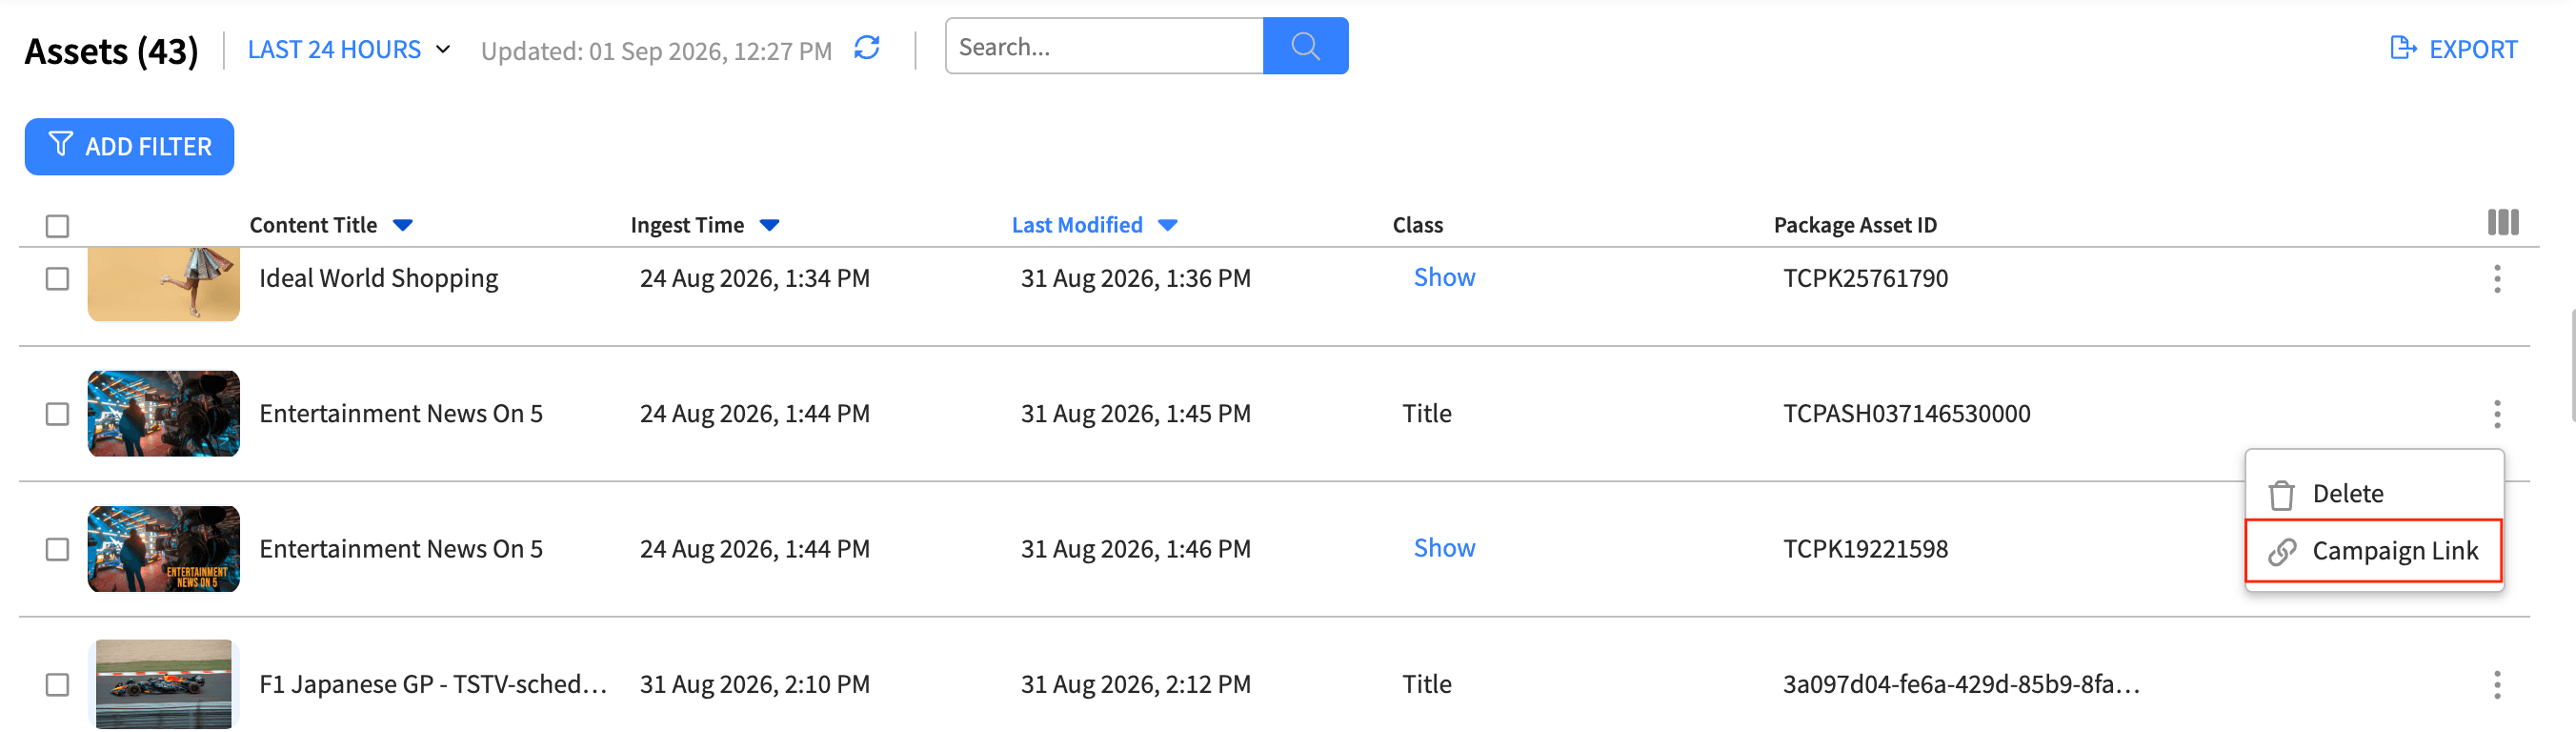
The main screen shows a table of all ingested content. Typical columns include:
Thumbnail – the poster image for the title (a placeholder is shown if none exists).
Content Title – the title of the content in the default language.
Ingest Time – when the content was first ingested.
Last Modified – when the content was most recently updated.
Class – the type of content: Title, Show or Boxset.
Catalogs – the catalogues the content belongs to.
Filtering Tags – the tags applied to the content (see the Content Tagging help for detail).
Package Asset ID / Provider ID – identifiers used to trace the content back to its source.
You can:
Search the list using the search box at the top (matches on the title).
Filter the list – for example by Class, Catalog or Filtering Tags.
Sort by clicking a column header.
Choose a time range (for example the last 24 hours, last 7 days, or a custom range) to narrow the list.
Show or hide columns to suit how you work, and choose how many rows appear per page.
Refresh the list to pull in the latest data.
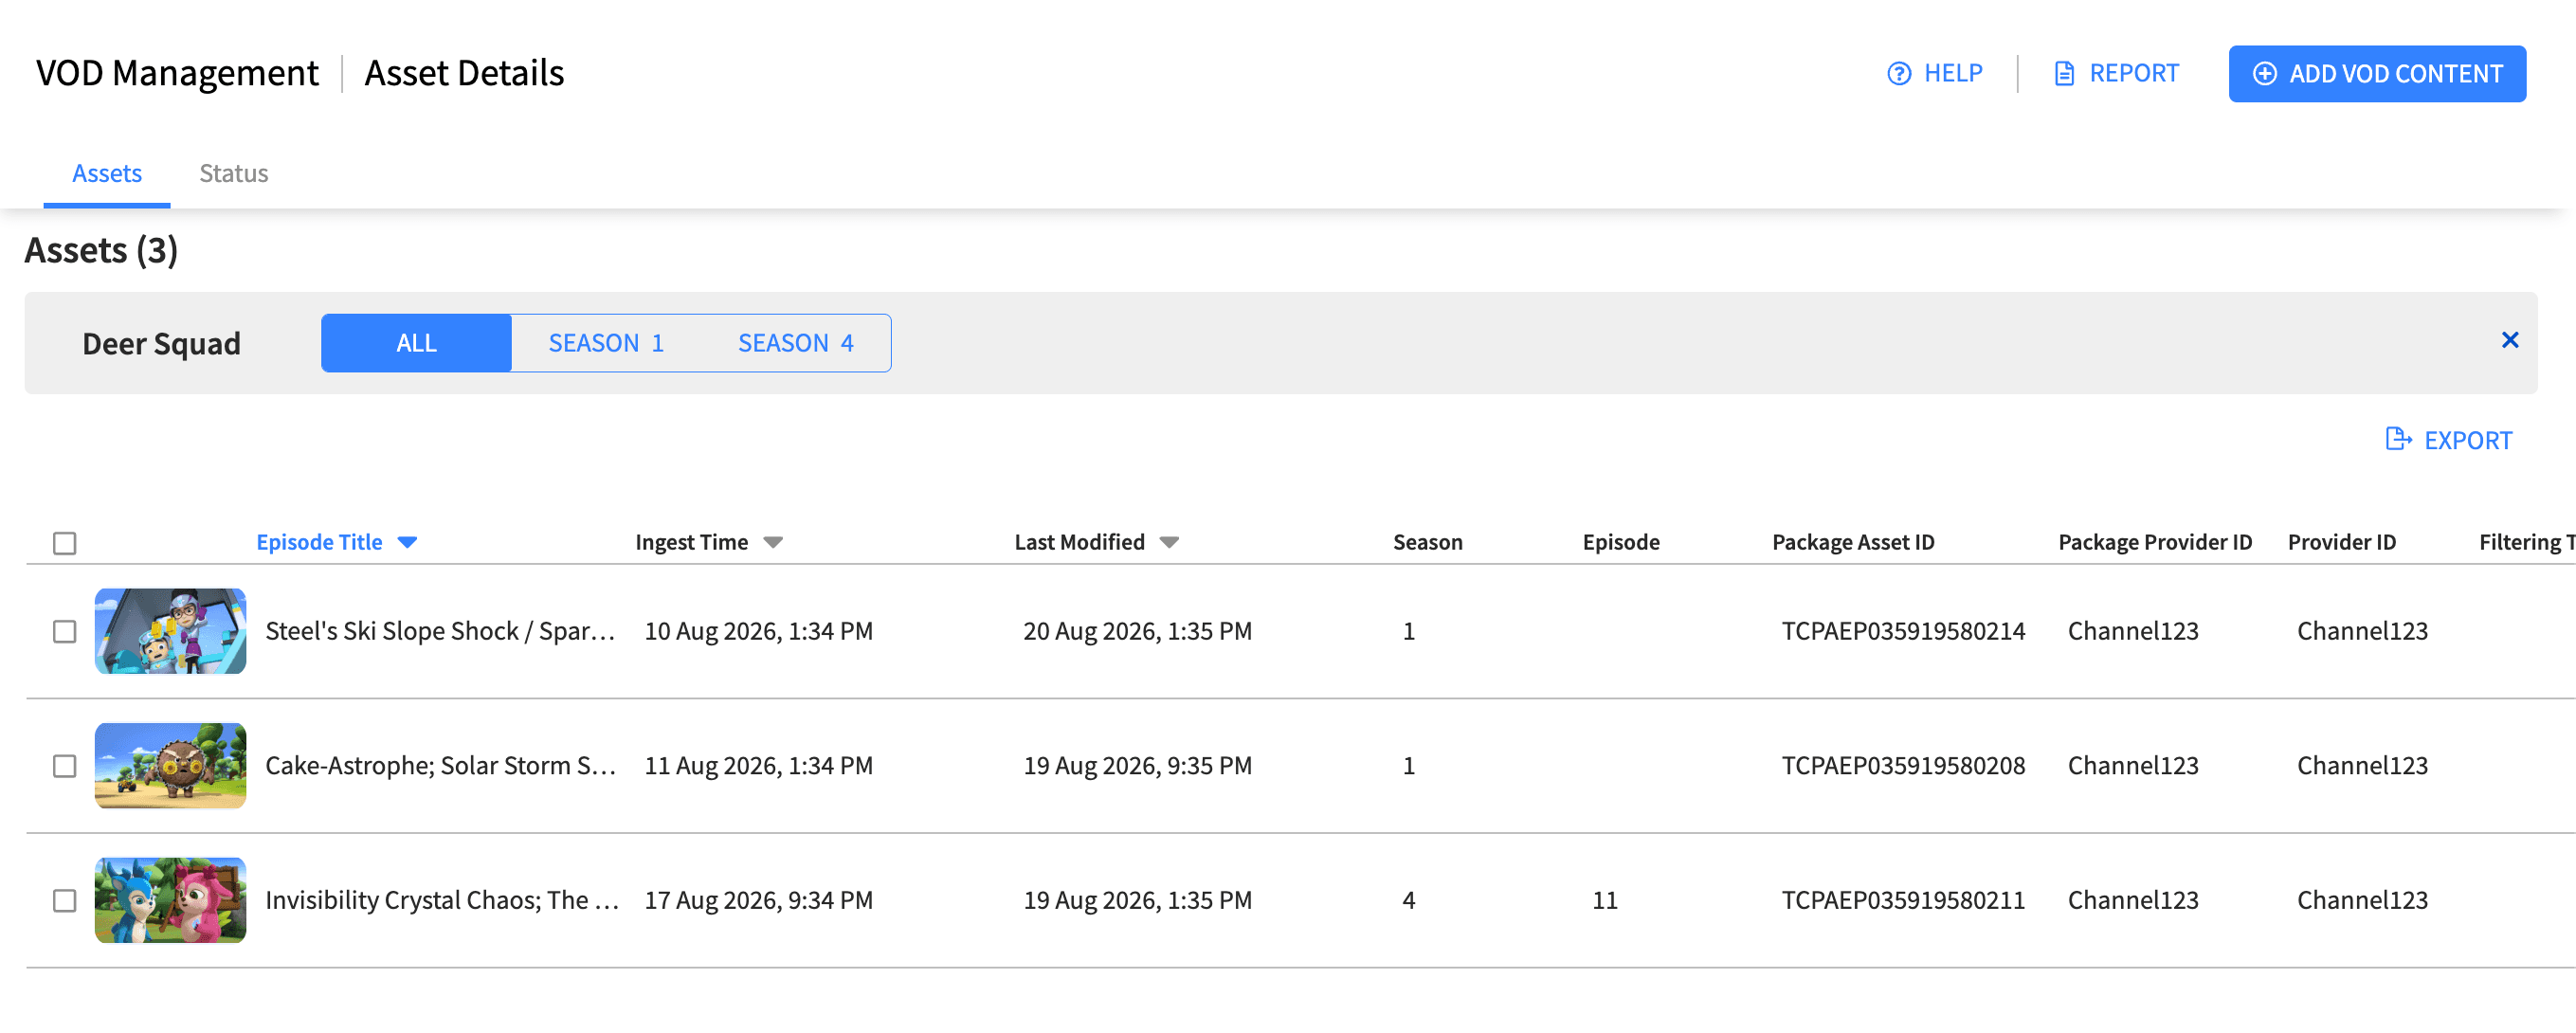
When an item is a Show, you can open it to reveal all of its seasons and episodes. In this "show mode" the table changes to list the individual episodes, with Season and Episode columns, so you can work with a single episode. Use the 'x' icon to exit show mode and return to the full content list.
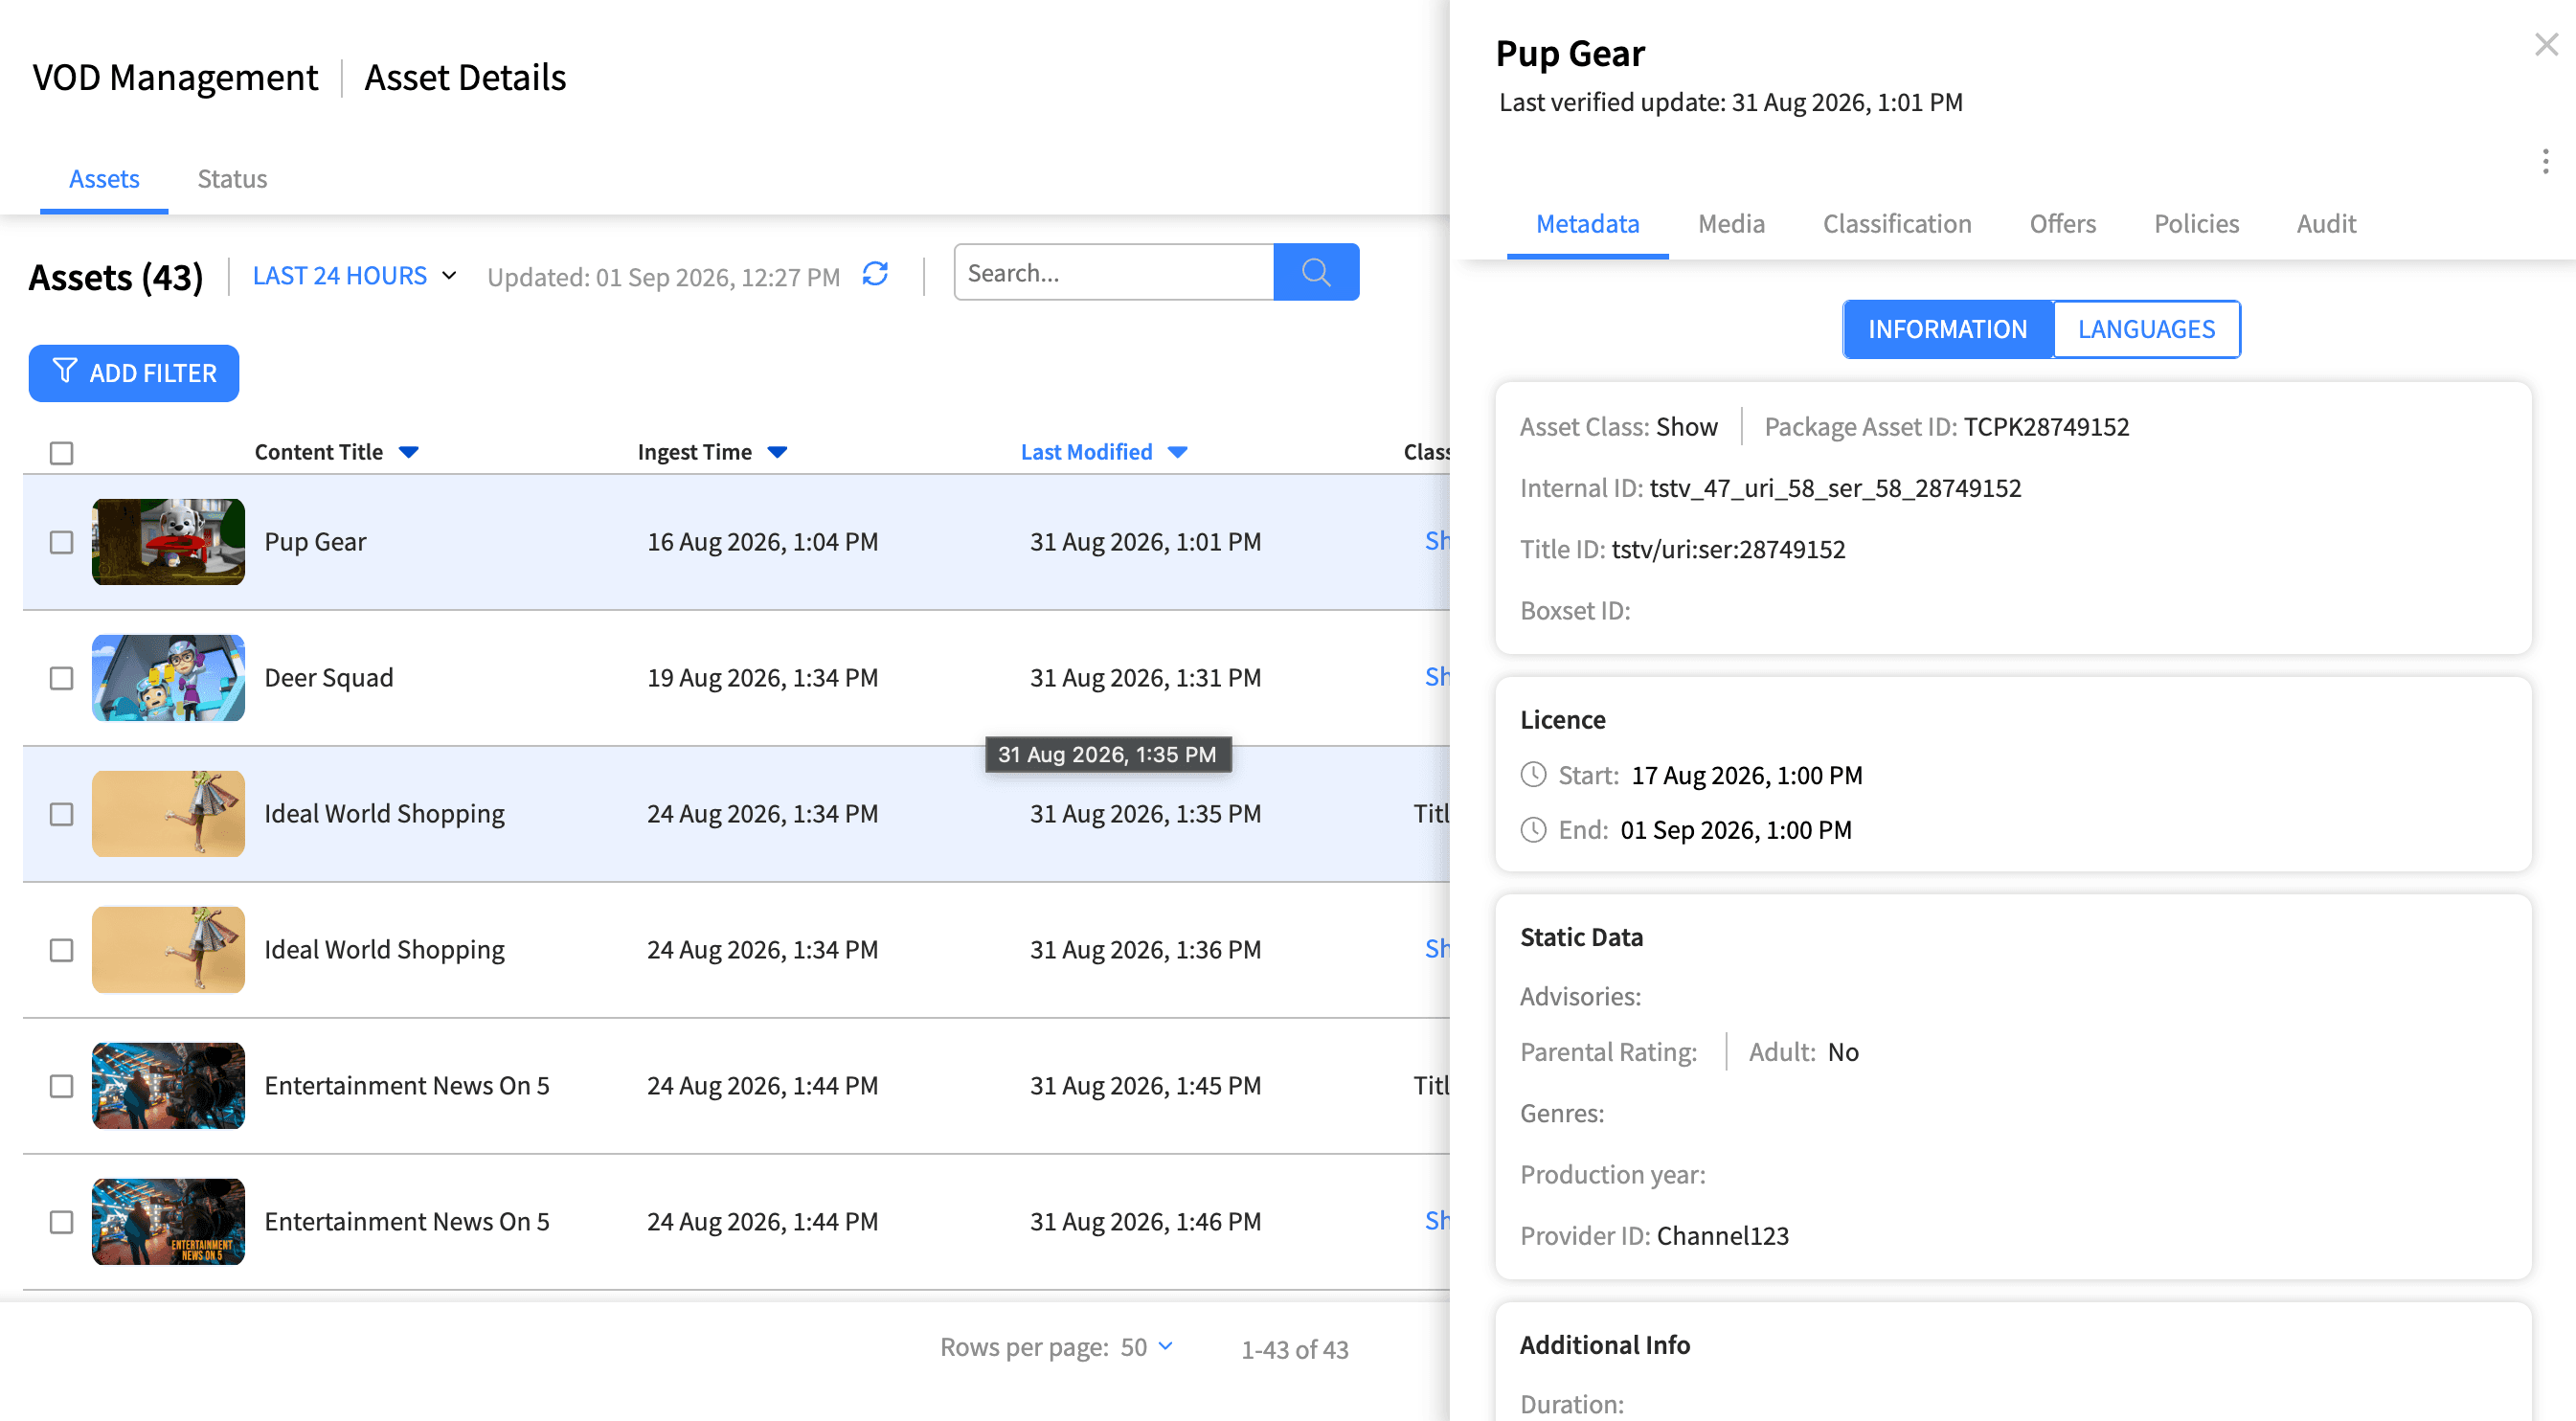
Click a row to open the asset in a side panel. The panel header shows the title, when it was last updated, and the filtering tags applied to it. The panel is organised into tabs so you can move between different kinds of information:
Metadata: titles, descriptions, genres, categories, parental rating, advisories and licence windows – the main tab for reviewing and editing descriptive information about the content.
Media: the images and video for the title, usually split into Posters, Video and Trailer, where you can review poster and banner artwork per language and check the video and trailer details.
Classification: how the system has classified the content and in what order (see the Classification Binding help for detail).
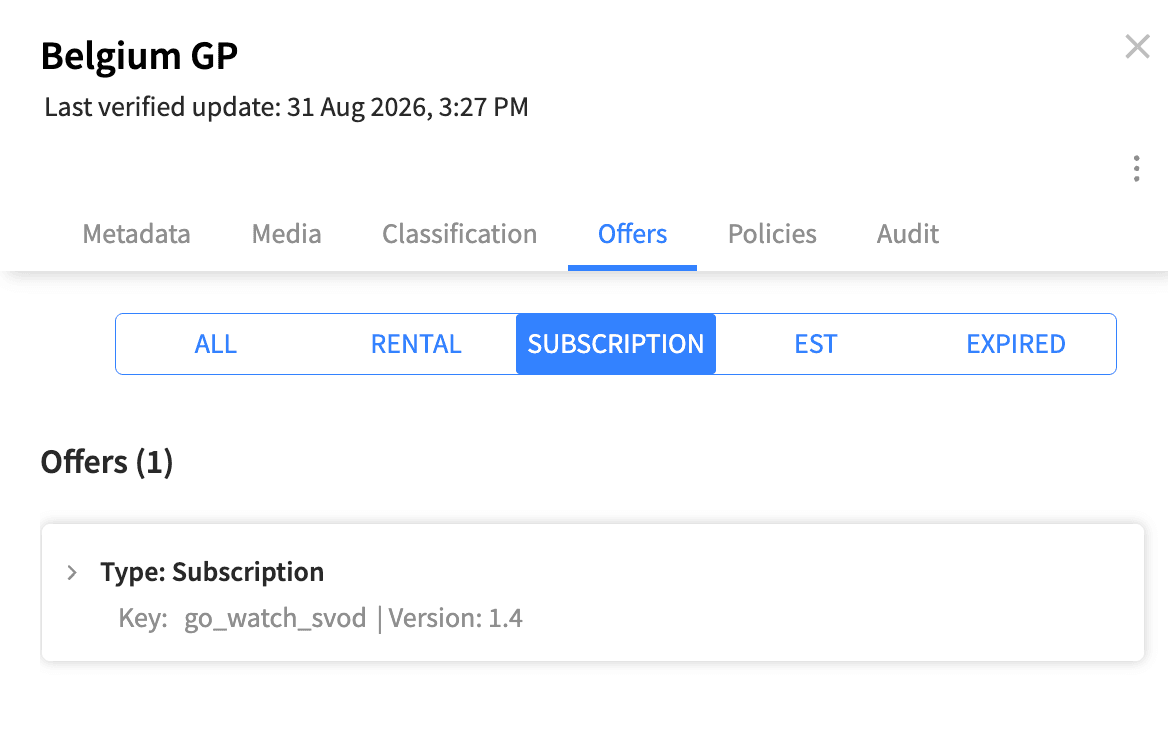
Offers: the commercial offers attached to the content, such as rental, subscription and buy-to-own (EST), which you can filter by type and add, edit, expire or remove.
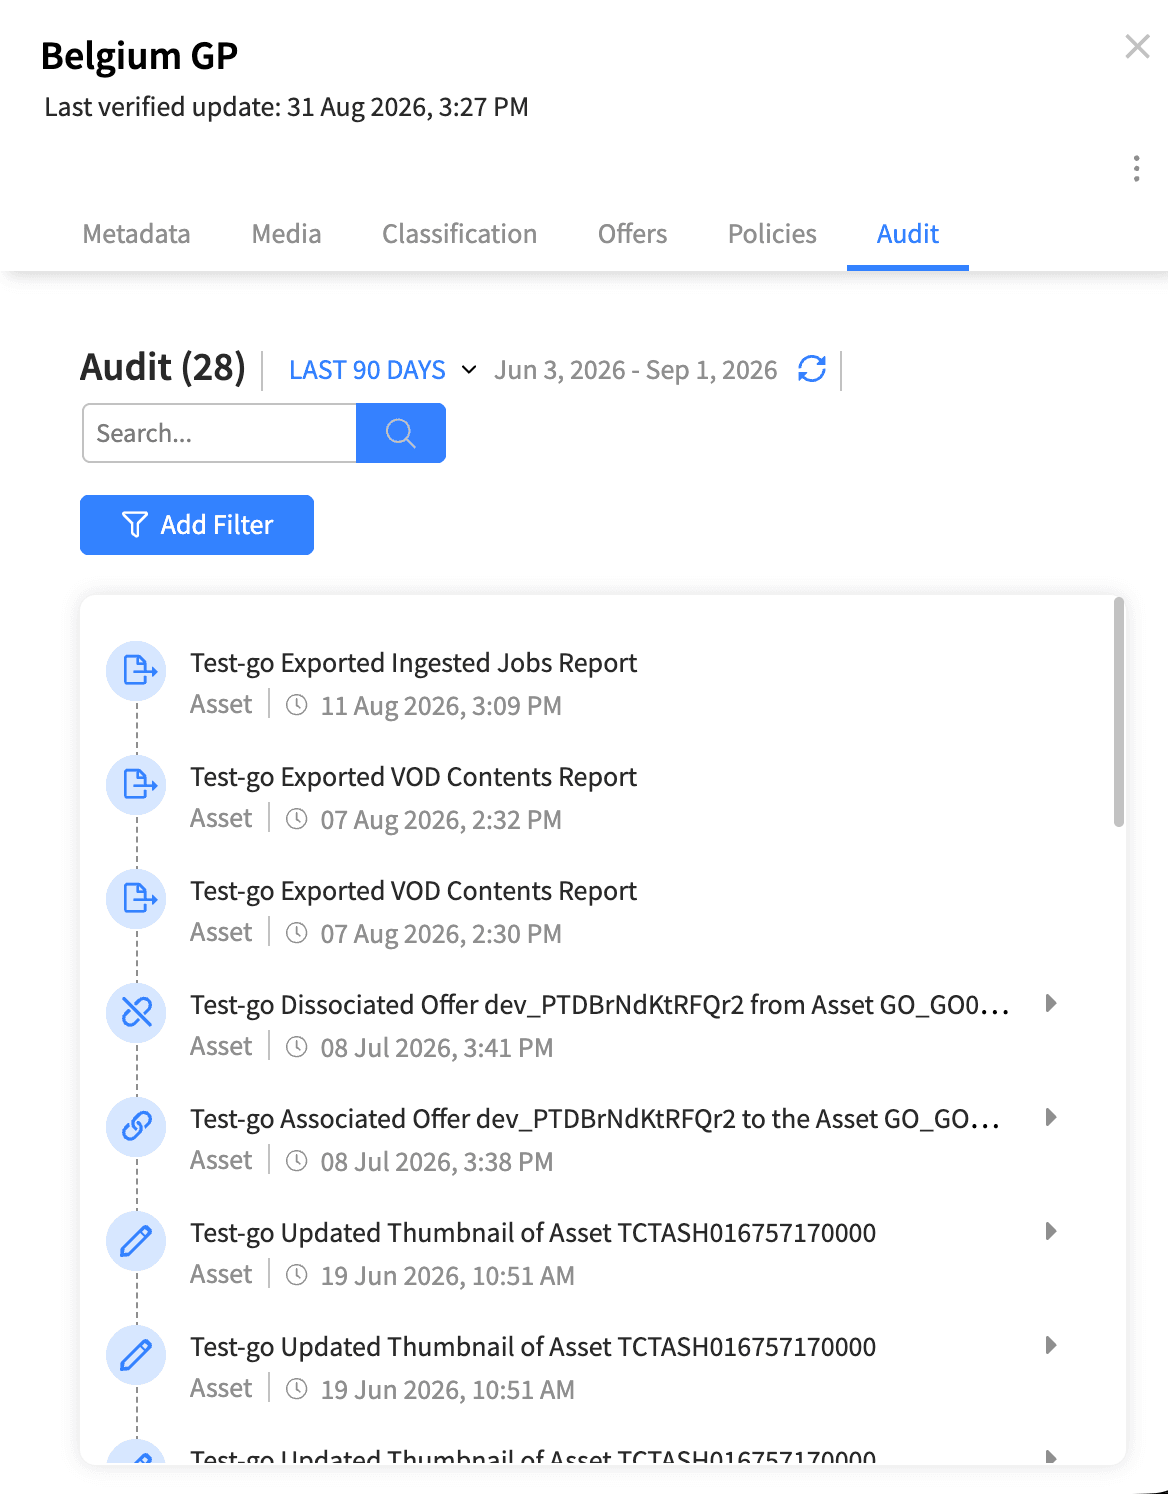
Policies: the playback and availability policies that apply to the content. Audit: the full history of changes made to this asset.
Open a title from the Assets list and select the Classification tab in the asset details side panel.
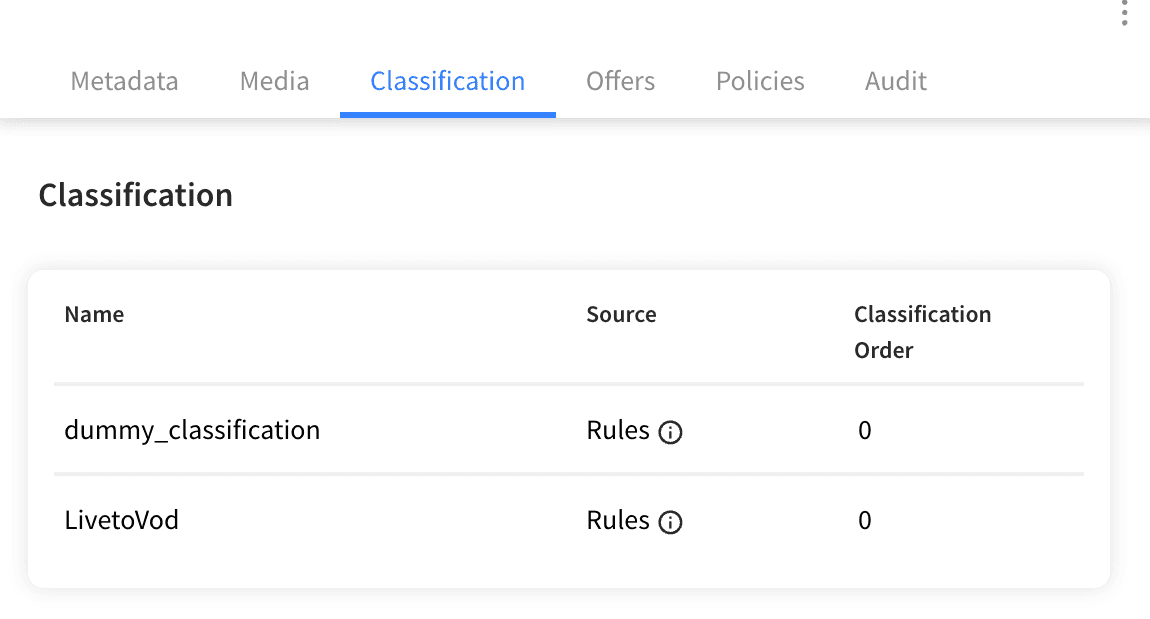
When a title has classifications, they are shown in a table with these columns:
Name: the name of the classification (for example a genre, rating or region).
Source: how the classification came to be applied to the title (see below).
Classification Order: a number that indicates the sequence in which the classifications are applied, with lower numbers applied first.
The rows are listed by name so you can find a particular classification quickly.
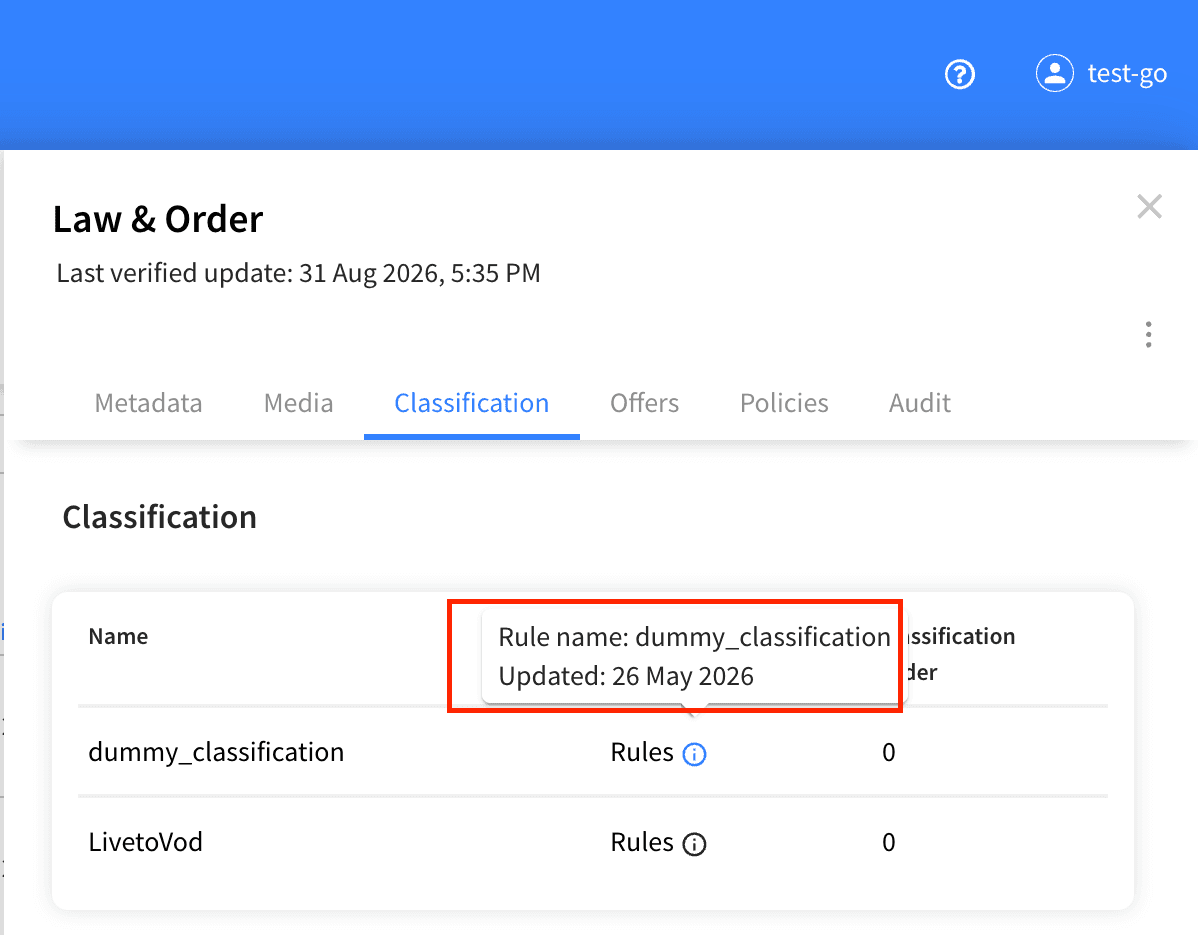
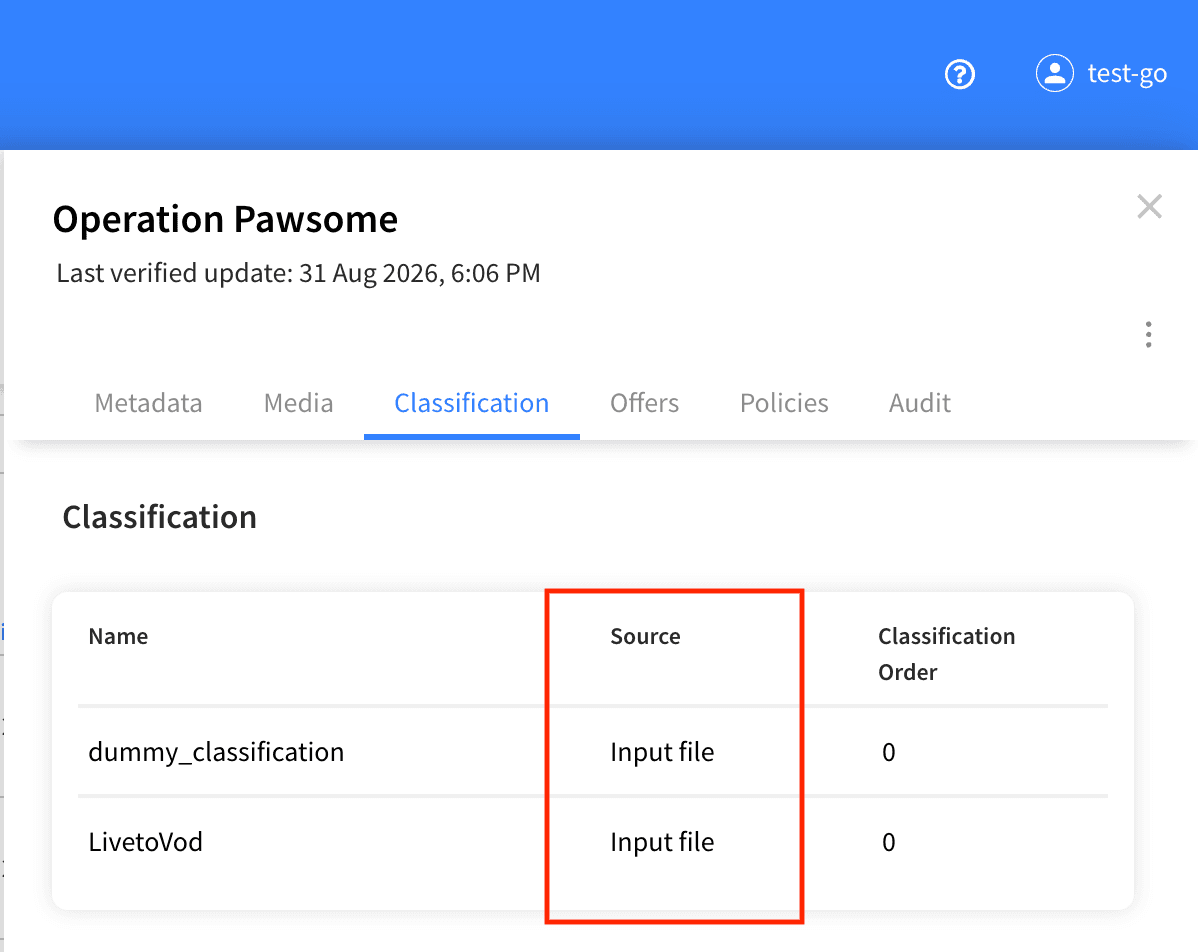
The Source column tells you where each classification came from:
Rules: the classification was applied automatically by a business rule, and hovering over it shows the name of the rule and when it last updated the classification.
Manual change: the classification was set or overridden by an operator.
Input file: the classification came from the content's ingest data (the metadata supplied when the content was brought into the system).
This helps you understand whether a classification is being driven automatically, was set by hand, or was defined at ingest.
The Classification Order shows the sequence in which a title's classifications are applied. When several classifications apply to the same title, the order determines their precedence – classifications with a lower order take effect first. Use this to understand which classification "wins" when more than one could apply.
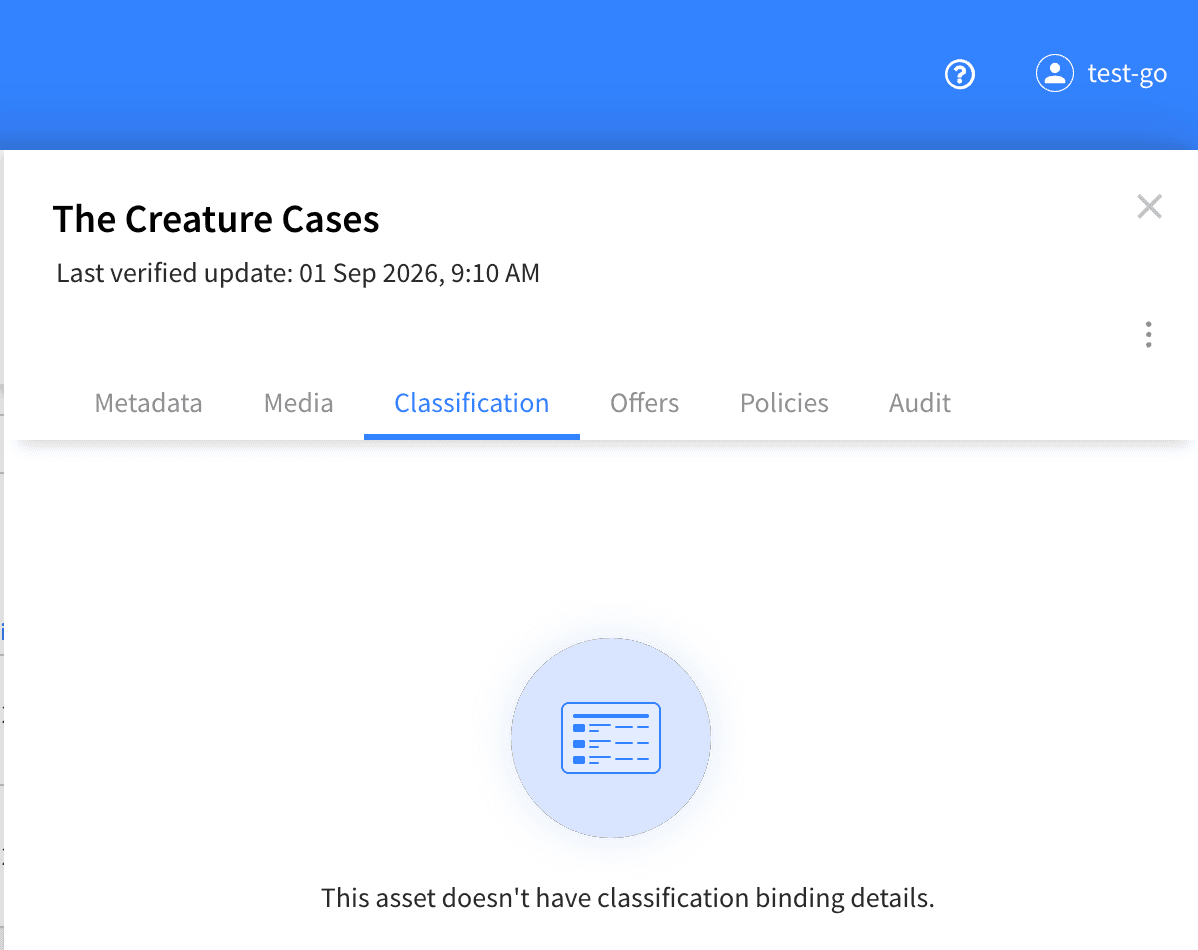
If a title has not been classified, the tab shows a message such as "This asset doesn't have classification binding details." rather than an empty table. This simply means no classification has been applied to the content yet.
On the Offers tab you can see and manage how the content is sold or made available. Use the filter buttons (for example All, Rental, Subscription, EST, Expired) to focus on a particular offer type, and use the offer actions to add a new offer, edit an existing one, expire an offer that should no longer be available, or remove an offer from the asset. A confirmation message is shown after each change.
Every asset keeps a full record of changes. Open the asset and select the Audit tab to see a timeline of who created or changed the content and when. Check this before editing an asset to understand what was changed recently and by whom.
Export – export the list of assets in the system
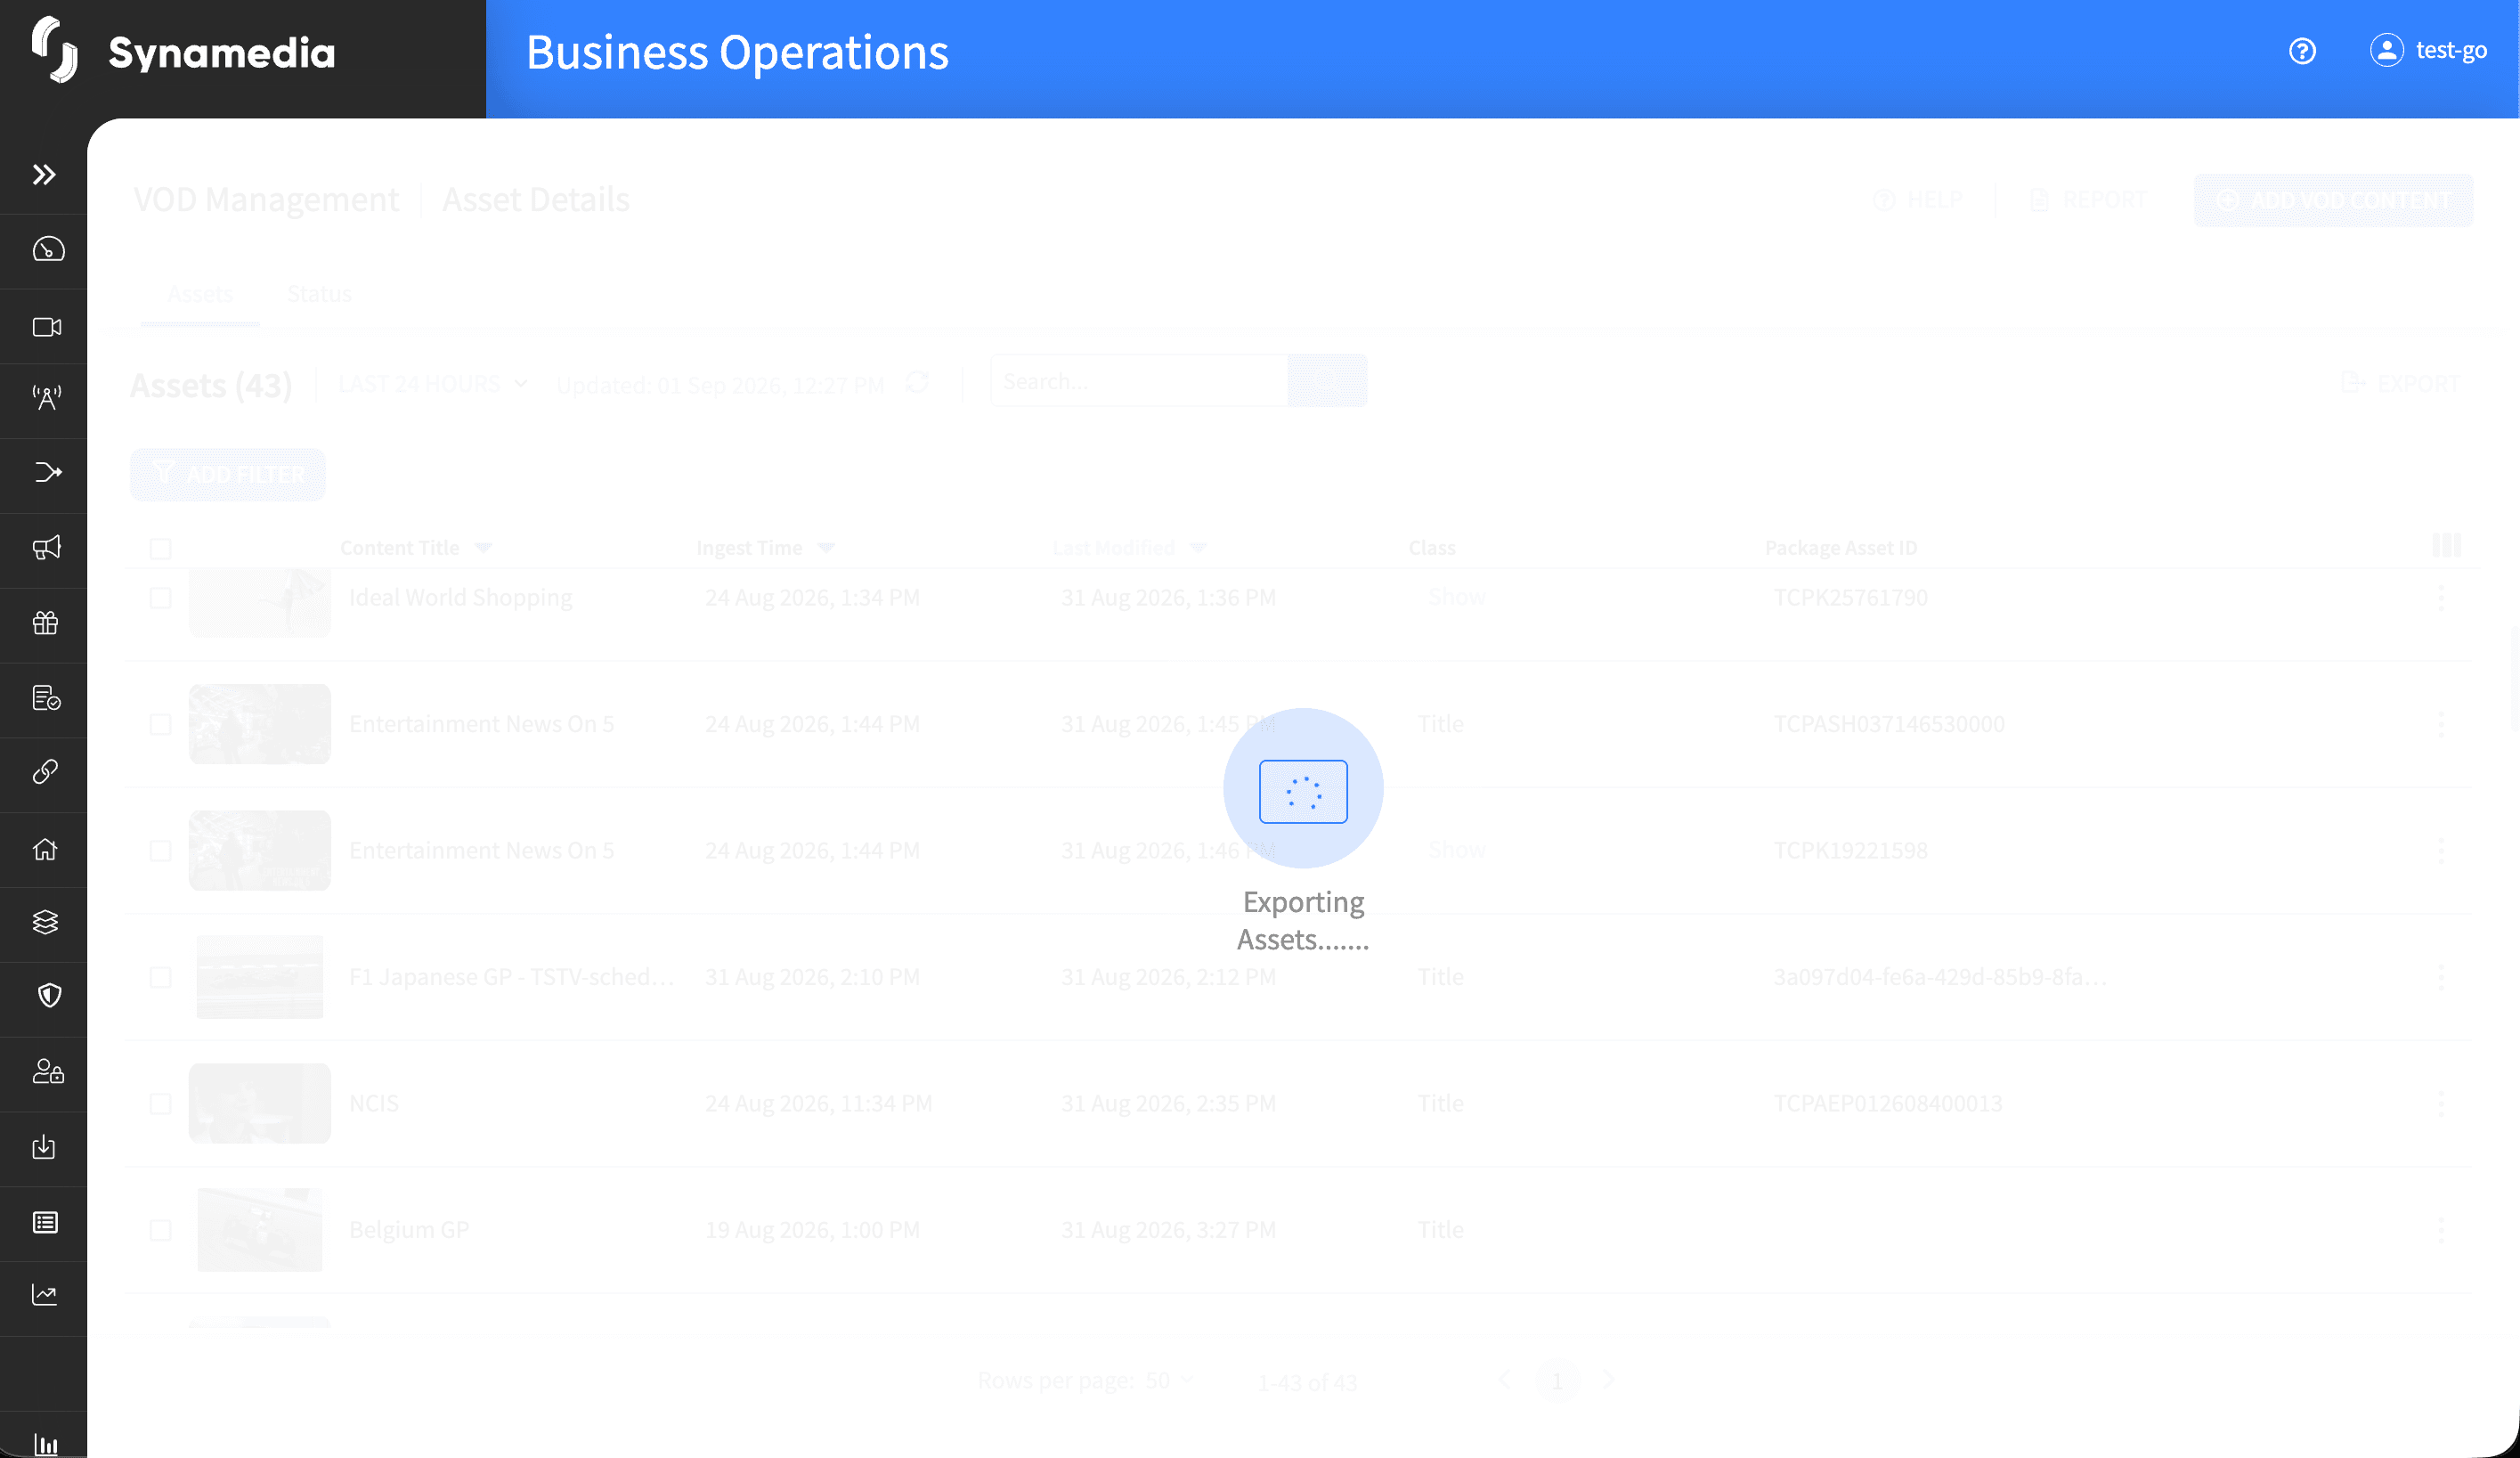
Report – extract the report which contains the catalog aggregations along with asset distribution among providers, offers and catalogs.
Asset Specific Campaign Linking – where enabled, generate a shareable link for a title to promote it on external channels.
Use search, filters and the time range together to quickly narrow a large library down to the exact items you need.
Read-only identifiers (internal IDs, class, package IDs) are there to help you trace content back to its source; you are not expected to change them.
Deletion is permanent and runs in the background – double-check the title and identifier in the confirmation dialog before confirming, then refresh after a few minutes.
Check the Audit tab before making changes so you understand the recent history of an asset.
Save your changes before navigating away – unsaved edits will be lost.

