The Synamedia Cloud Portal Administrator Guide provides guidance and documentation for administrators managing accounts in the Synamedia cloud portal.
To access the Synamedia Cloud Portal, you'll need a valid account name and password.
The simplest way to log in is by using the link provided to you after successfully signing up for the cloud portal. If you haven't bookmarked the link, you can search your email inbox for an email from accounts.gen@synamedia.com. The link will be in this format: https://account.synamedia.com/{account-name}. Clicking on this link will take you to the login page.
If you can't locate the link, please follow these steps:
Open your web browser .
In the address bar, enter the following URL: https://account.synamedia.com.
Enter your account name and click on .

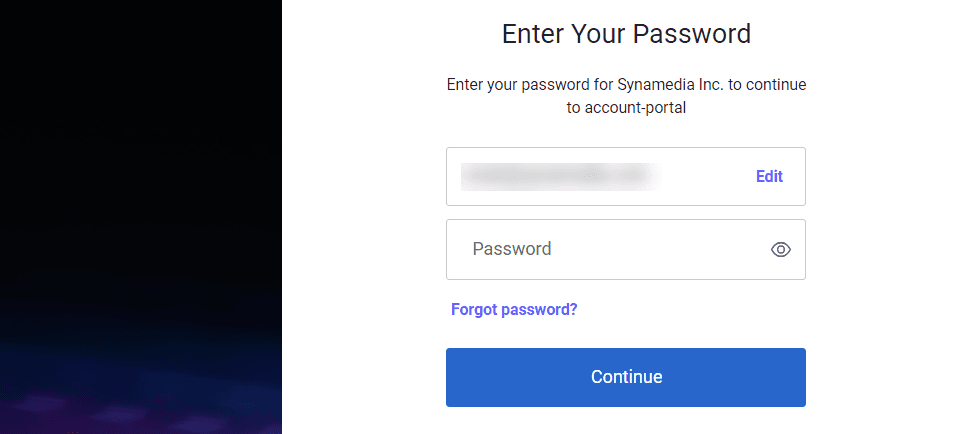
Enter your Email id and Password, and then click on Continue.
On successful authentication, users will be directed to the home page.
Synamedia cloud portal administrators can perform user management tasks such as inviting users to the cloud portal, modifying user account details, and removing user accounts. Administrators can also manage the roles and permissions of cloud portal users.
The following sections describe how administrators can perform user management tasks in the Synamedia cloud portal.
To invite users:
Click the Users card on the home page.
Click the Invite User option on the top right of the page.

Enter the email address of the user to be invited. You can also enter a message in the Add a Message (optional) box.

Select any of the Account Roles. See bellow more information about the available Roles.
Select a Space or project to which the user needs to be tagged for the specific product. For example, Production or Staging.

Select the product roles to be assigned to the user. For example, a user can be added to a Project called Production, and then associated with the Iris product, and then a Iris-specific role, "Iris standard".
Click the Invite option at the bottom right of the page after you select the roles.

A confirmation message appears indicating that the invitation has been sent to the user.
Invited users will receive an invitation email. They need to accept the invitation to set up their account.
On successfully completing the email instructions, the new user will receive a welcome email with information to log in (username and account URL) to their account.
Note: For a logged in Synamedia cloud portal user, a list of Invited users can be viewed under the Invited tab. This means that an invitation email has been sent to the user. Once the user follows the email instructions to activate the account, then the Status will change to Active.
Note: It is recommended that a maximum of two users are assigned administrator privileges for each user account, and they should be responsible for all the user administration activities for that account.

This role is assigned only to users who manage user accounts. In general, one or two account administrators manage an entire account.
View and access all information within the account.
Add, remove, or modify users from the account.
Creating, remove or modify applications, including regenerating secret keys.
This role is assigned to non-administrator users to access the cloud portal.
View and access certain information within the account.
Able to see data and reports.
Only administrators can modify user details.
To modify user details:
Log in to the Synamedia cloud portal.
Select a user from the list shown and click the three dots at the right side of the user selected.
Click the Edit option.

Select one or more roles based on the project and the product associated with the user and edit the required permissions.
Click the Save button to confirm the modifications.

A pop-up window will display the confirmation message on the page.
Only an administrator can delete a user from the Synamedia cloud portal.
To remove existing users:
Log in to the Synamedia cloud portal.
Under Manage Account > Users > Active section, click the three dots on the right end of the user that you want to delete.
Click the Remove User option.

A pop-up window will appear on the screen to confirm the deletion.
Click Delete.
The selected user will be deleted, and a confirmation message will appear on the page.
Note: Administrators should periodically review users. If any user with an account in the cloud portal leaves their organization, the admin will be responsible for deleting that user account.
You can review a user account’s product roles by clicking the respective username under the Active User tab.
The Application section in the cloud portal allows administrators to create, modify, or remove applications. This functionality enables users to communicate with a specific product within the specific project through APIs by using the provided client ID and secret key.
Note: It is recommended that you do not create multiple applications for the same product in the same project Space.
To create an application:
Log in to the Synamedia cloud portal.
Click Applications under Manage Account.
Click Create Application.

Enter the name of the application in the Application name field. The application name should be relevant to the product or project for effective management. For instance, when creating an application for Synamedia Iris in a production space, consider naming it as app-iris-production for clarity and better organization.
Select the Space and Permissions for this application. A Space refers to the project where you intend to create the application for the product associated with this project. Application permissions allow the execution of specific actions on this product through APIs.
Click the Create Application button after you have selected the space and permissions. A pop-up window will appear on the page showing that an application has been created successfully.
The pop-up window also displays the Client ID and the Secret Key.
Note: The Client ID and the Secret Key must be noted down carefully and saved in a secure location. Do not share the Client ID and the Secret Key publicly, as unauthorized access with these credentials can potentially harm or compromise the entire production system.

The Client ID and the Secret Key are required for integrating your applications with product-specific APIs.
Note: It is recommended that the Client ID and the Secret Key are shared to authorized users only and using a secure method only (Email: Marked as Confidential or Encrypted).
You can copy the Client ID and the Secret Key from the Application section under Manage Account.
To copy the Client ID and the Secret Key of an application:
Log in to the Synamedia cloud portal.
Click Applications under Manage Account.
Select the application from the list and copy the Client ID from the Client ID column.
Copy the secret key by clicking the three dots on the right side of the application and selecting Copy Secret. Ensure that you save the secret key in a secure location.

Note: Carefully note down the client ID and the secret key. Ensure secure storage and avoid sharing these credentials publicly, as any unauthorized access using these credentials can potentially harm or compromise the entire production system.
To modify an application’s permissions:
Log in to the Synamedia cloud portal.
Go to Applications under Manage Account.
Select an application that needs to be modified.
Click the three dots and select the Edit option.
Modify the application’s details as required. For example, you can modify specific permissions given to the application.
Click the Save Changes.
A pop-up window will display the confirmation message.
To remove an application:
Log in to the Synamedia cloud portal.
Click Applications under Manage Account.
Select the existing application that needs to be deleted.
Click the three dots and then select the Delete option.
A pop-up window will display the confirmation message.
IMPORTANT Ensure that the product is created before associating the product roles within a specific project Space. Also, some of the product-specific roles might be visible to the administrators; however, these roles may not be available for selection due to back-end grouping constraint.
