


The short video below walks through the Channels area: switching between list and tile views, searching and filtering, creating a channel through the three-step wizard, editing a channel's metadata and delivery, and deleting a channel.
The Channels area is where you create and manage individual broadcast services – video channels, radio channels and application channels. Each channel holds its metadata (name, key, genres), its display artwork (logos and posters), and its delivery configuration (how the channel is transmitted, for example IPTV, OTT, DVB-S, QAM or DTT).
Channels are the building blocks of Linear Management: once created, they are grouped into lineups and driven by schedules.
The module is opened from the sidebar under Linear Management > Channels.
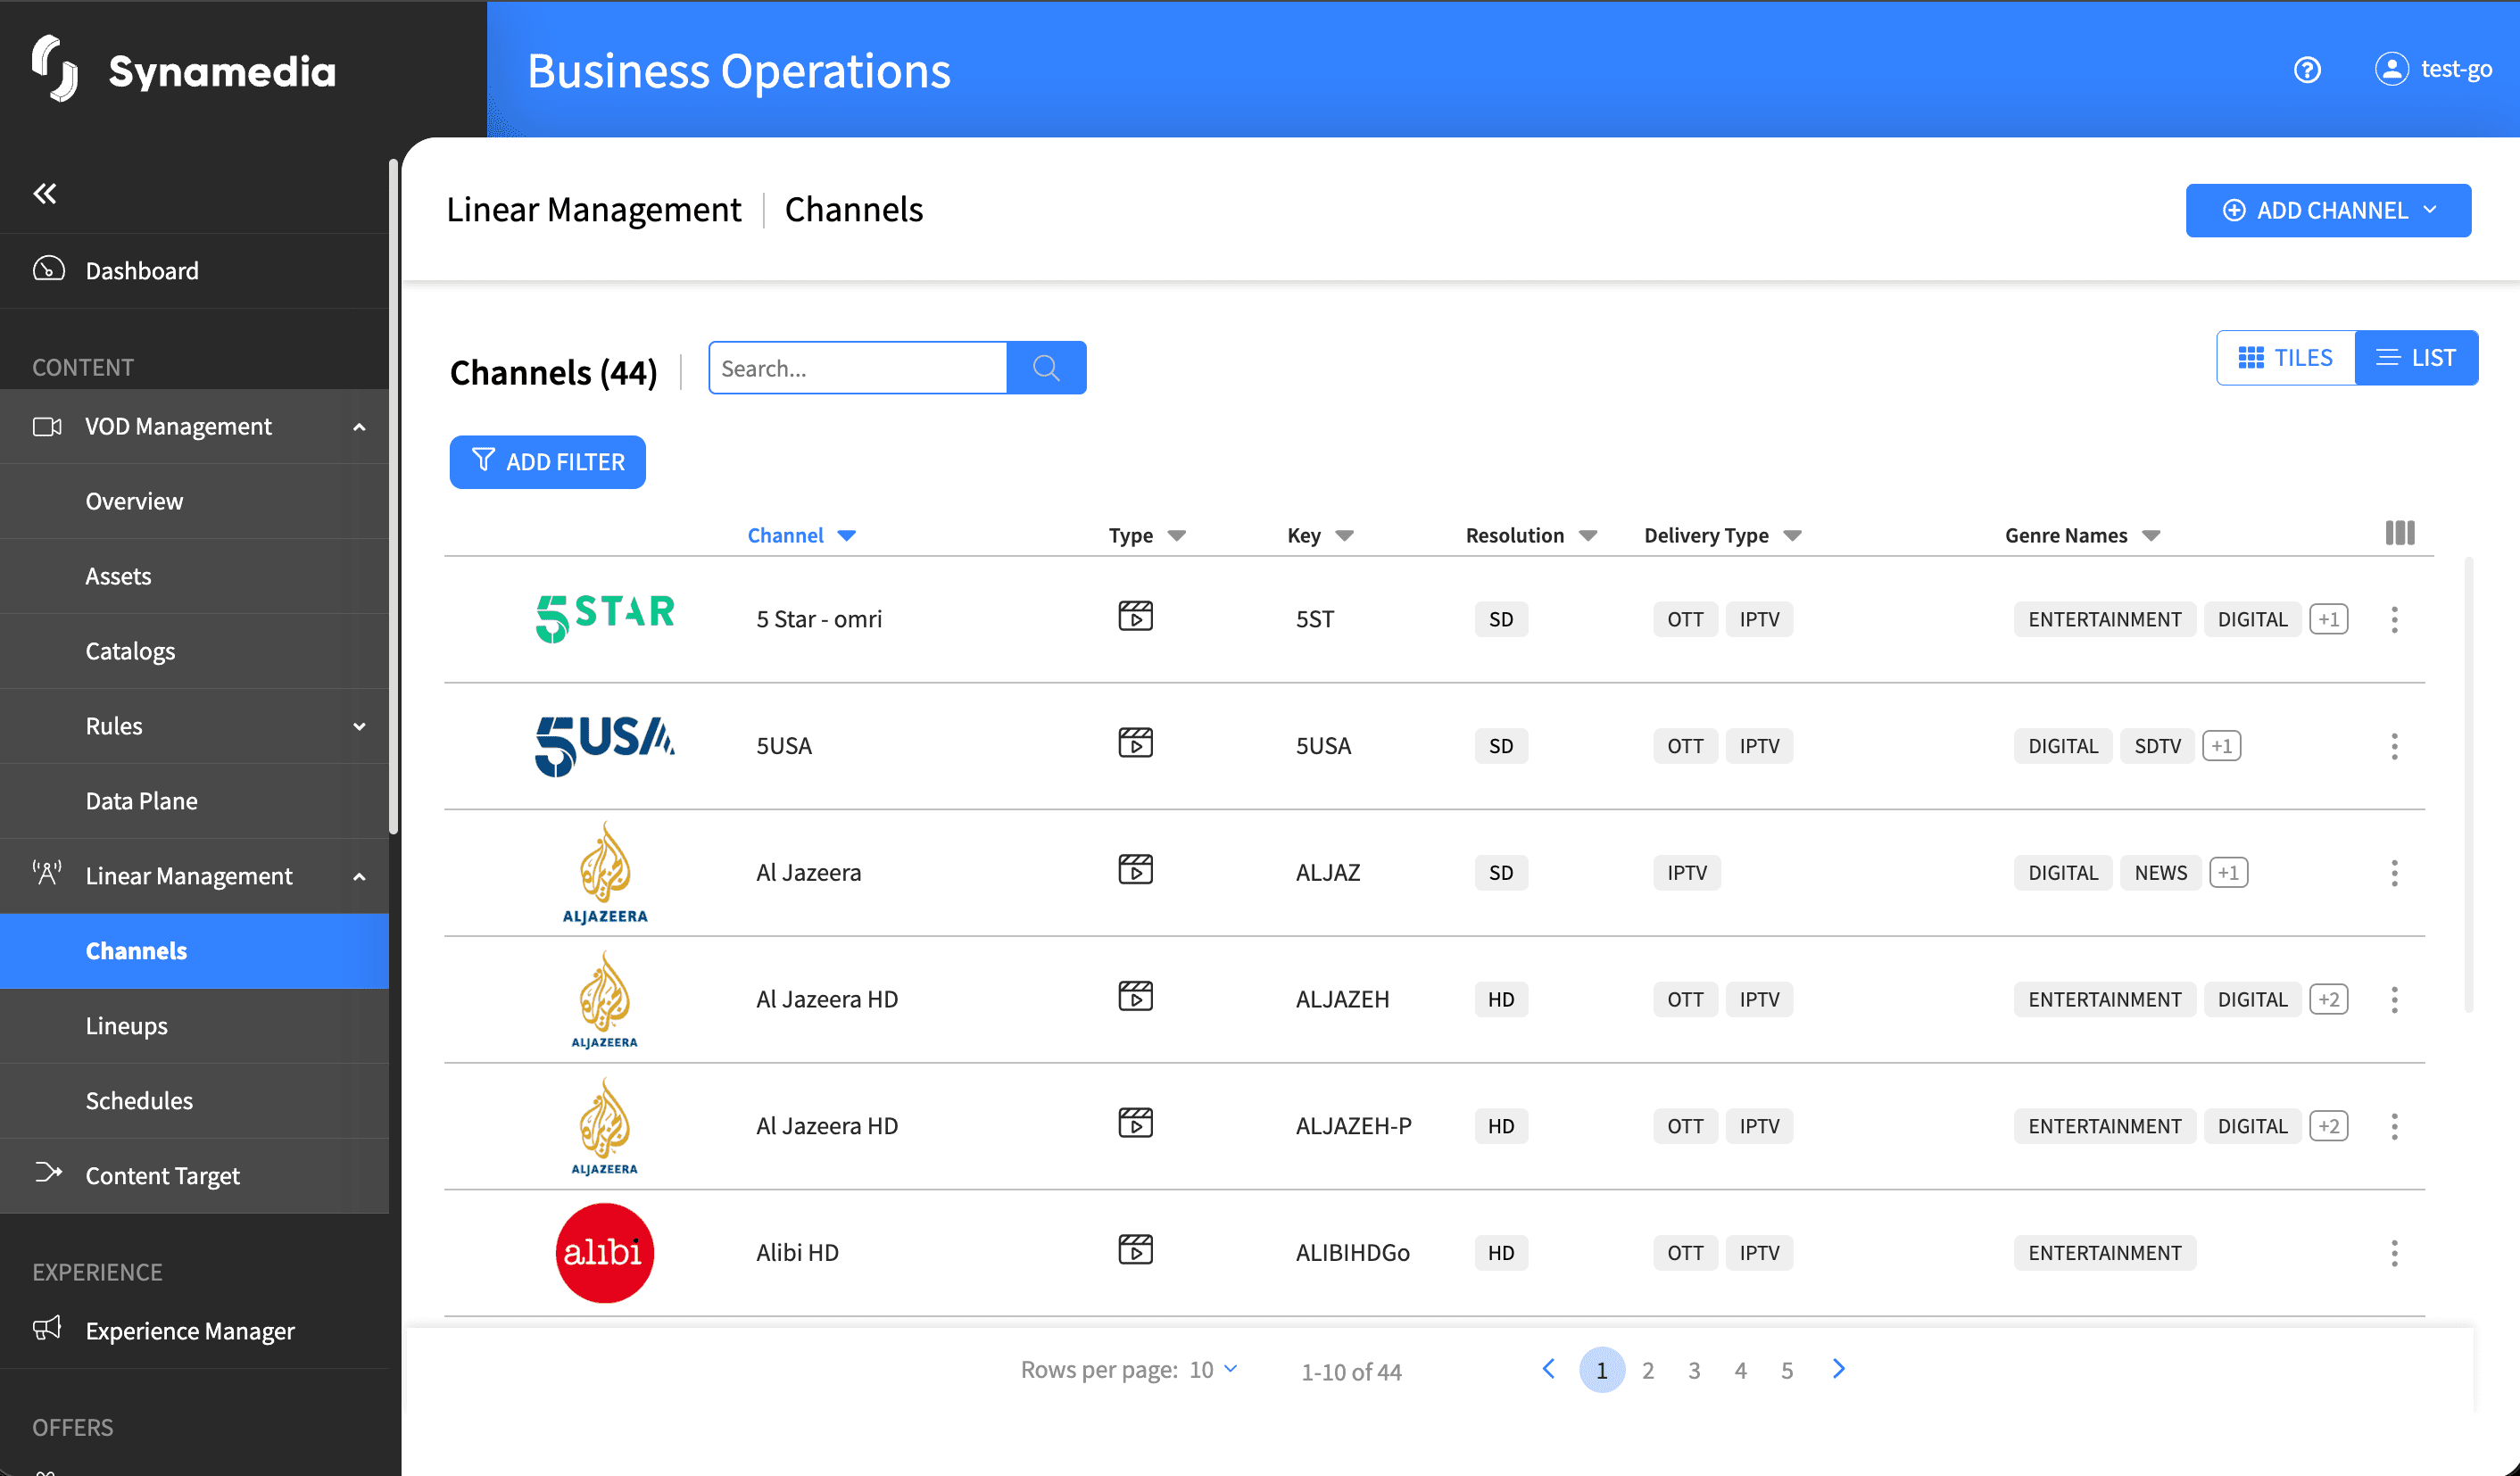
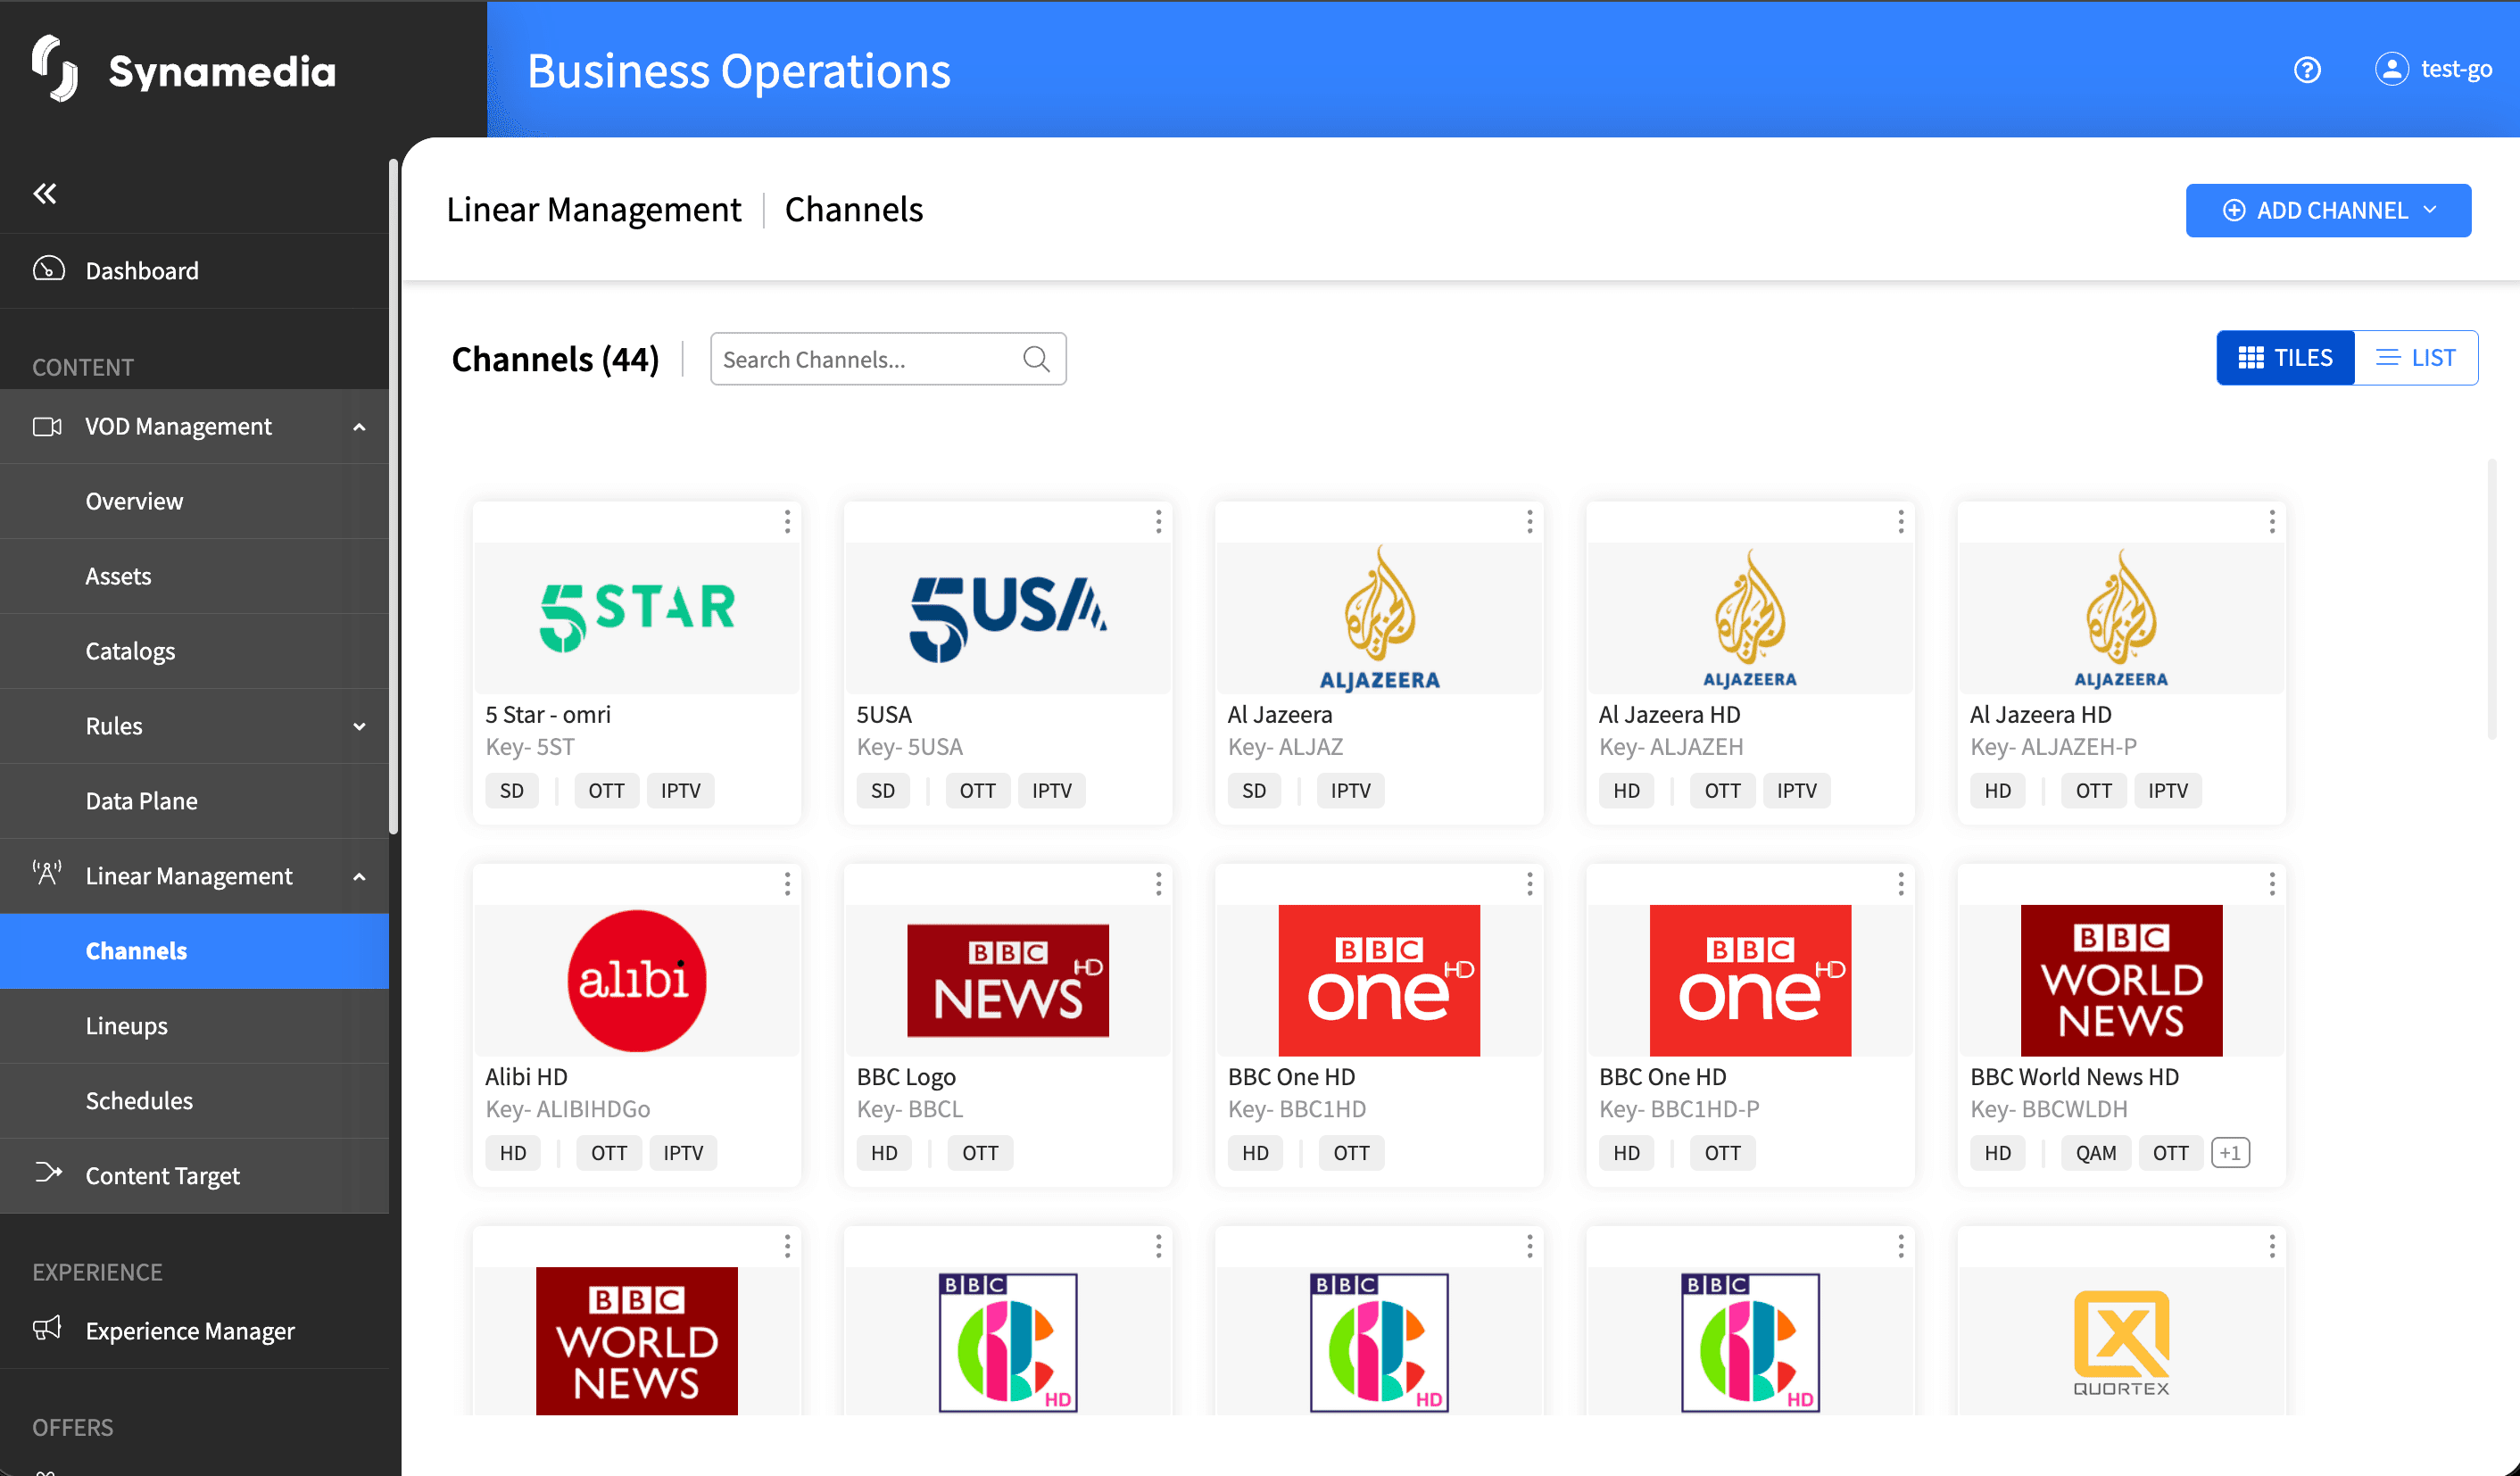
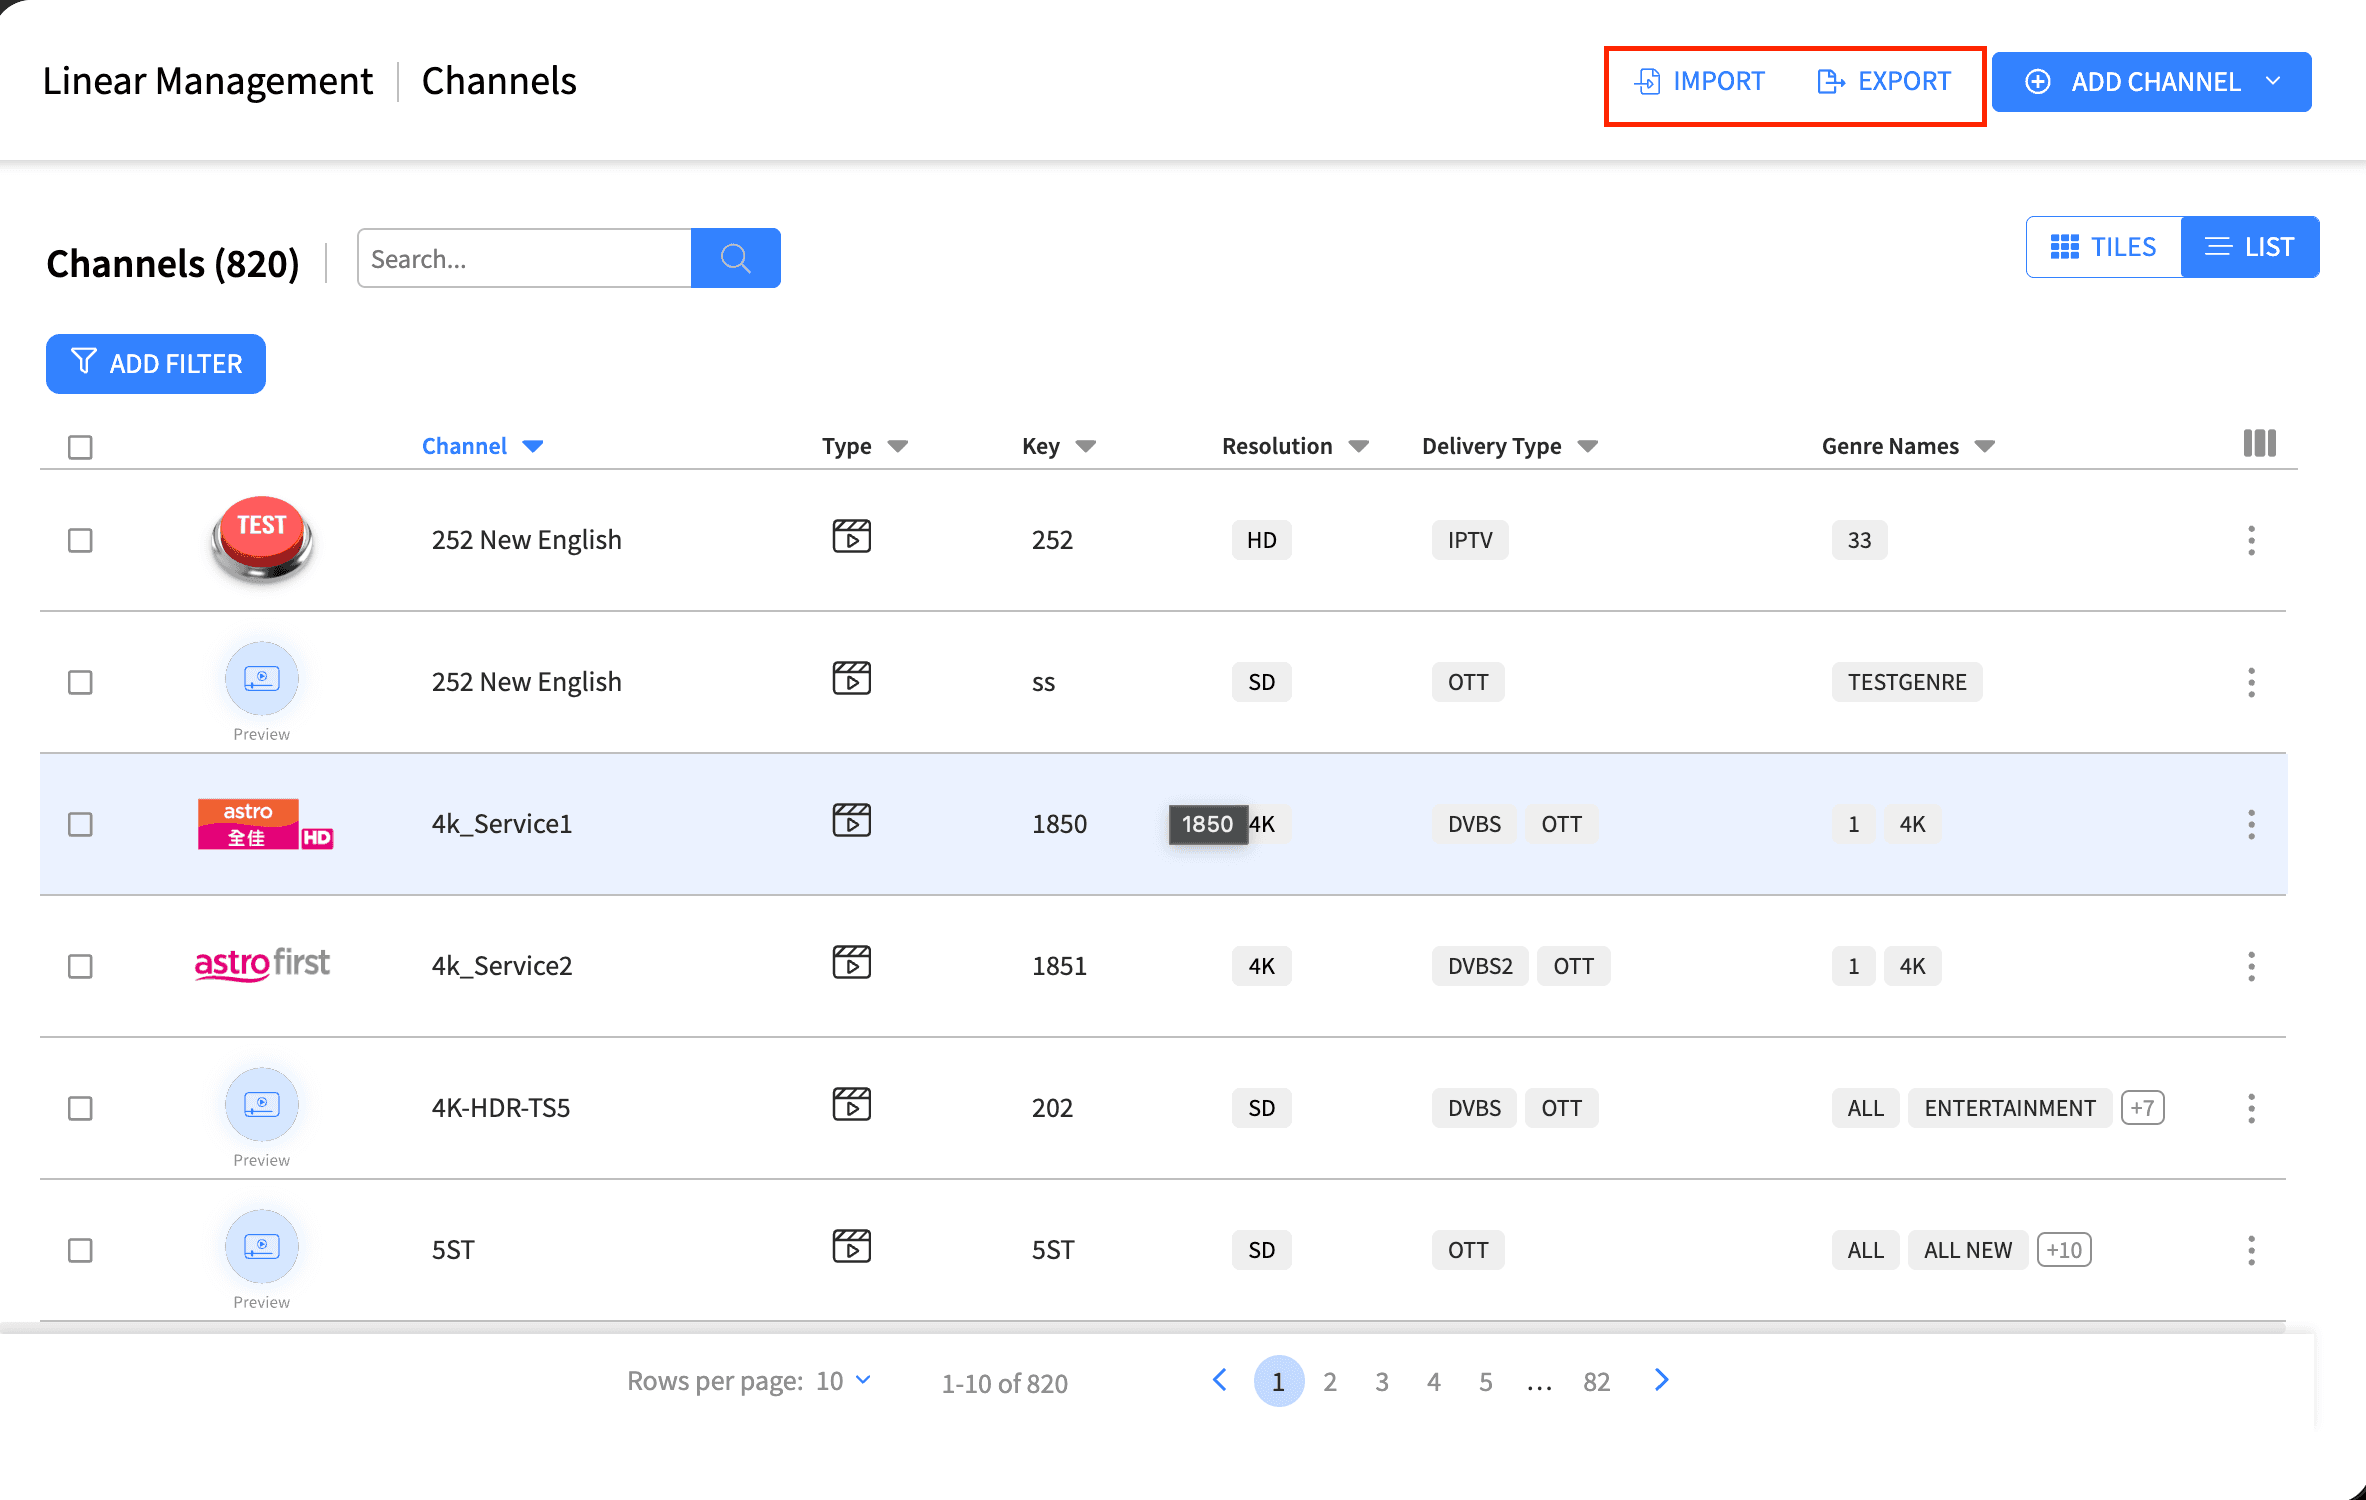
You can view channels in two ways using the toggle at the top left: List View (a table) and Tile View (cards). The list view shows the typical columns:
Logo: the channel's logo thumbnail.
Channel: the channel name.
Type: Video, Radio or Application.
Key: the unique channel identifier.
Resolution: shown as an SD, HD or 4K badge.
Delivery Type: shown as tags such as IPTV, OTT, DVBS, QAM, DTT or IPTV-OOB.
Genre Names: the genres assigned to the channel, shown as tags.
You can also work with the list in several ways:
Search channels by name or key using the search box.
Filter by Type, Delivery Type, Genres and Flags.
Sort by clicking a column header (the default sort is by Name).
Show or hide columns and save your column preferences.
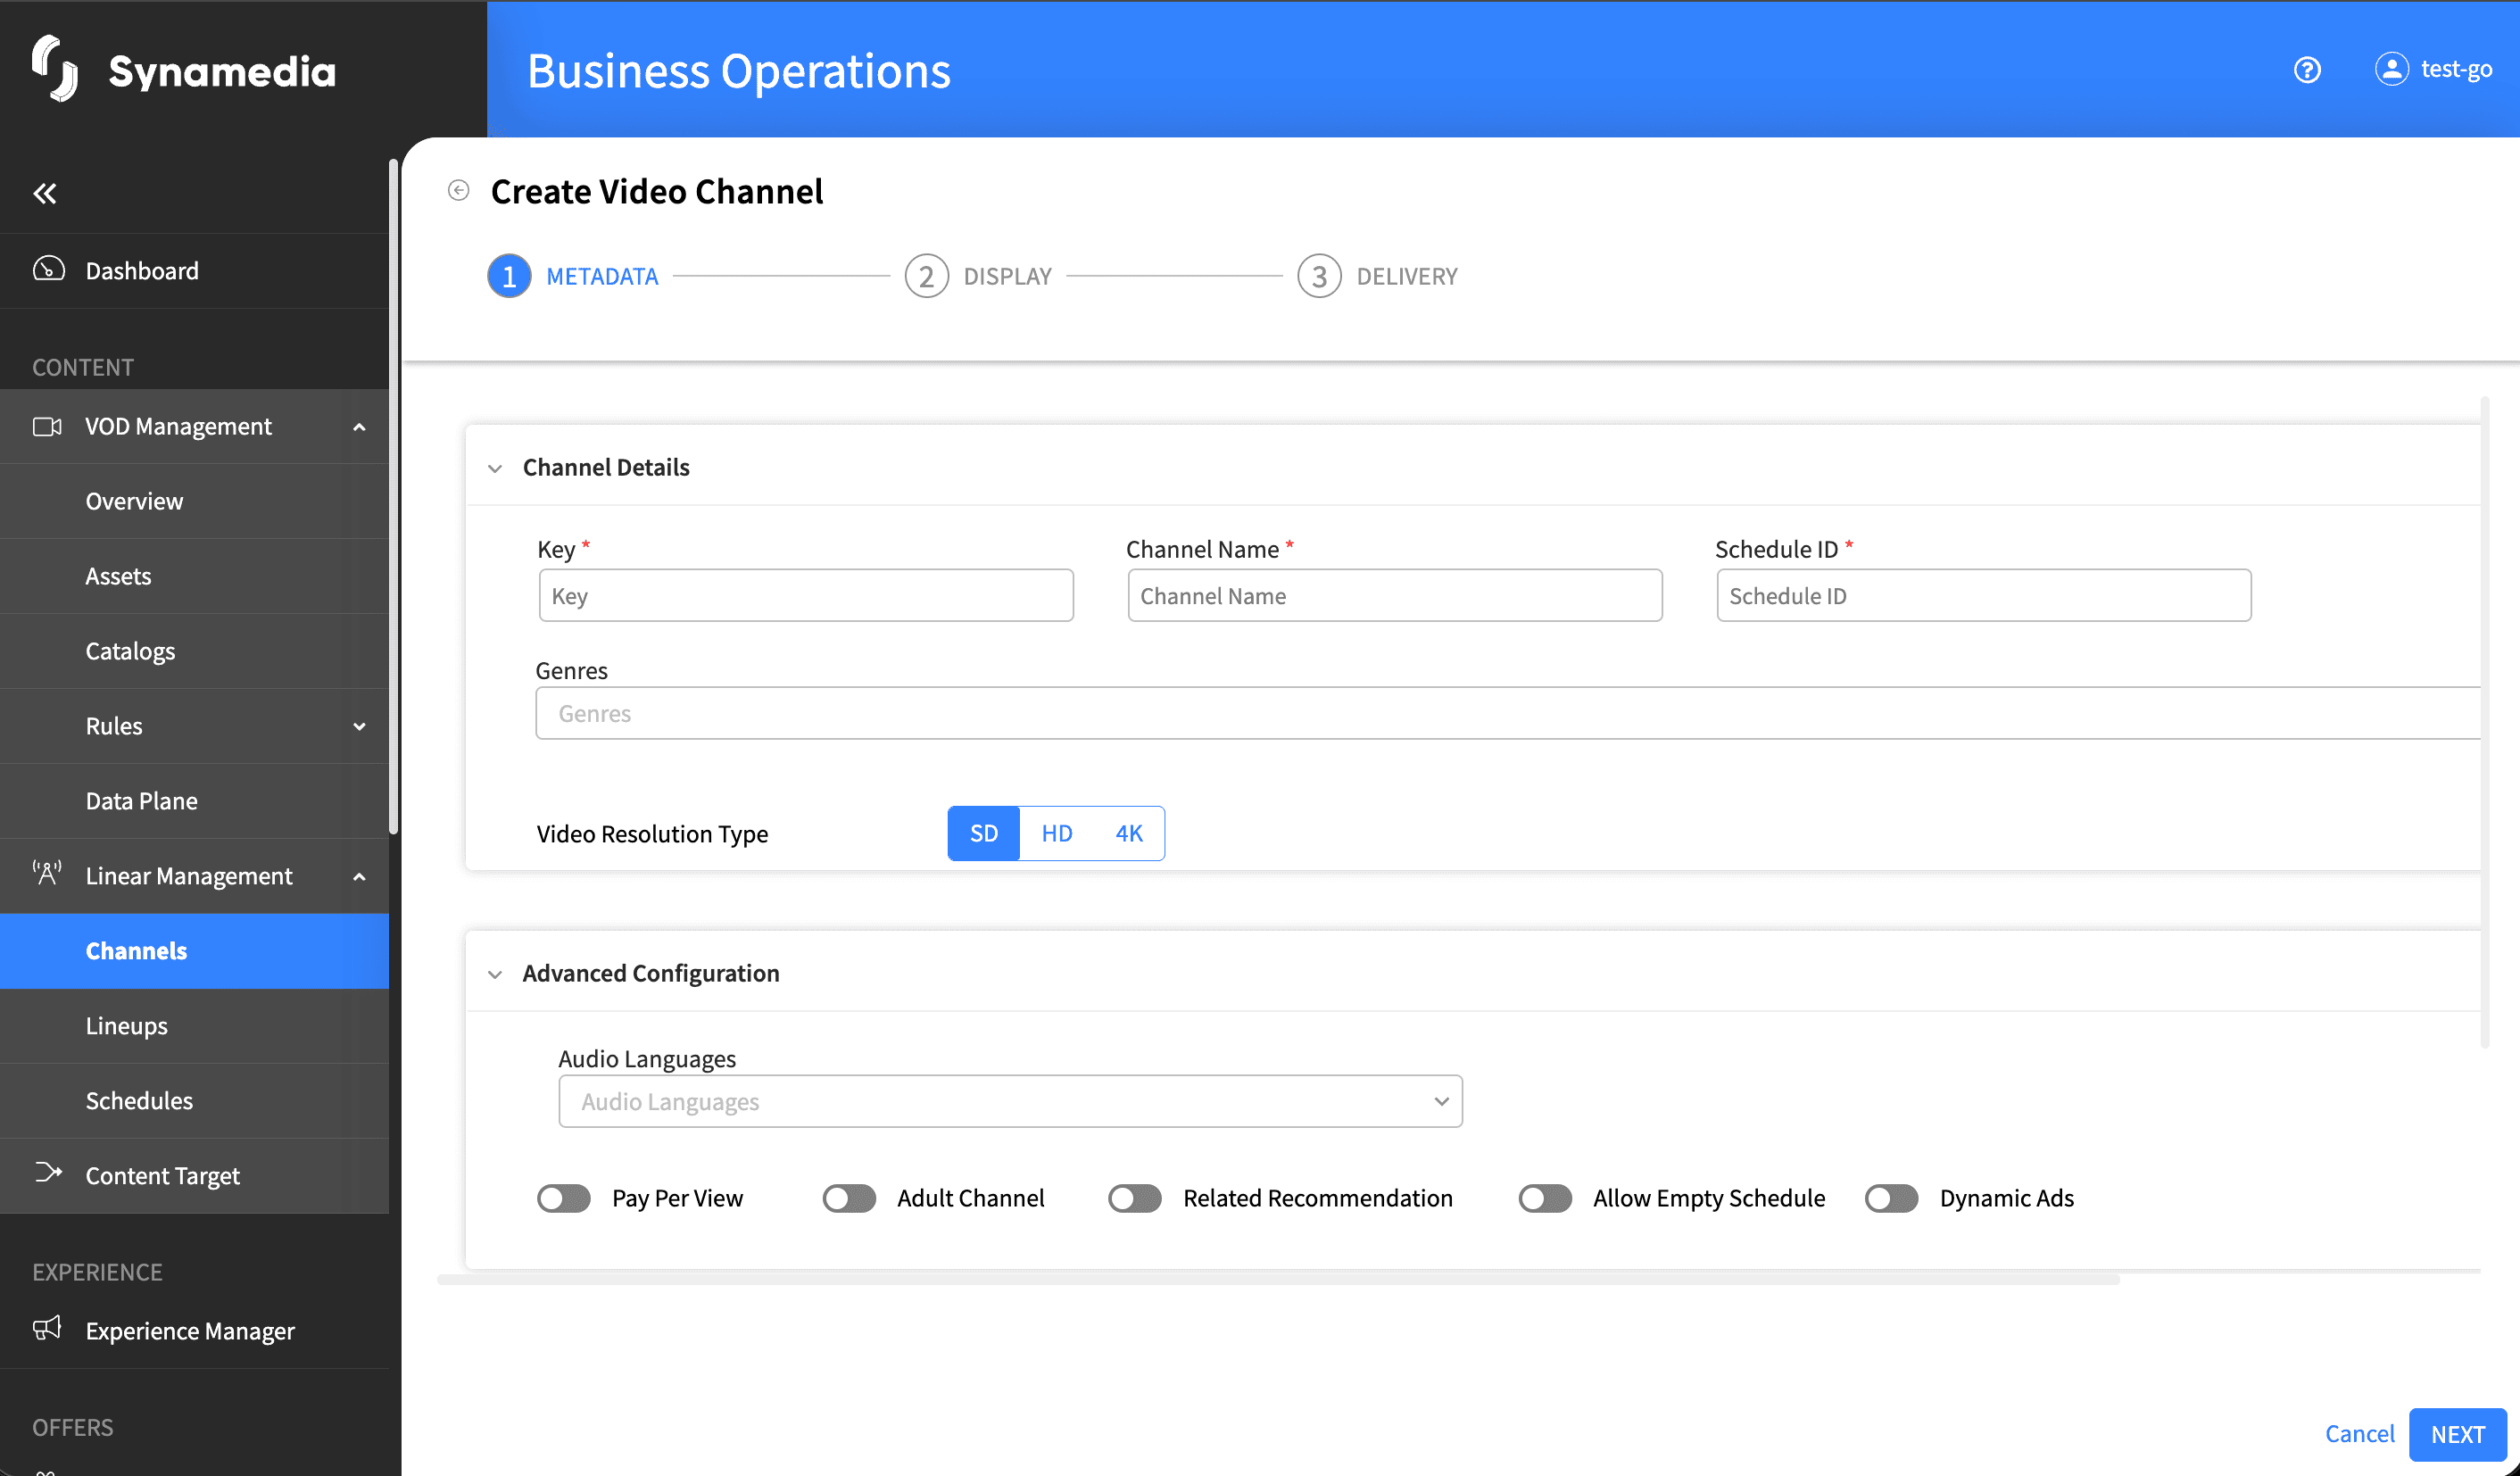
Click "ADD CHANNEL" at the top right and choose the channel type: Create Video Channel, Create Radio Channel or Create Application Channel. This opens a three-step wizard.
Step 1 – Metadata: enter the required Channel Key (a unique identifier that cannot be changed later), the Channel Name for your default language, and the Schedule ID. Choose the Video Type (SD, HD or 4K), and for an application channel enter the Application ID. You can also set optional details such as External Channel ID, Genres, Audio Languages, playable devices, Provider ID, and flags like Is Adult Content, Is Pay Per View, Is Radio Channel, Allow Empty Schedule, Dynamic Ads Available and Recommendations Available. At least one playable device must be selected.
Step 2 – Display: add the channel's Logos (Regular and Alternate) and Posters (Hero) by clicking "ADD LOGO" or "ADD POSTER" and uploading images. You can edit or delete each image.
Step 3 – Delivery: add one or more delivery types (IPTV, IPTV-OOB, OTT, DVB-S/DVB-S2, QAM, DTT). For each one, set the Instance ID, Playback URL, Video Resolution Type, DRM Type and any flags such as DRM Free or Low Latency Available. Use "FINISH" to create the channel.
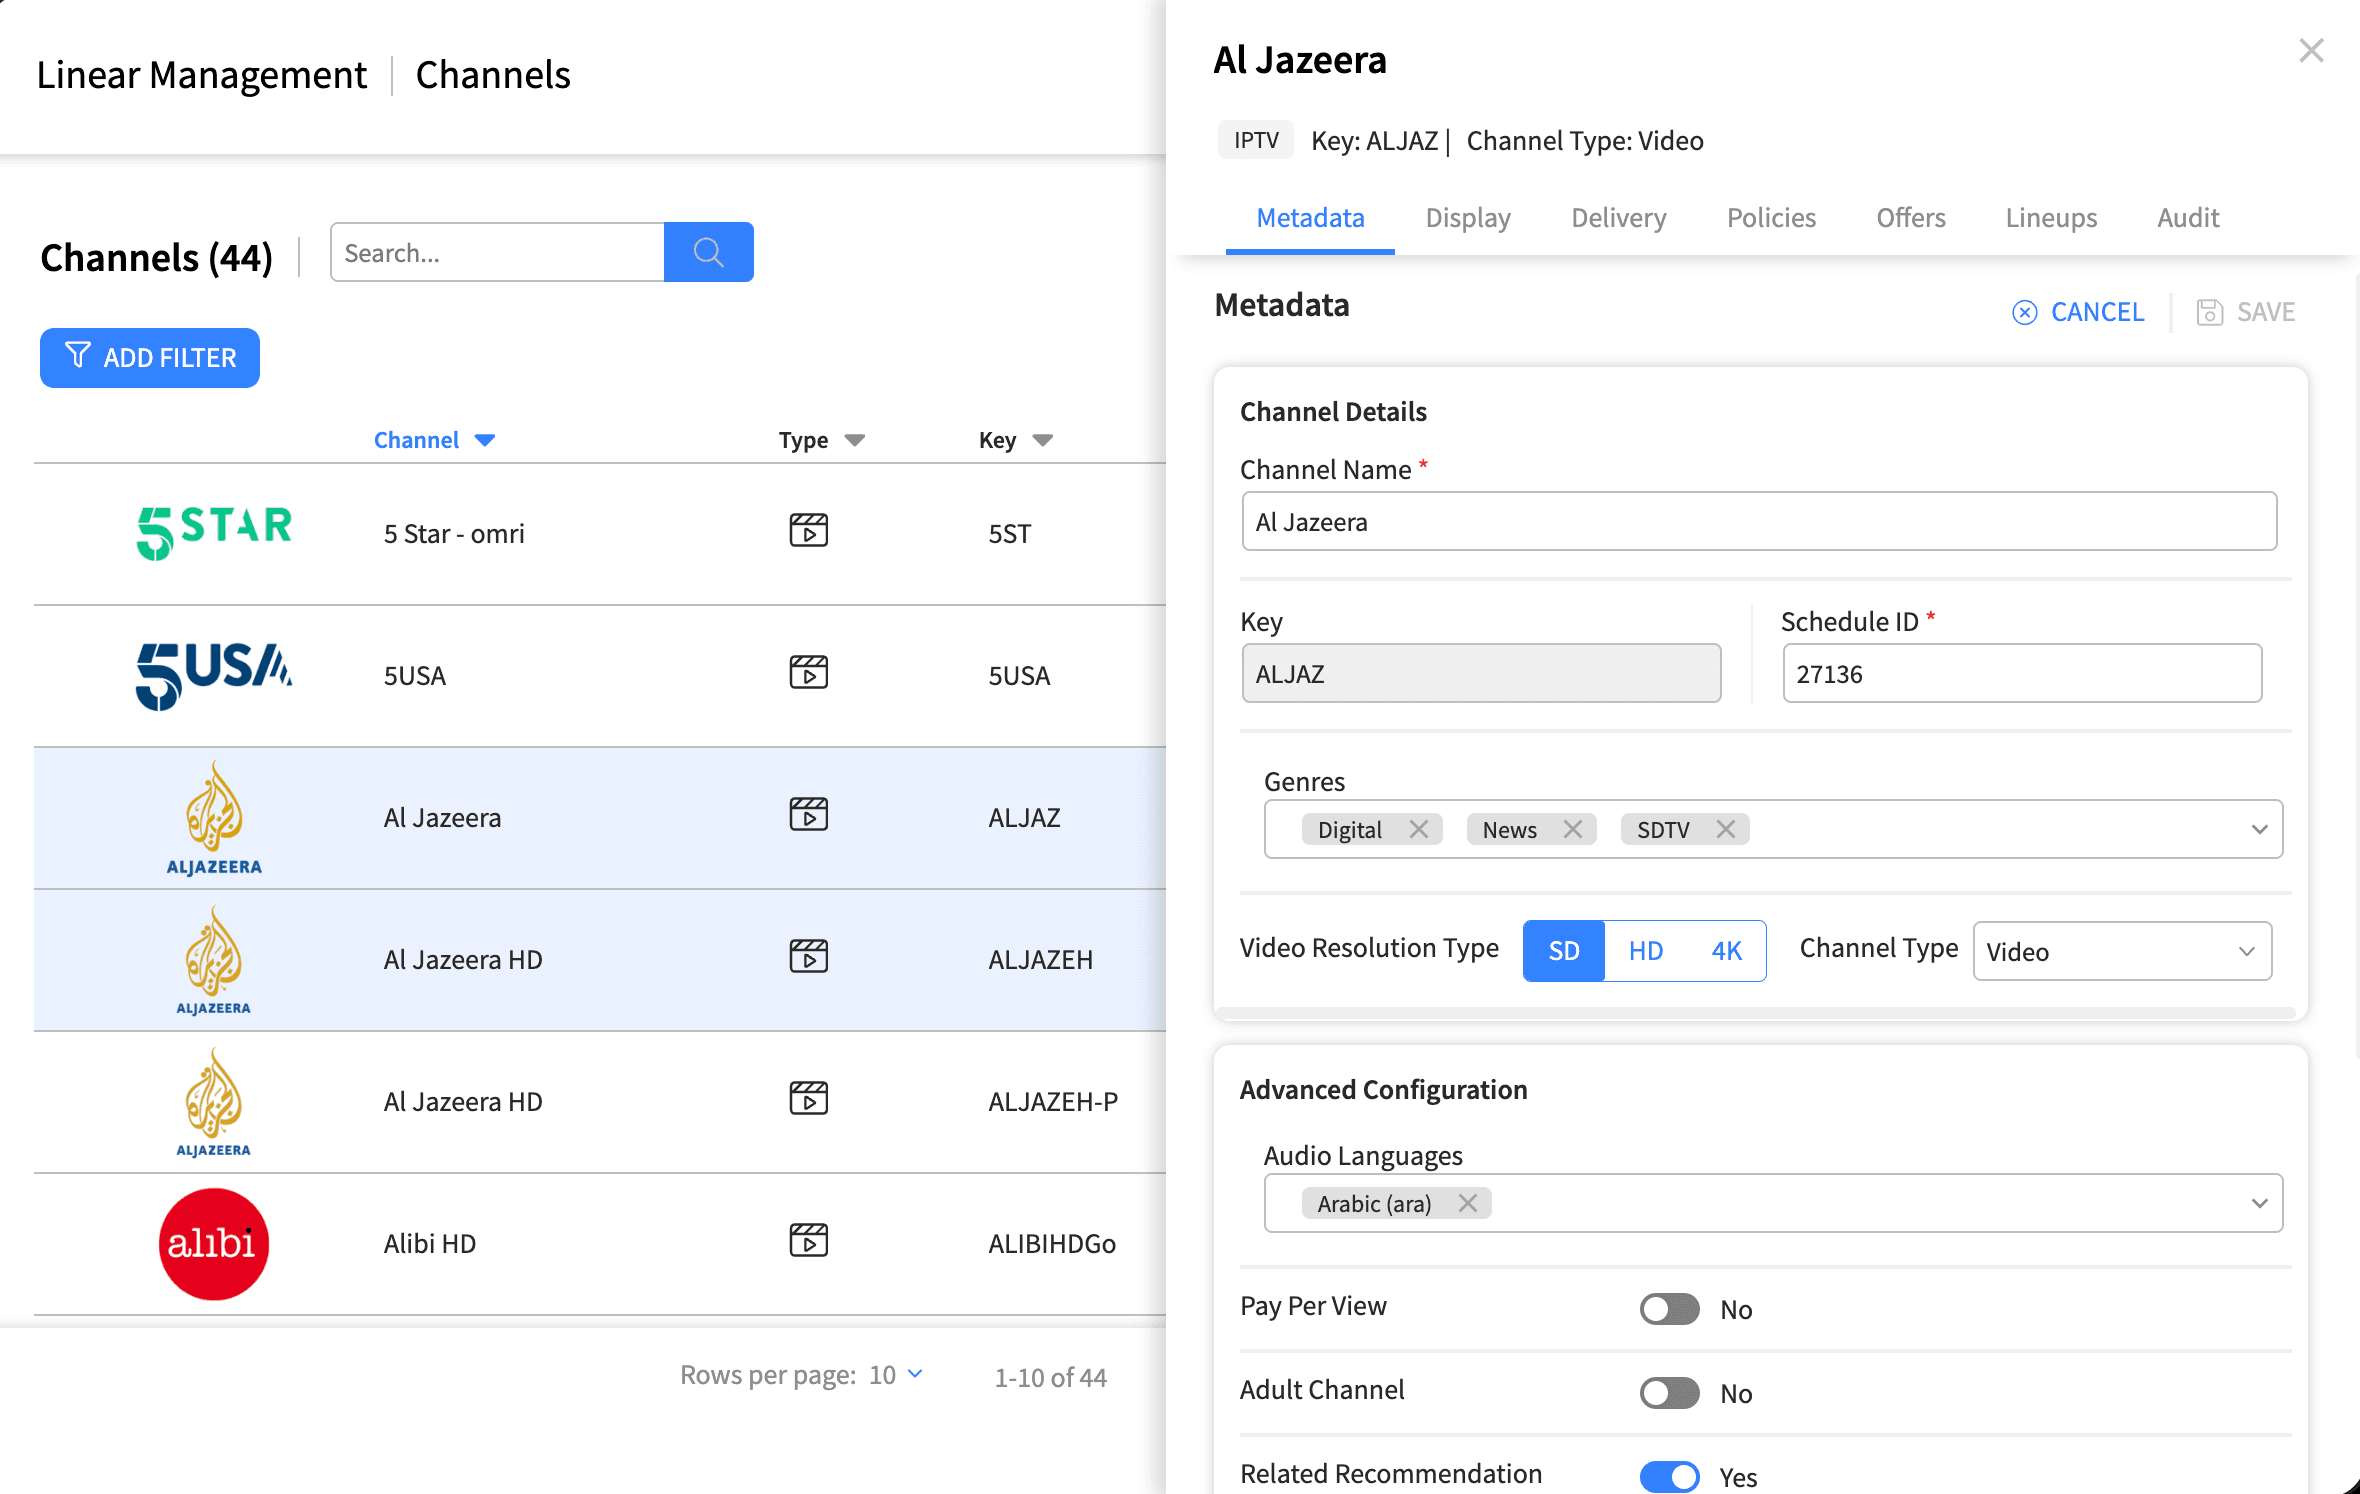
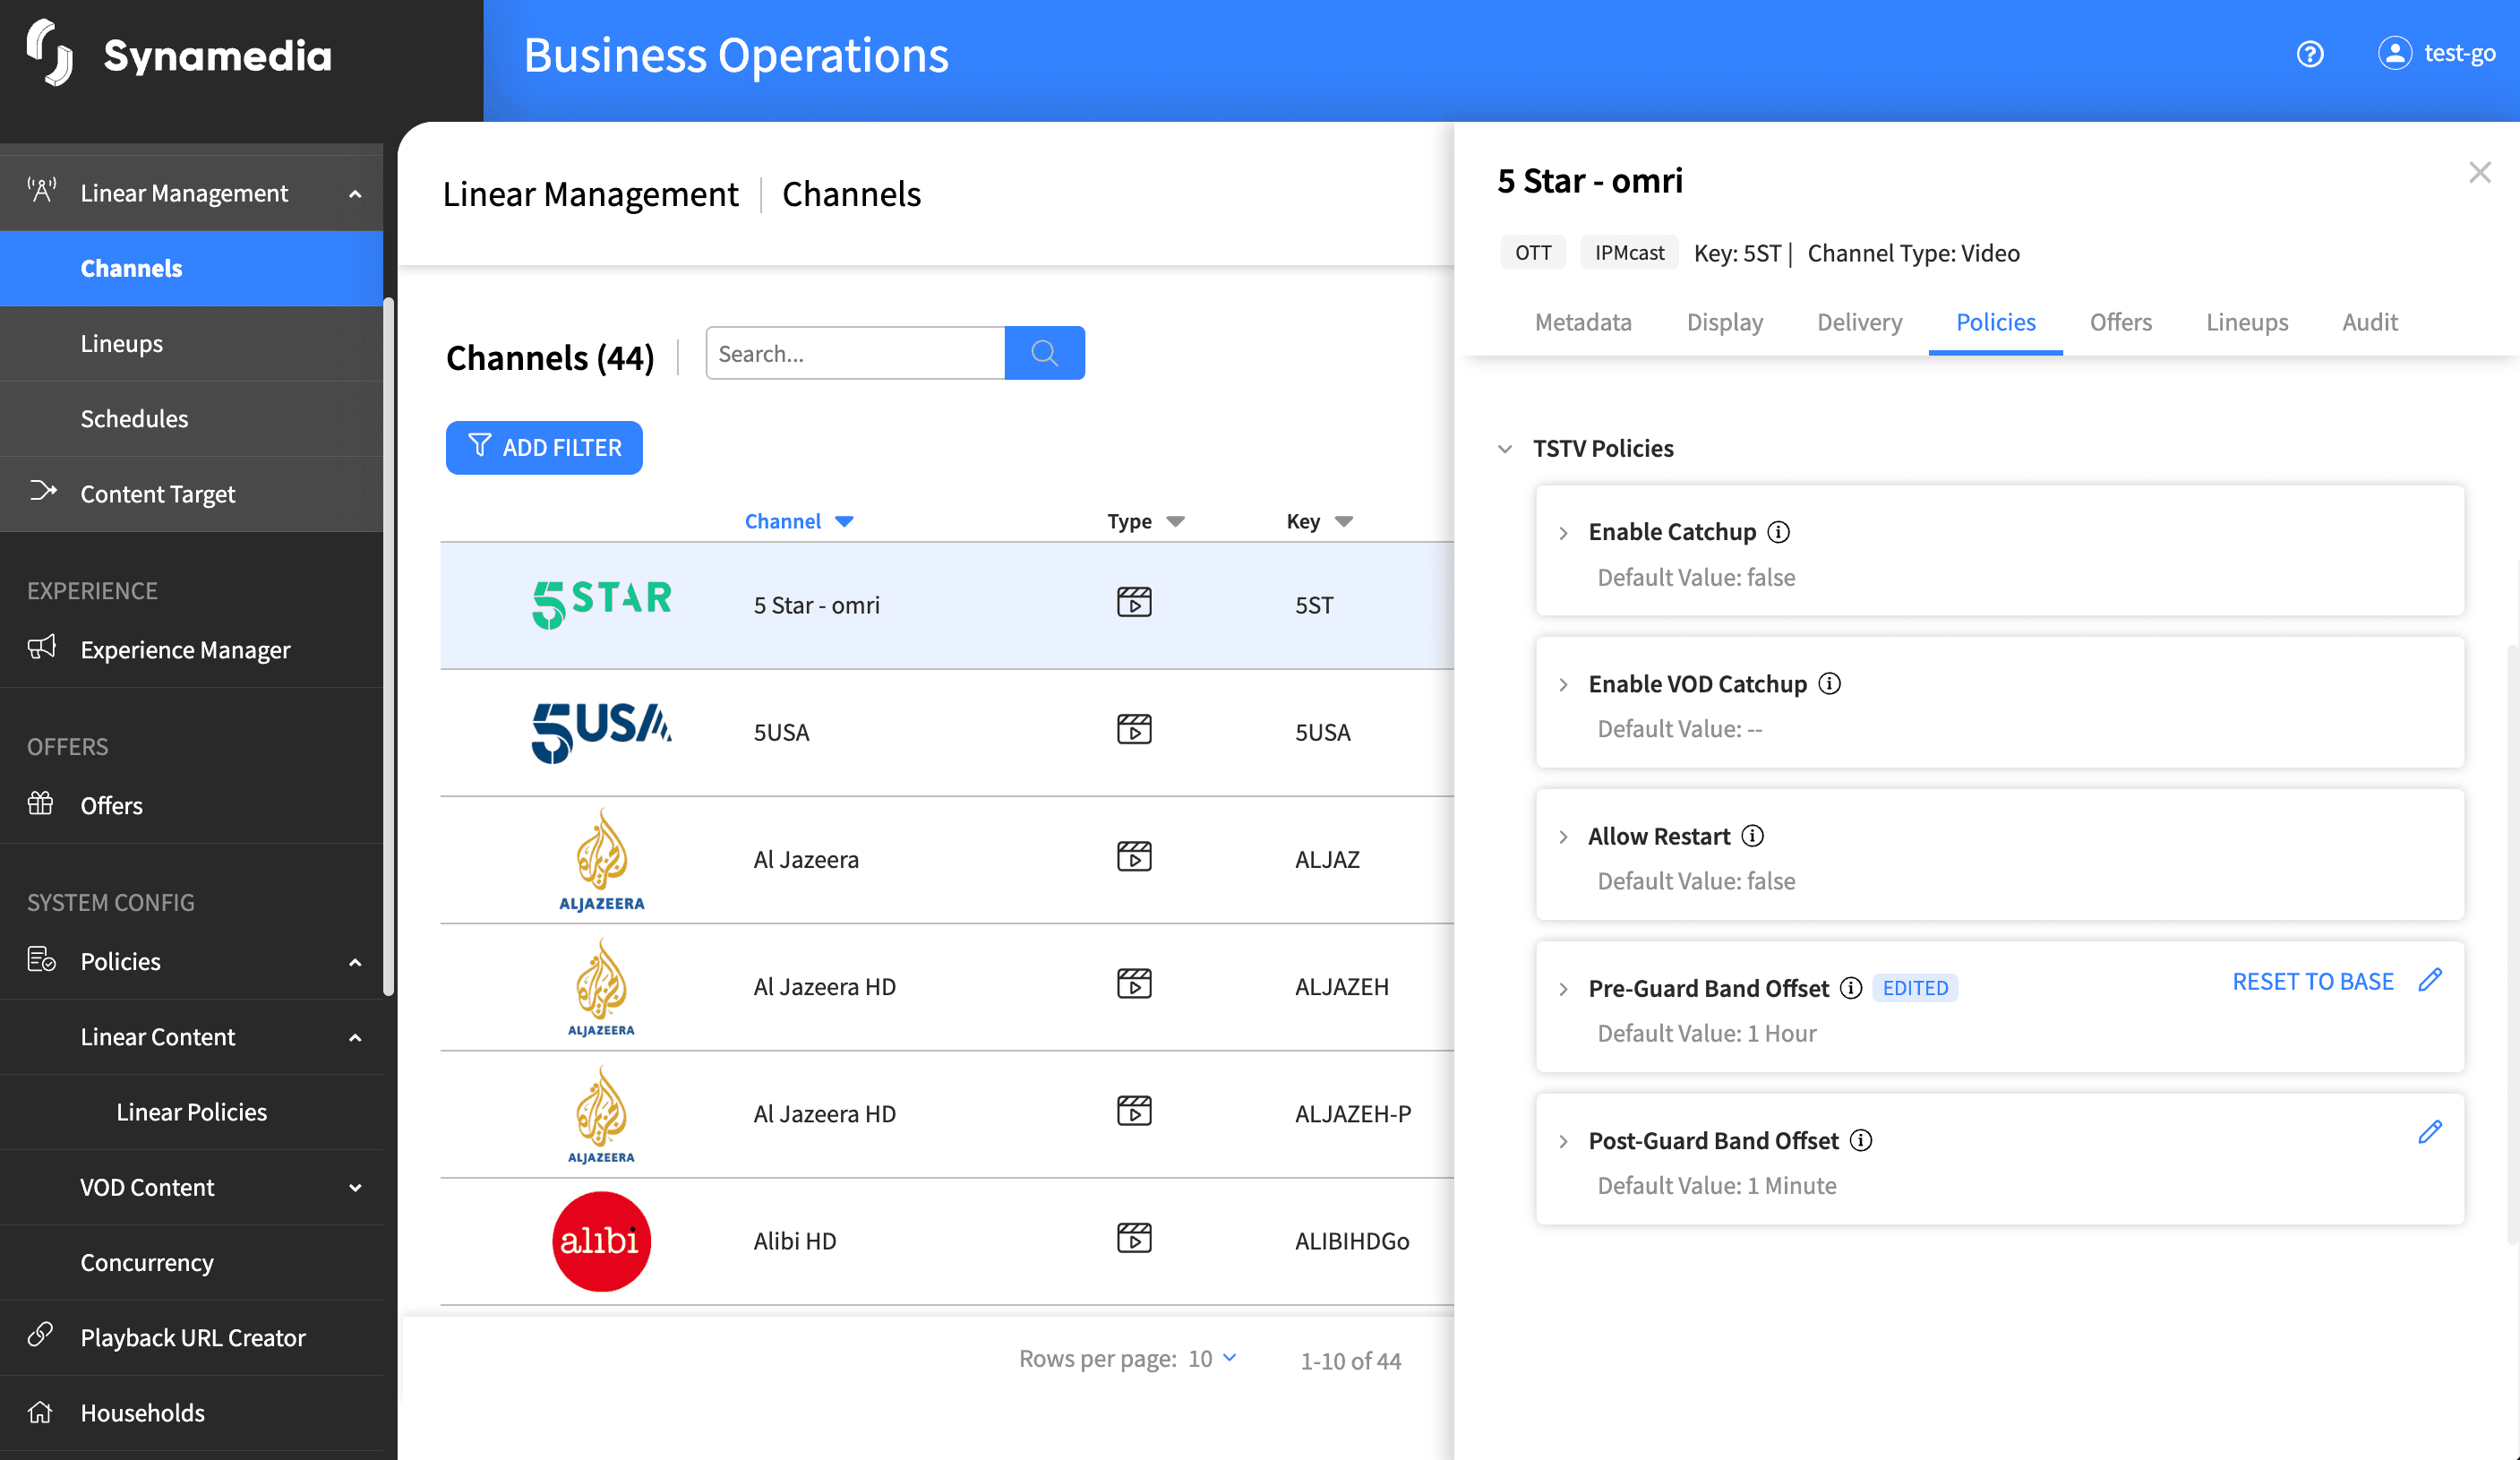
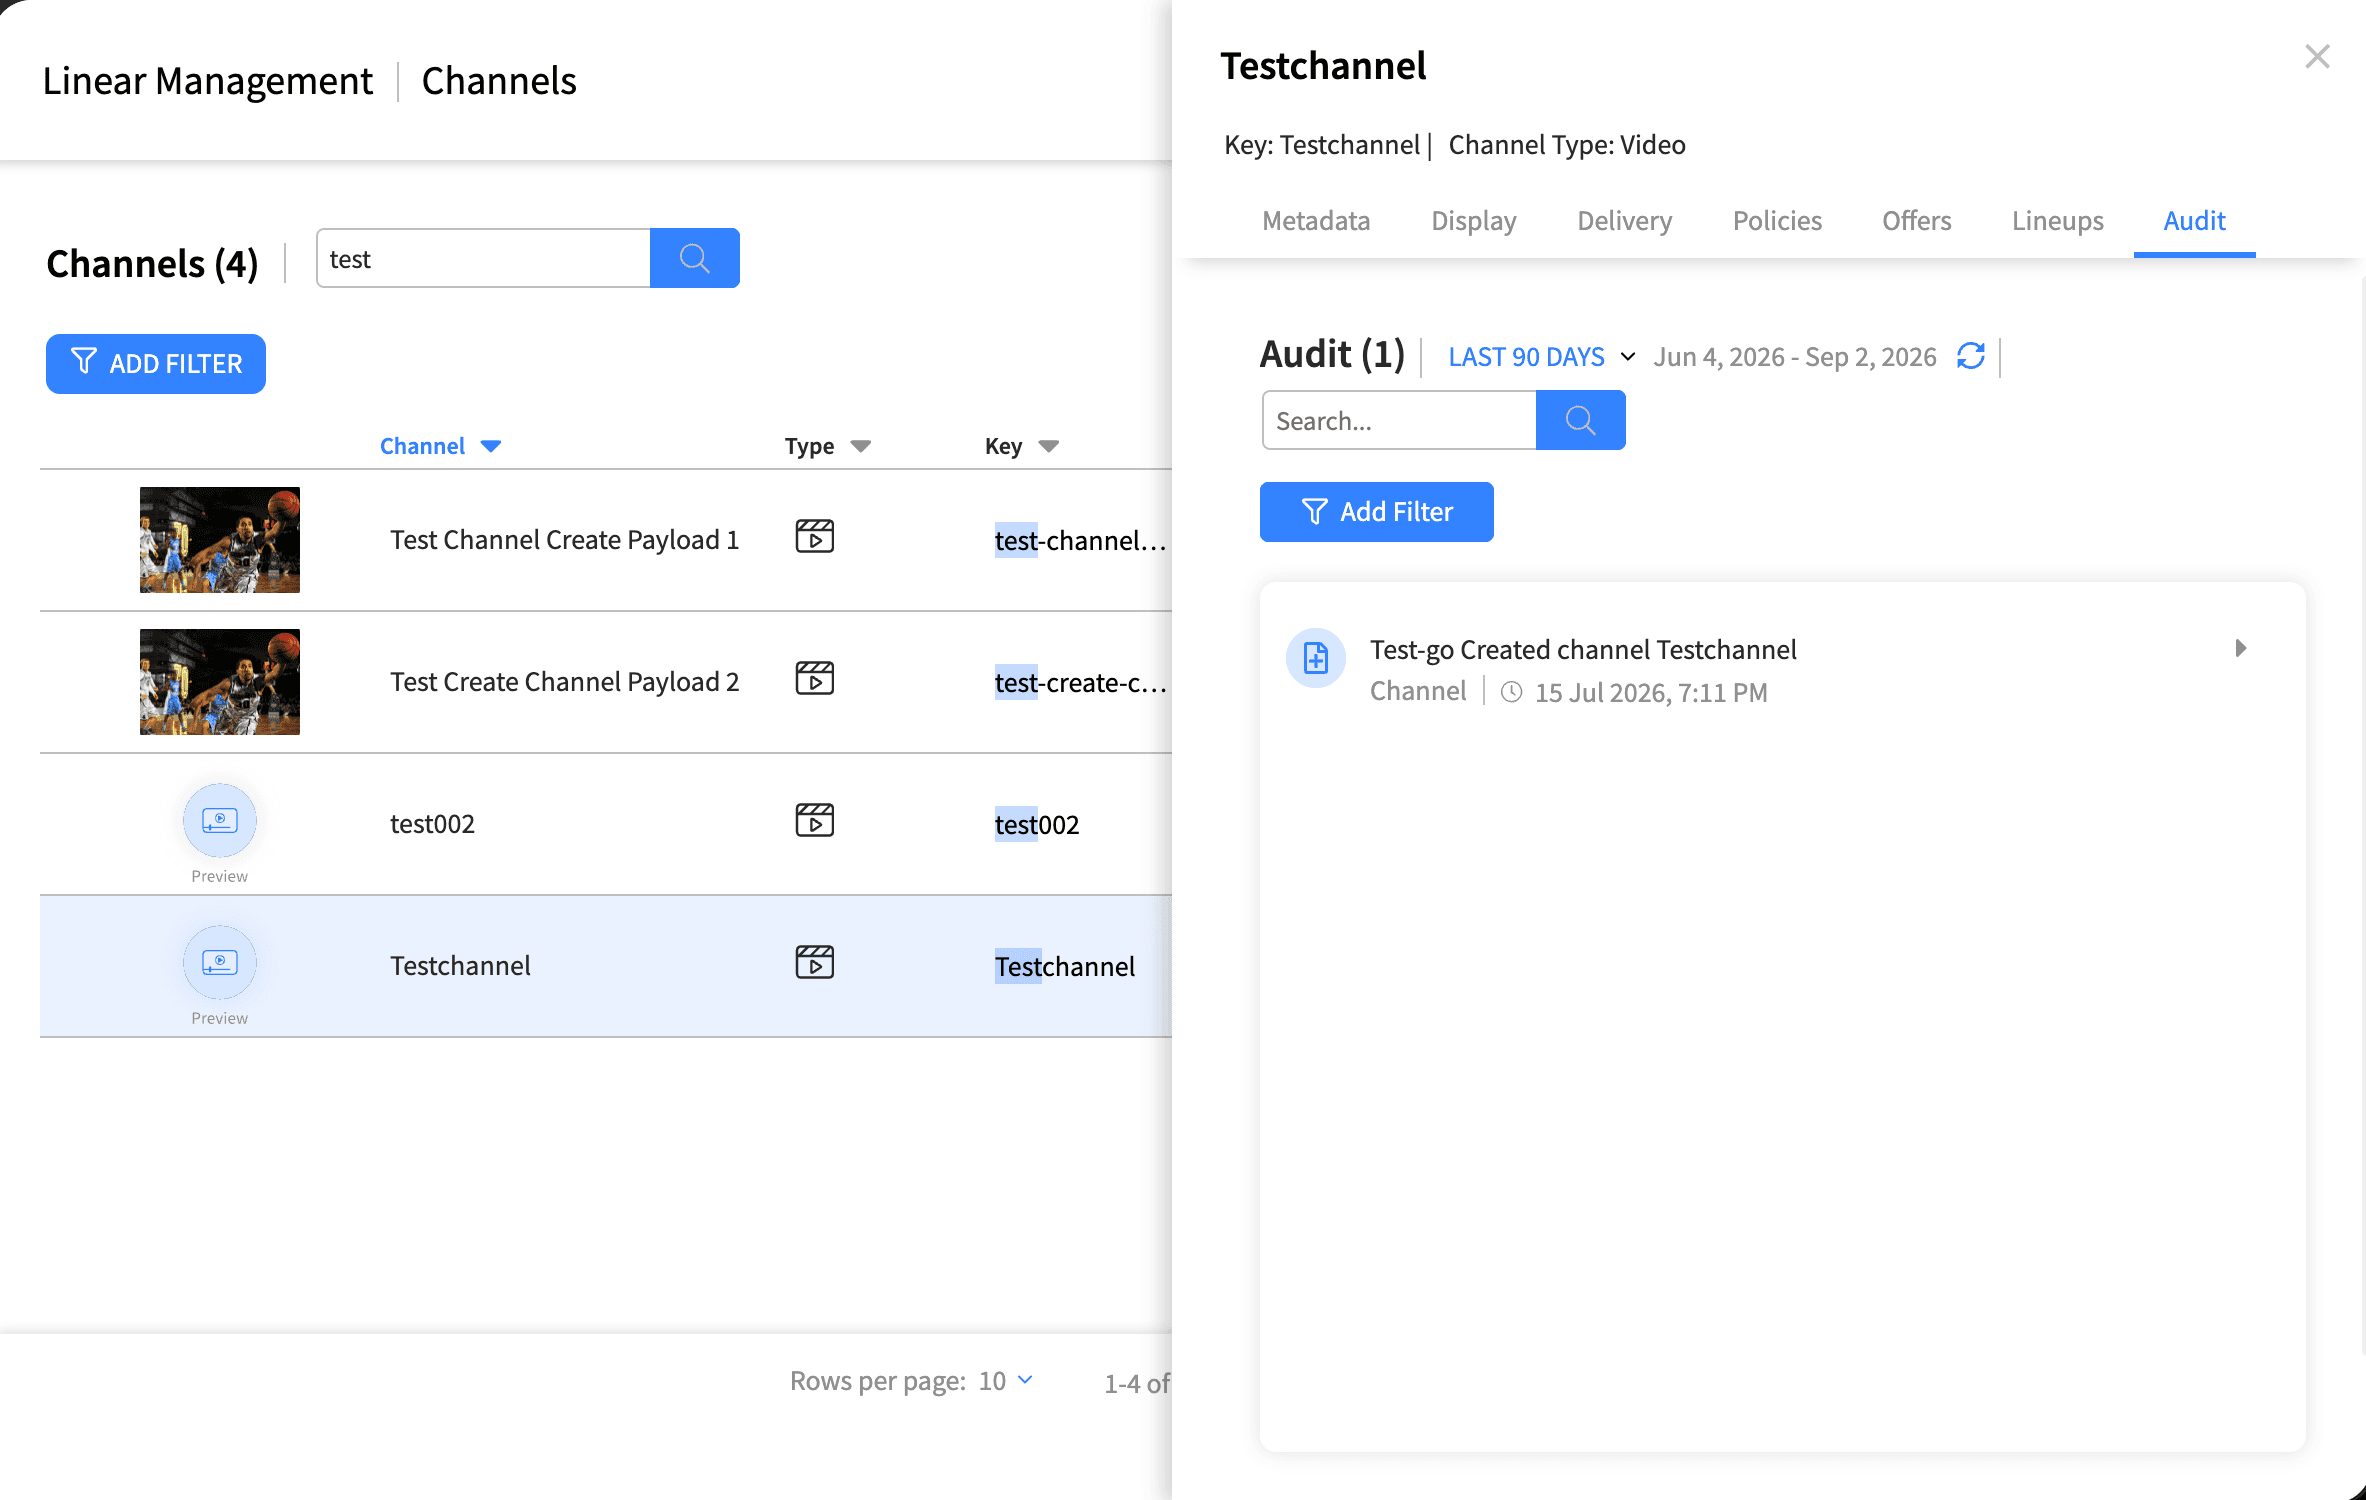
Click a channel row to open a side drawer with tabs: Metadata, Display, Delivery, Policies, Offers, Lineups and Audit.
The Metadata, Display and Delivery tabs let you review and (with the right permission) edit the channel's details.
The Policies tab shows catch-up, restart and recording settings, which can also be overridden at the channel level, subject to user permissions.
The Offers tab shows associated subscription offers. The operator can manage limited and full-time offer subscriptions from here. The Lineups tab shows which lineups contain the channel
The Audit tab shows its change history. Remember the Channel Key cannot be changed after creation.
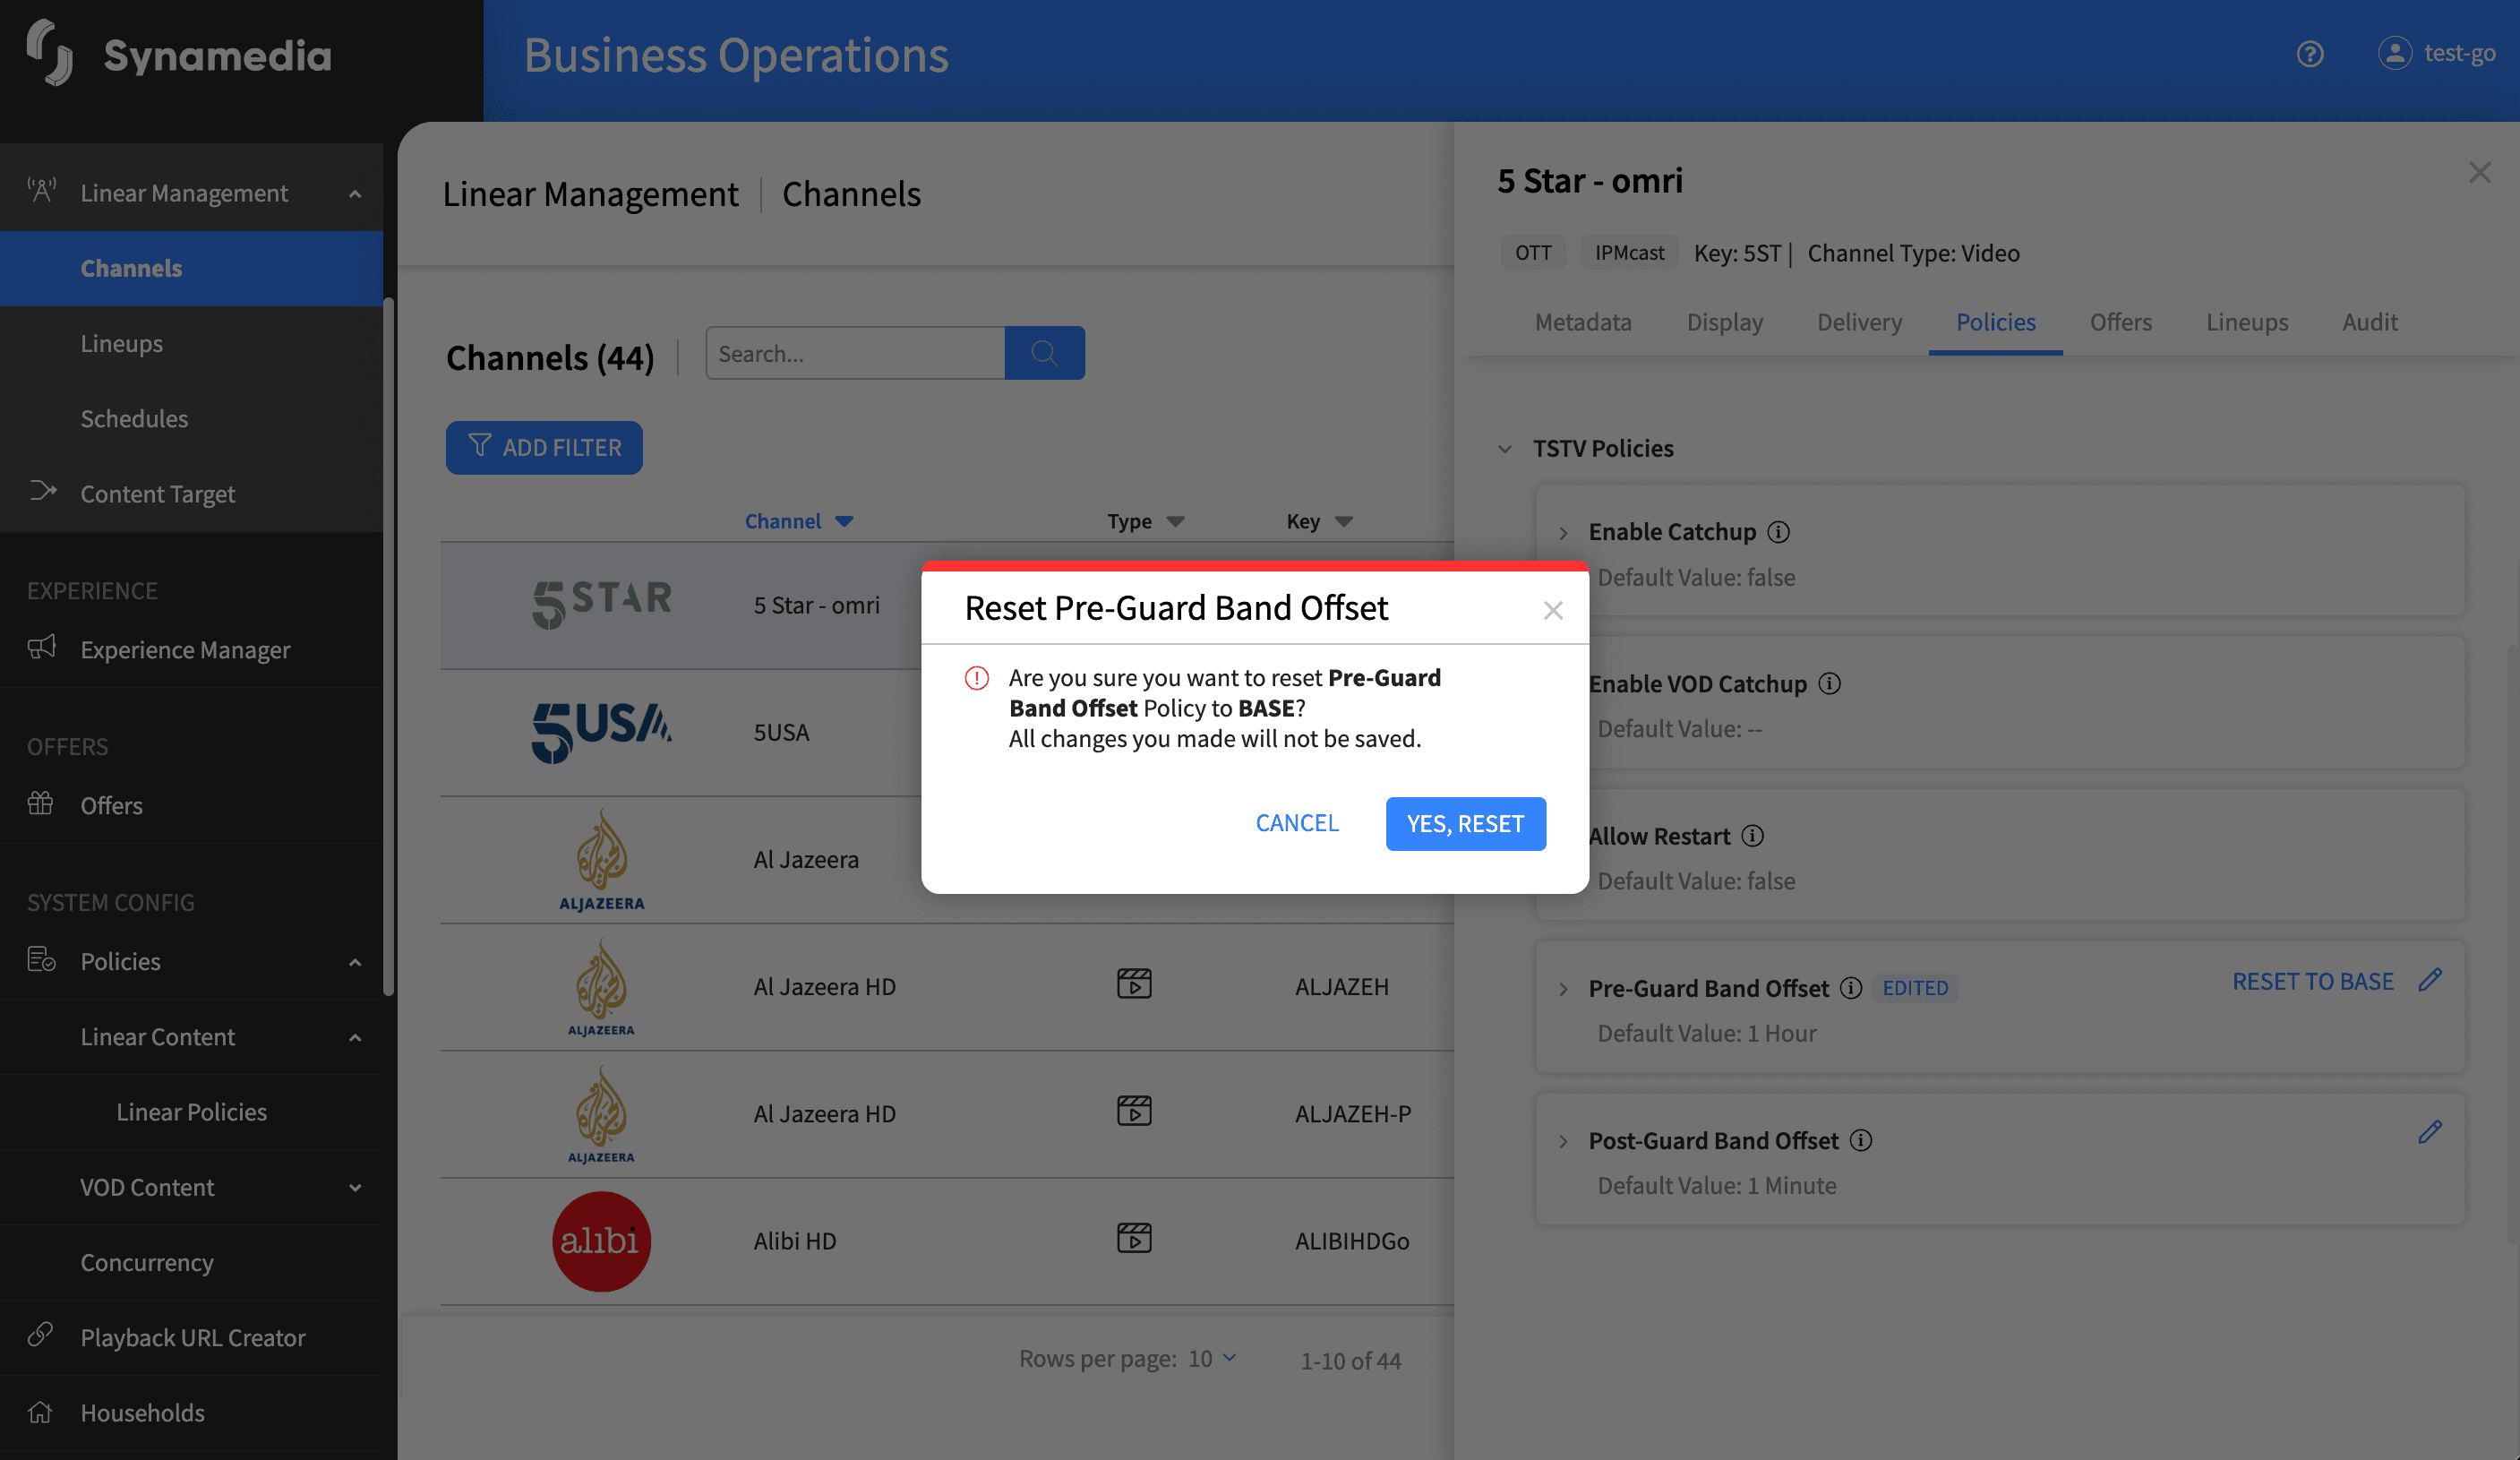
To discard your customisations and return a policy to its fallback value, click "RESET TO BASE" on the policy. A confirmation dialog titled "Reset {policy name}" warns that all changes you made will not be saved. Confirm with "Yes, Reset". Where available, "RESET ALL TO BASE" resets every policy at once.
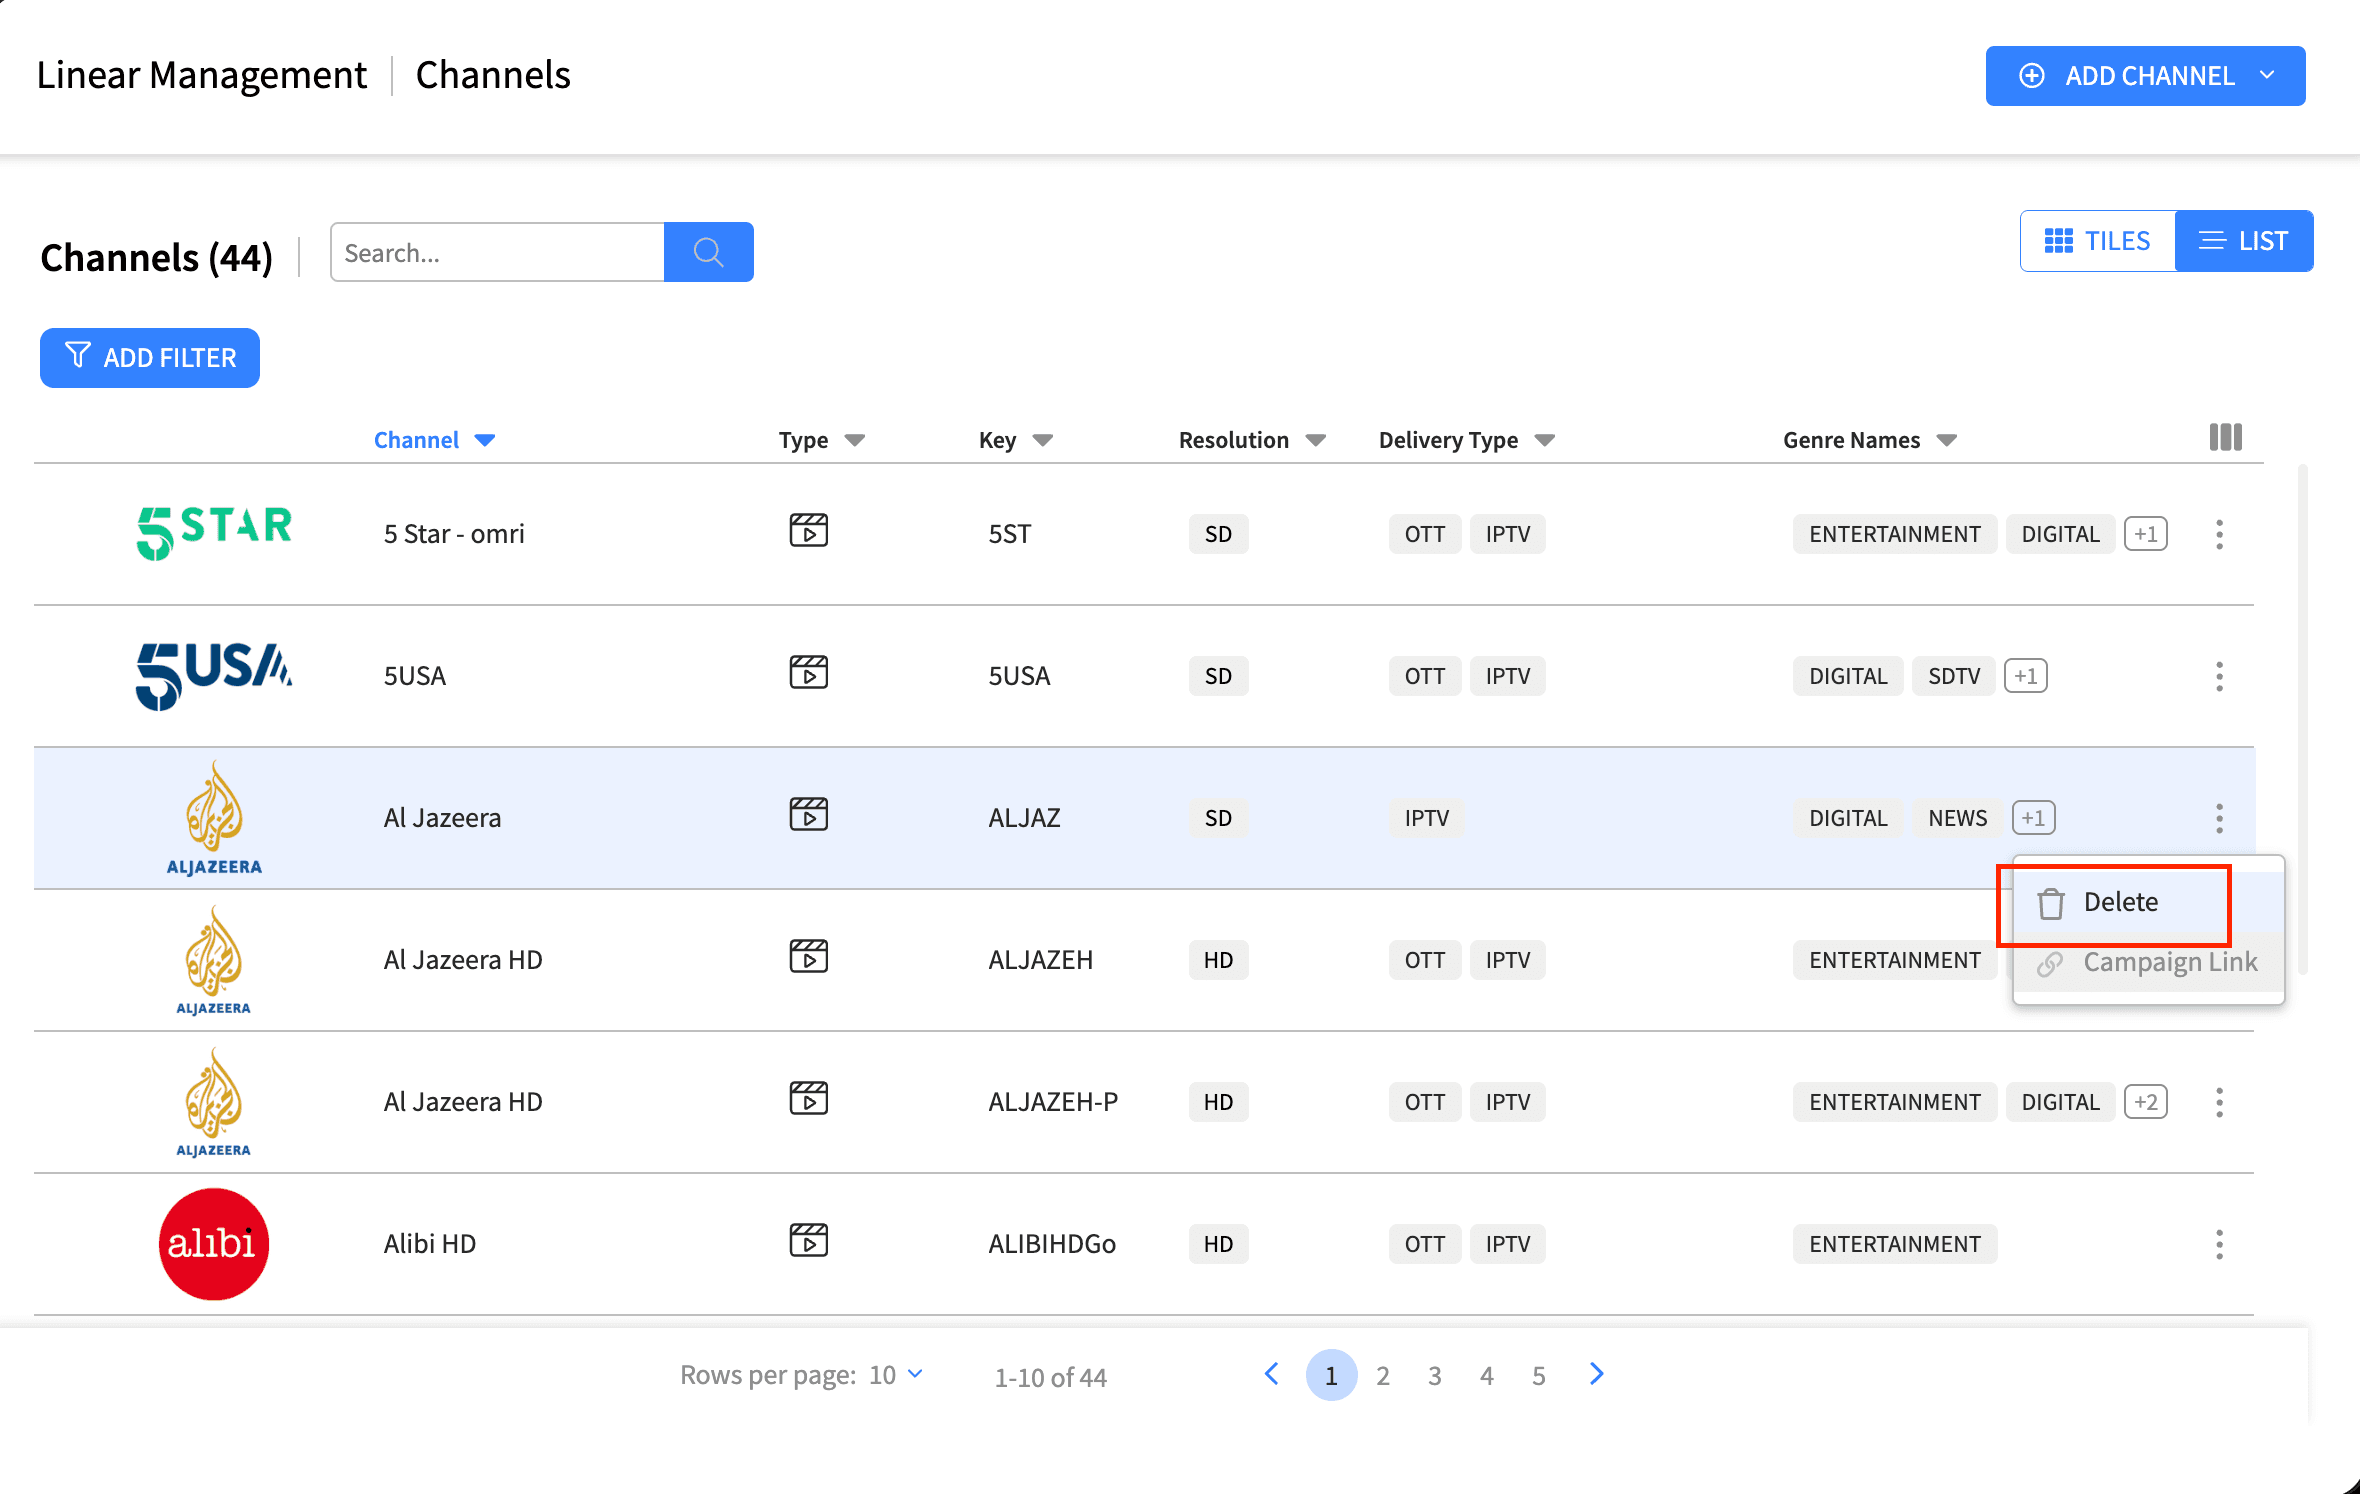
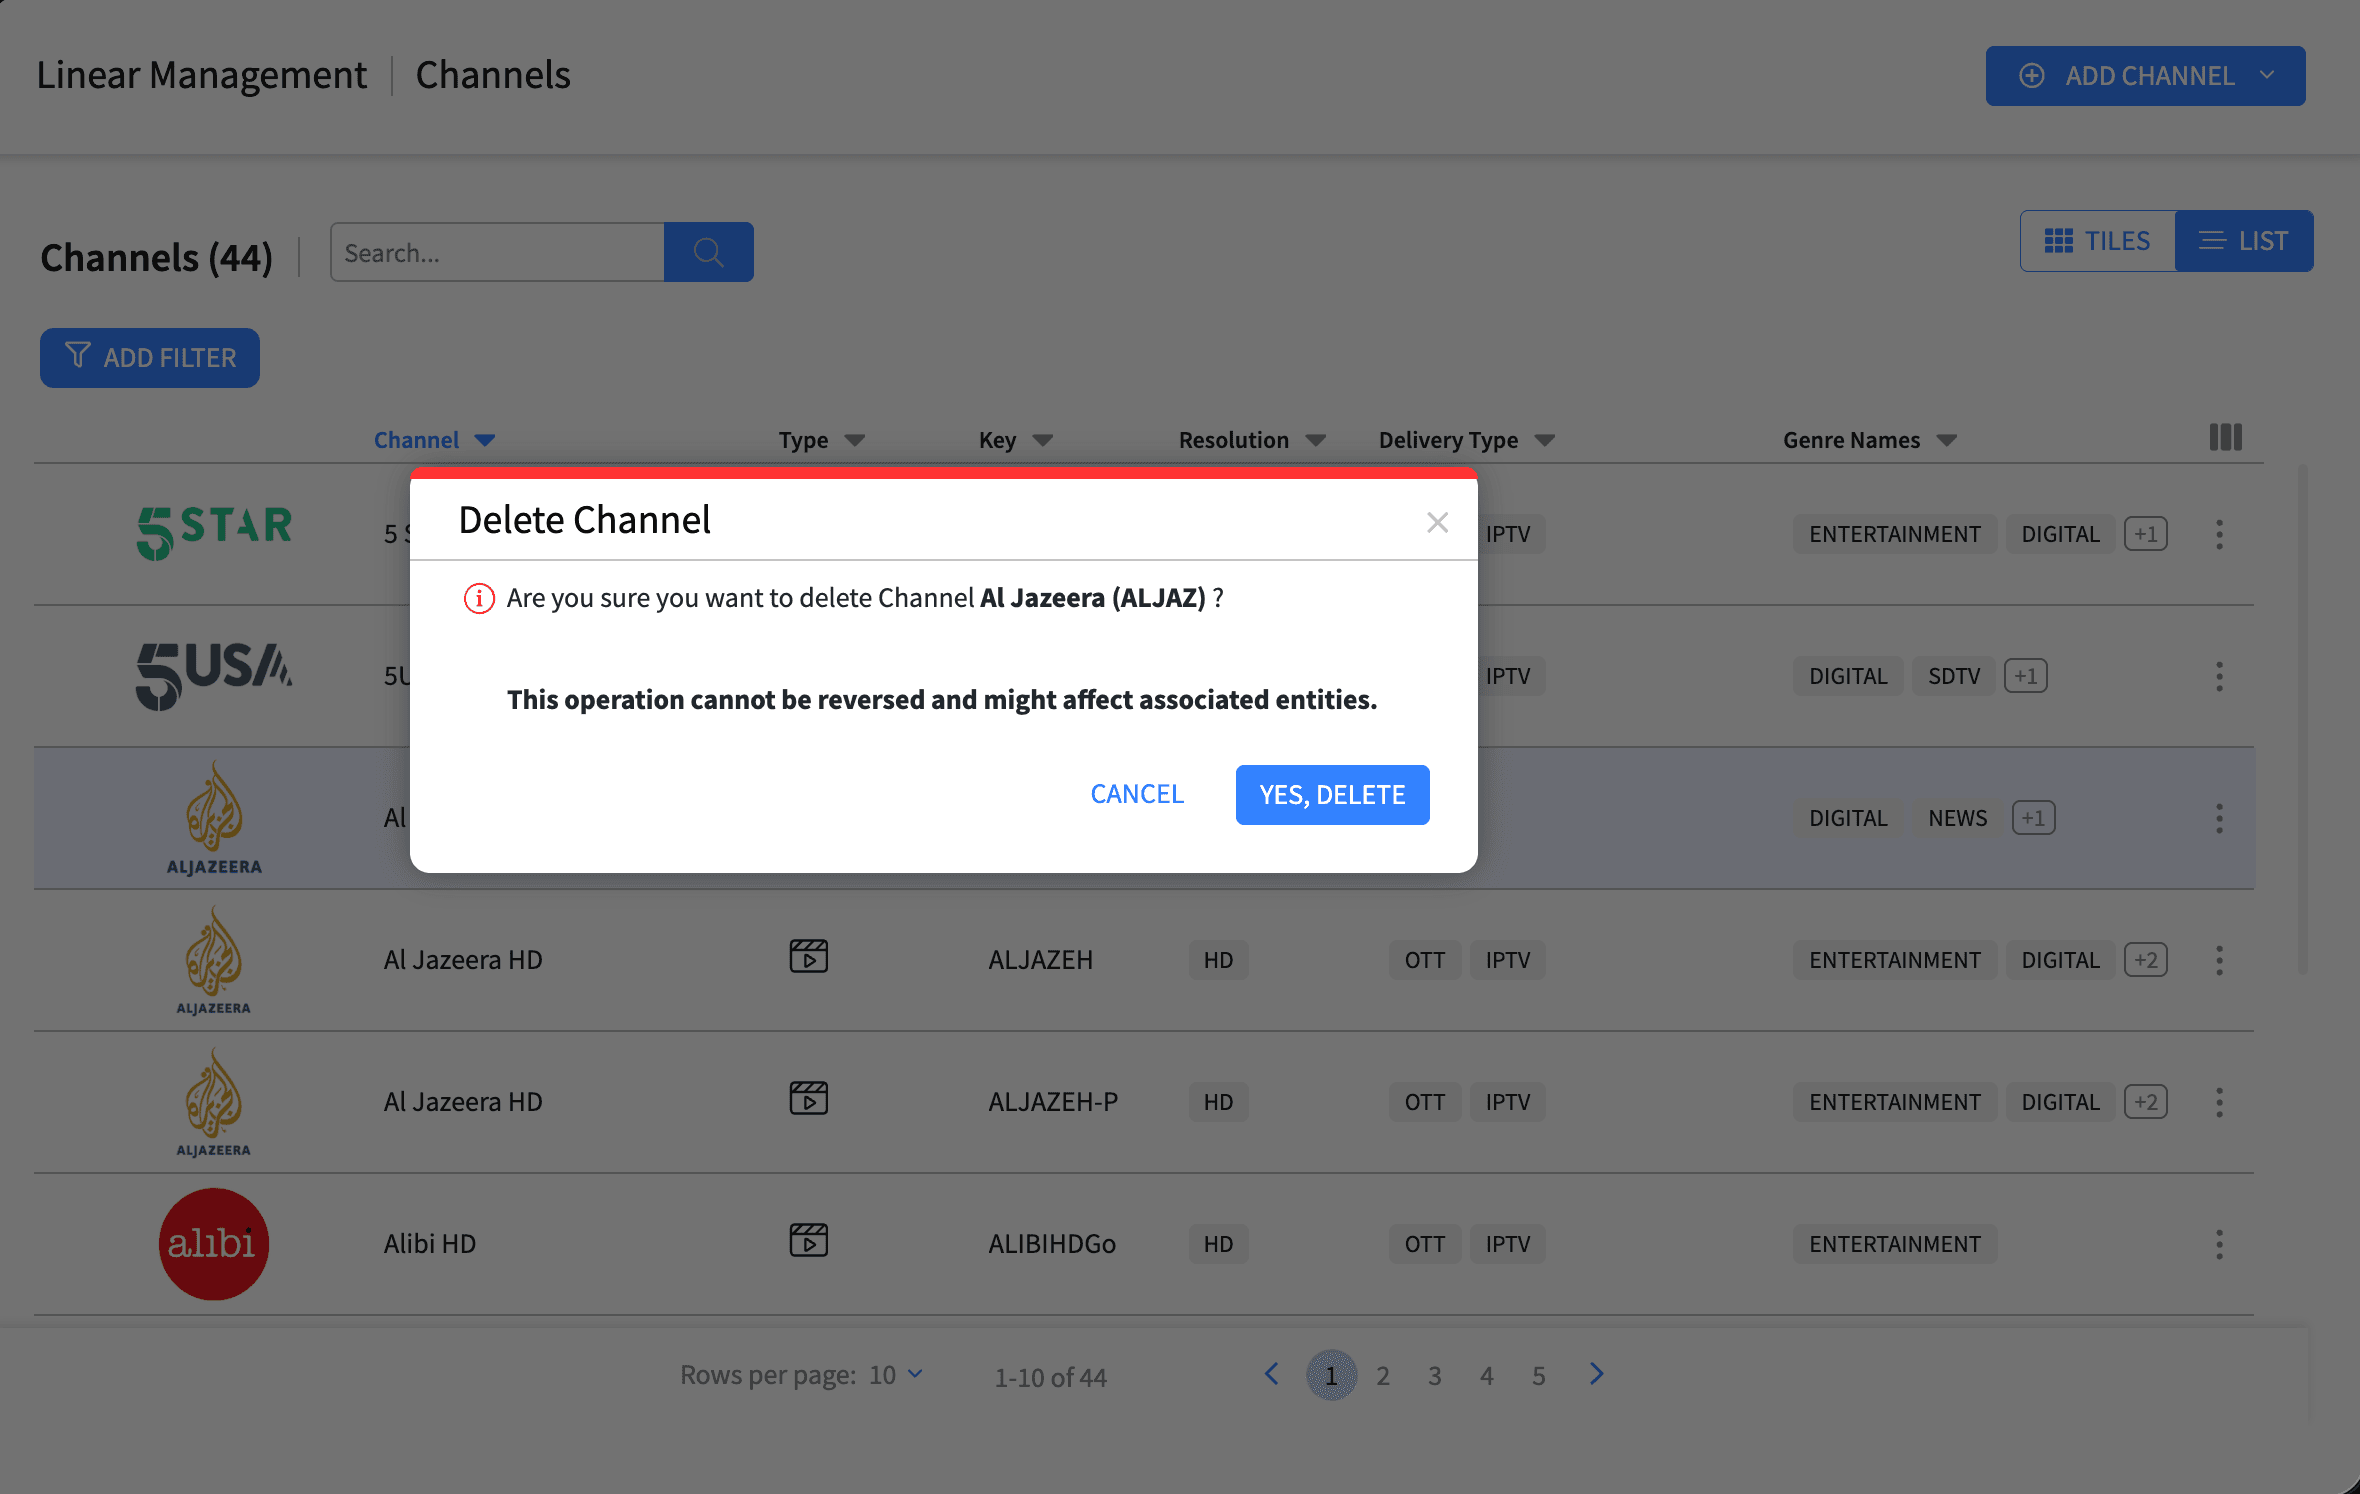
Open the row action menu and choose Delete. A confirmation dialog titled "Delete Channel" appears, asking you to confirm deletion of the named channel and, if the channel is in any lineups, listing the lineups it will be removed from. It warns that the operation cannot be reversed and might affect associated entities. Click "Yes, Delete" to confirm. A success message confirms the channel was deleted.
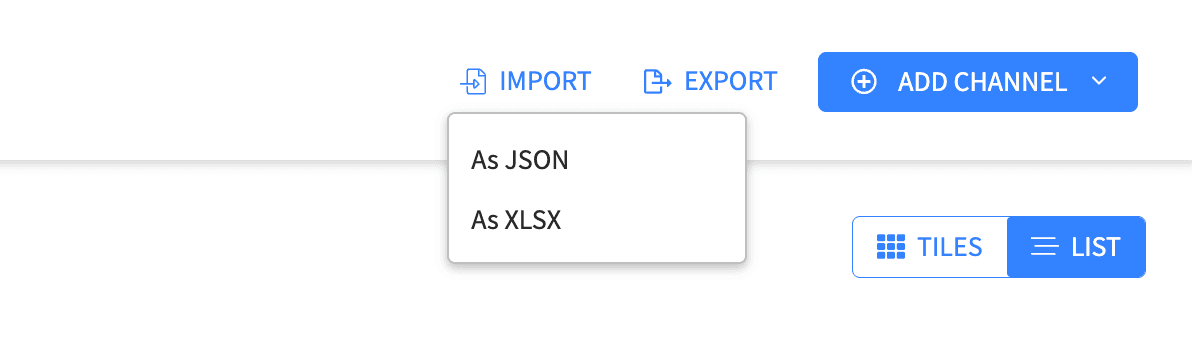
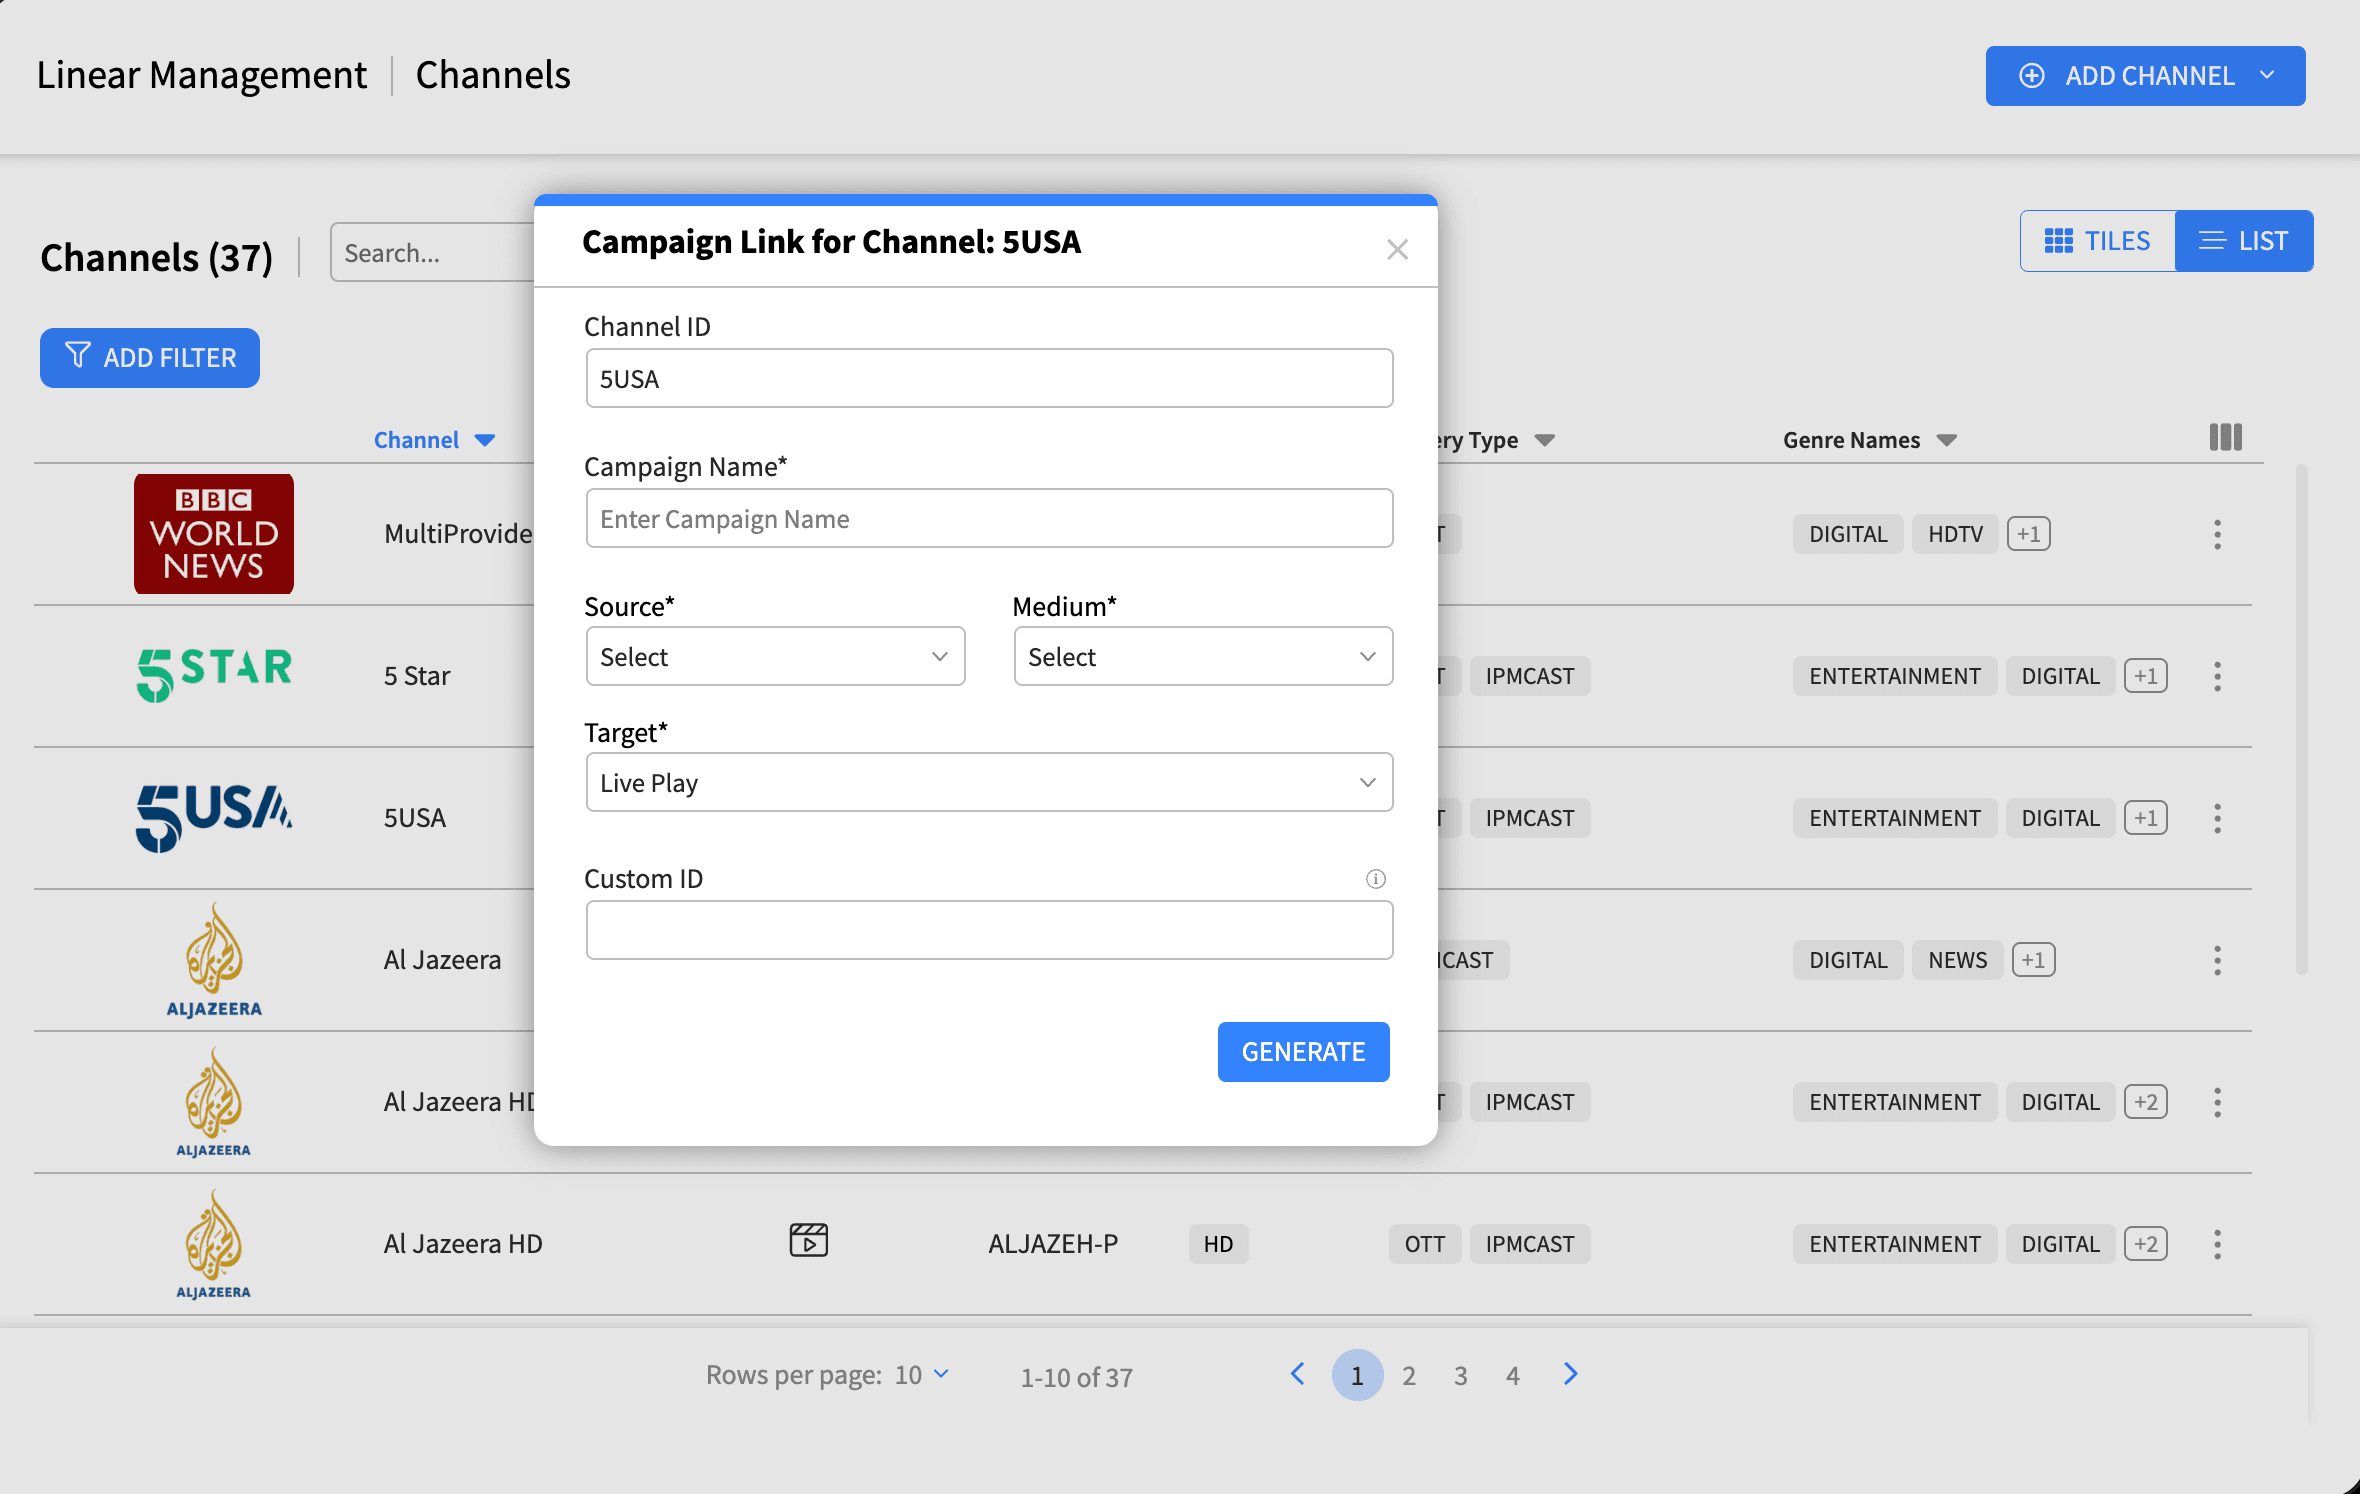
Where enabled, you can import channels from a JSON or XLSX file and export all channels to JSON or XLSX using the Import and Export buttons. Where deep linking is enabled, the Campaign Link row action generates a shareable link for a channel.
Open a channel and select the Audit tab to see a timeline of who changed the channel and when. Check this before editing to understand recent changes.
Tips and good practice
The Channel Key is permanent once the channel is created, so choose it carefully.
The channel name in your default language is required; translations for other languages are optional.
At least one playable device must be selected before you can move past the metadata step.
Delivery configuration determines how the channel reaches viewers (for example IPTV for set-tops and OTT for apps), so set it up for every way you distribute the channel.
Deleting a channel also removes it from any lineups it belongs to, so review the listed lineups in the confirmation dialog first.
Check the Audit tab before making changes so you understand the channel's recent history.

