


The short video below walks through Applications: browsing the application cards, adding an application through the two-step form, uploading images, editing and deleting an application, and viewing its history.
Applications are the third-party apps you register so they can be shown to and launched by end users. Each application holds its metadata (its ID, name and description per language, and its launch URL) and its display images (logos and artwork). Registered applications appear to users as a curated, branded list.
The module is opened from the sidebar under System Config > 3rd Party > Applications. Applications are shown as a grid of cards.
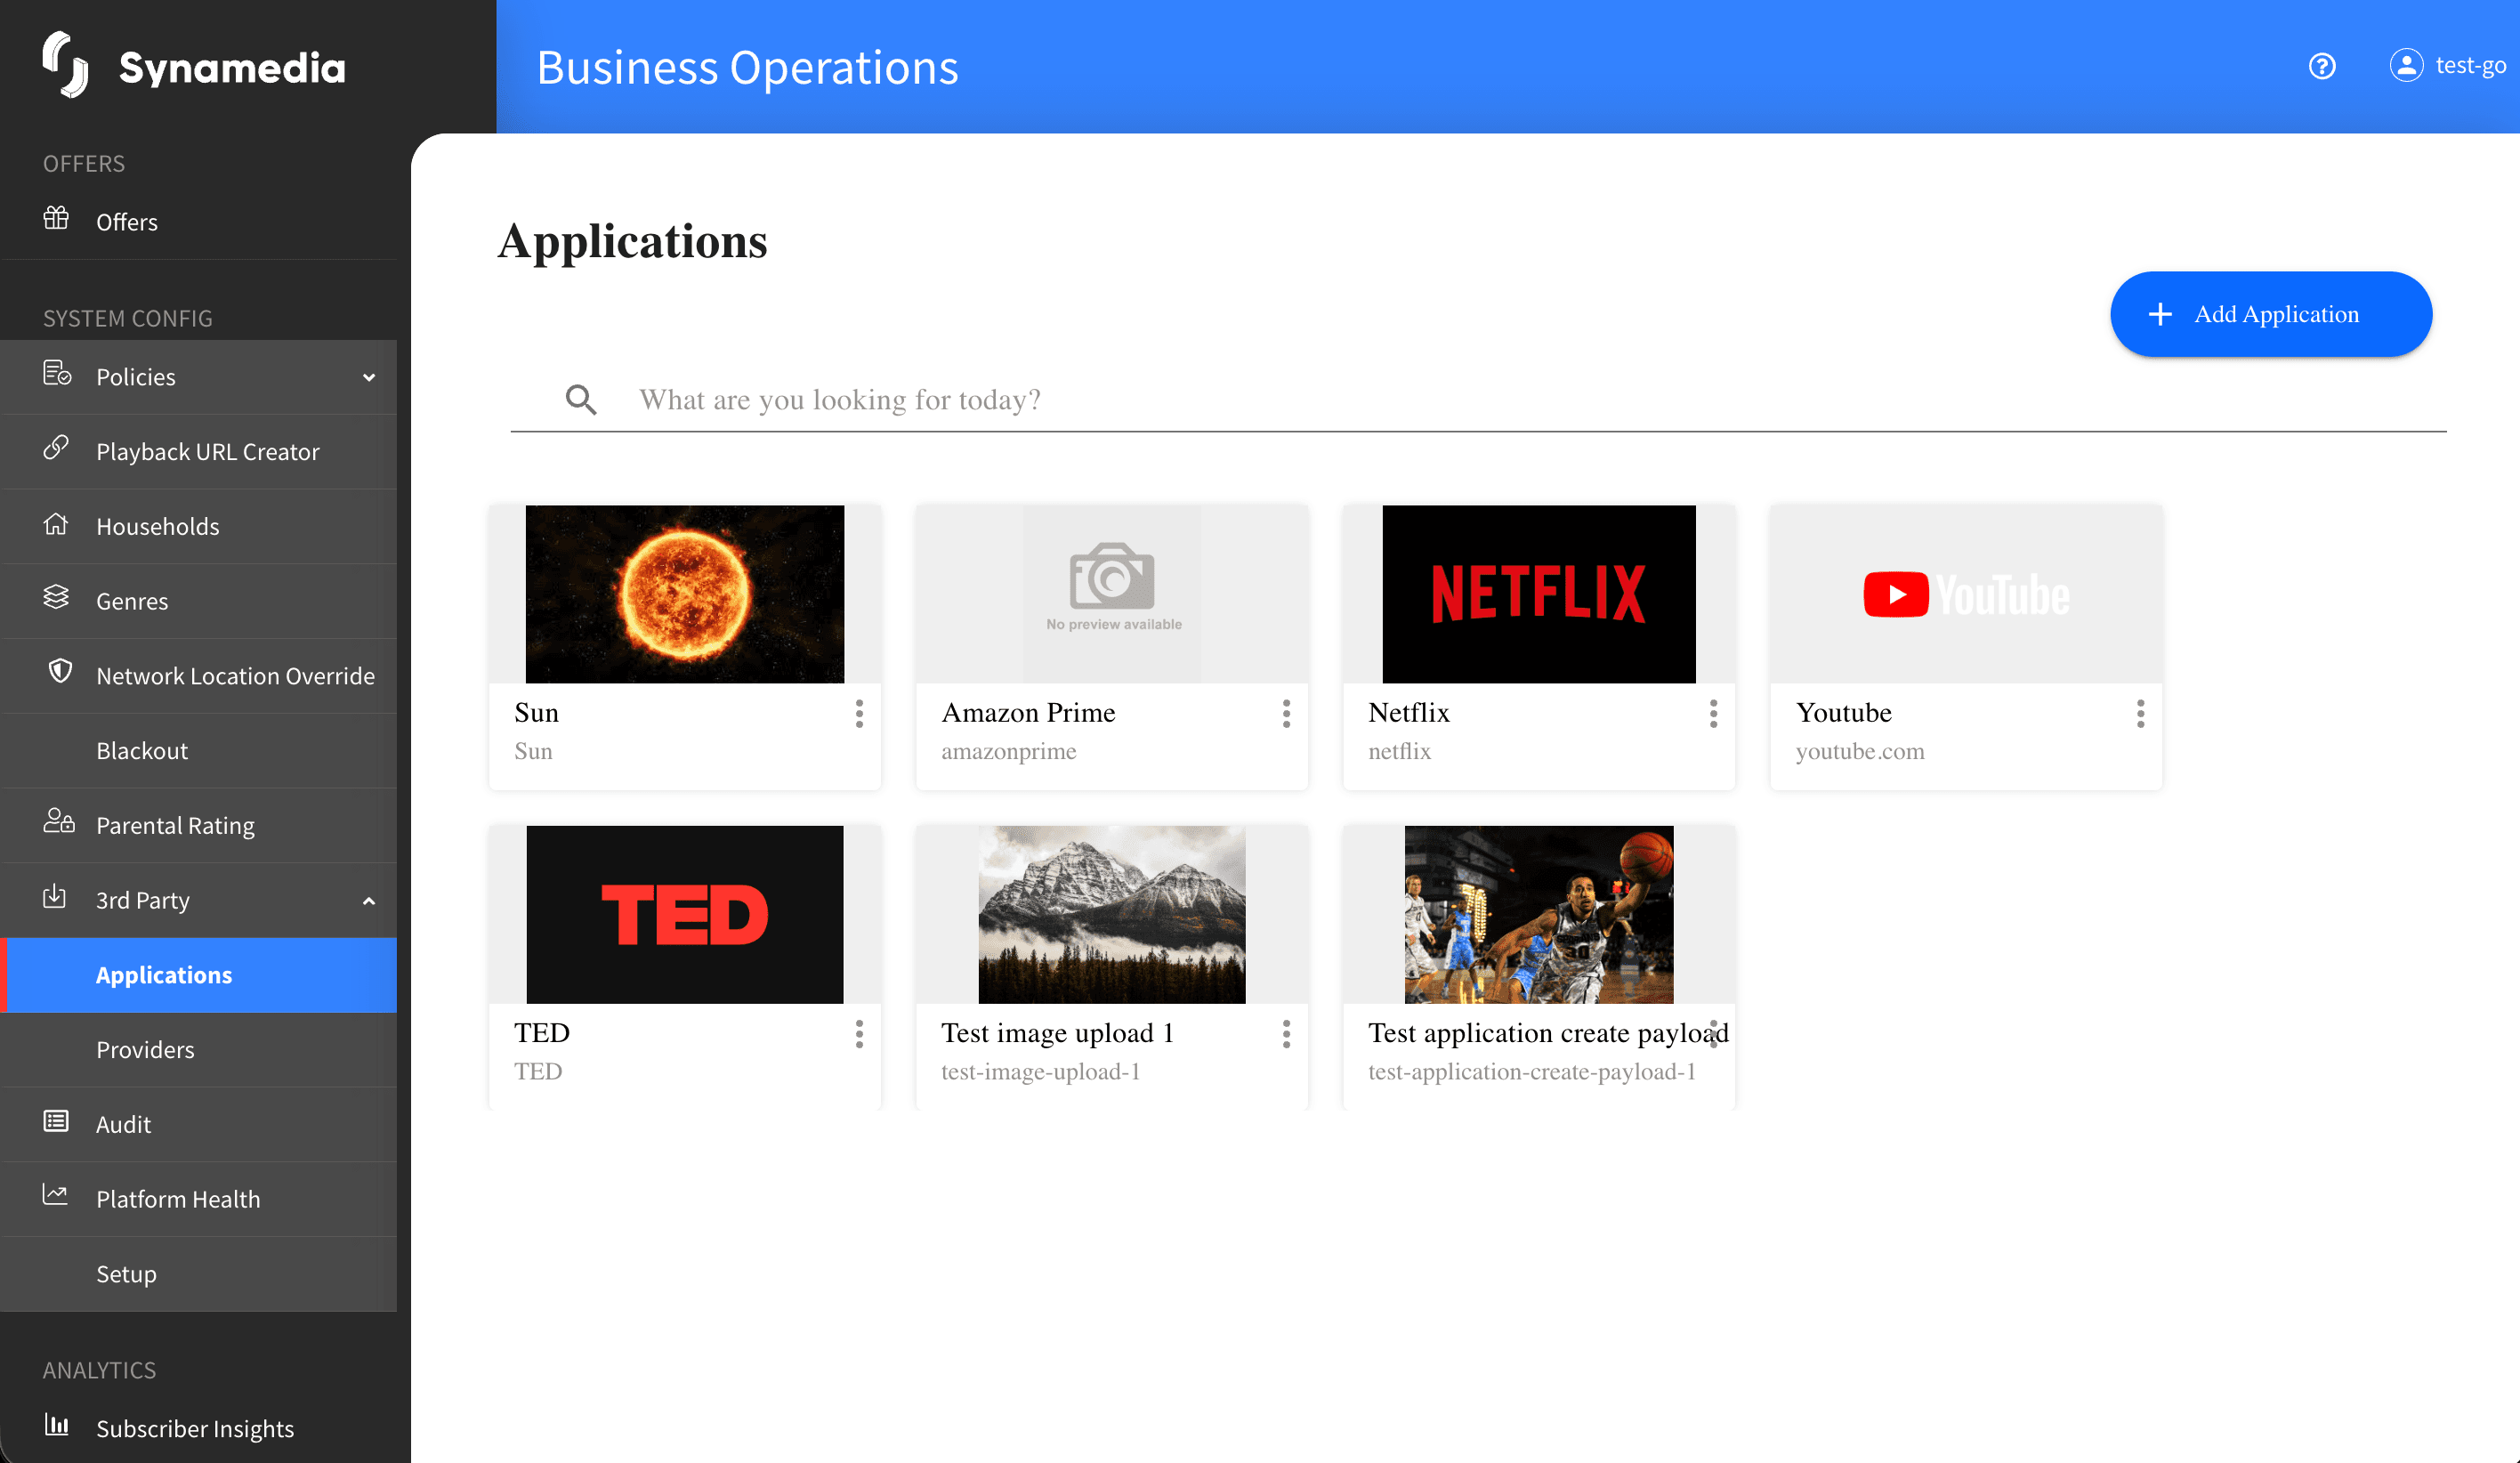
Each card shows the application's logo (or its name on a coloured background where there is no image), the application name, and the application ID. Applications brought in from the Metro service show a "METRO" badge and are read-only, so they cannot be edited or deleted. Use the search box to filter cards by application ID or name in real time.
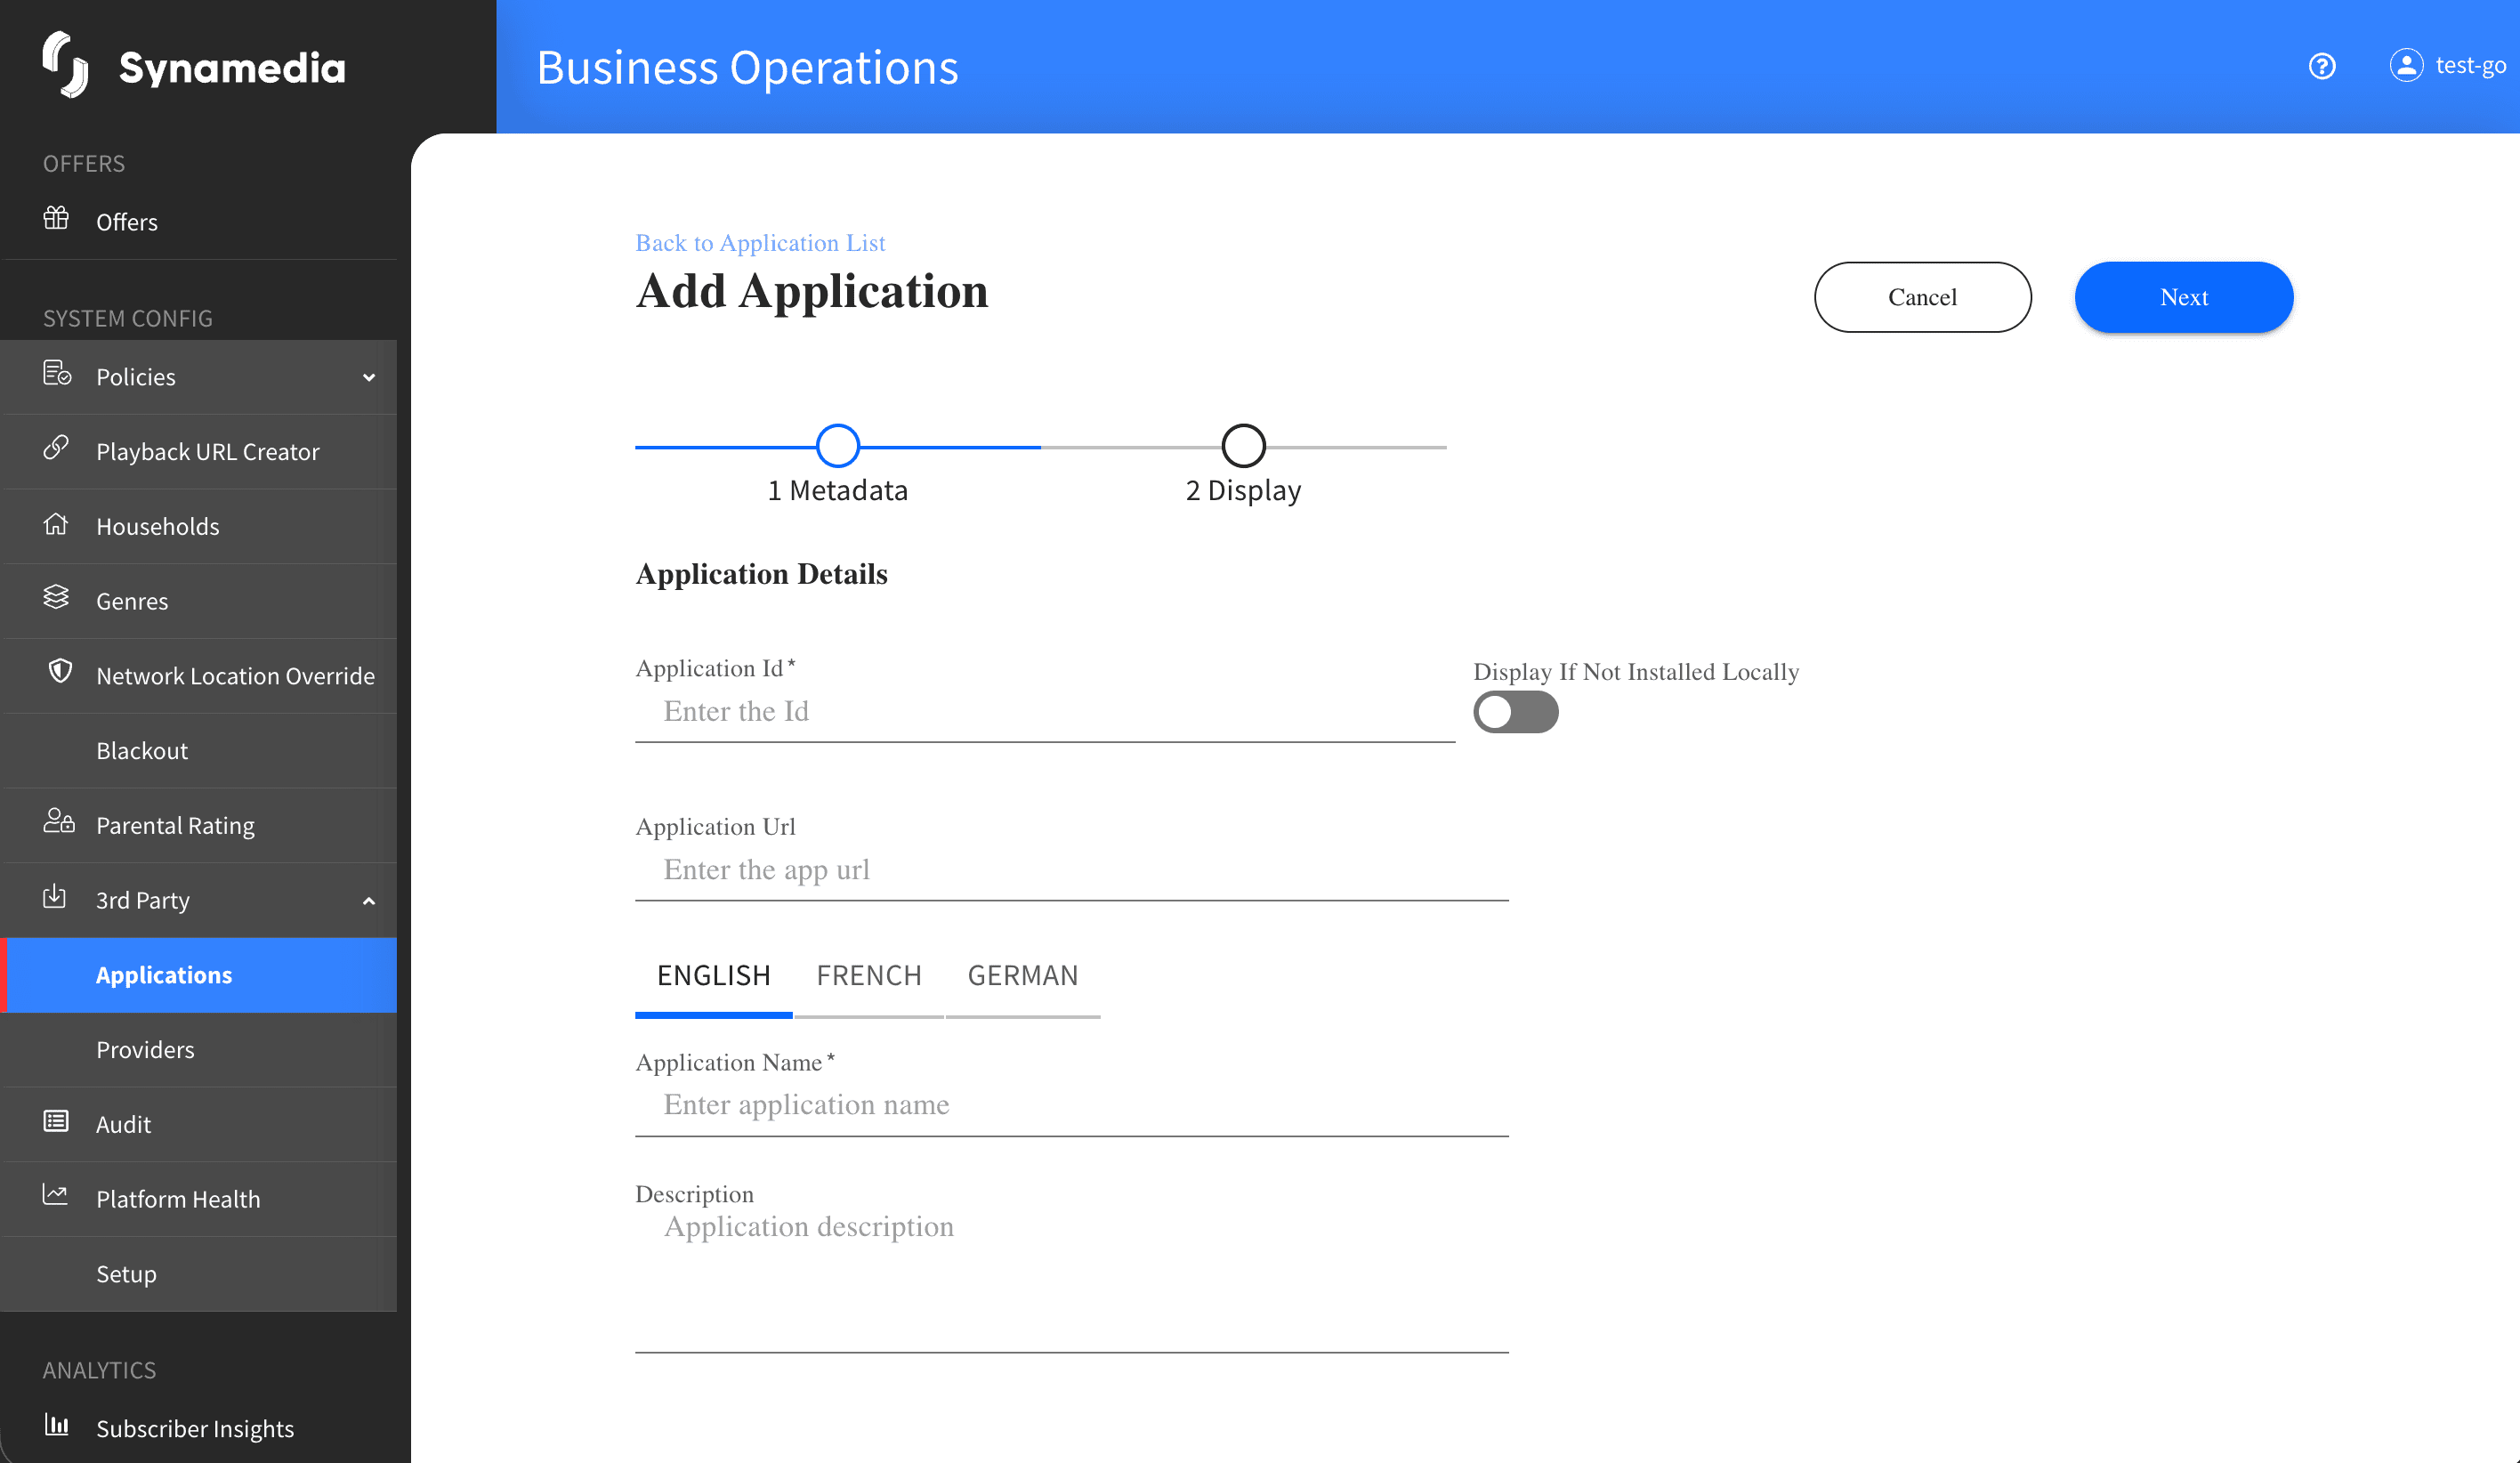
Click "Add Application" to open the two-step form.
Step 1 – Metadata:
Application Id: required and must be unique; this cannot be changed after the application is created.
Application Url: an optional launch link.
Display If Not Installed Locally: a toggle that lets the app show even when it is not installed on the device.
Application Name: required for each language.
Description: an optional description per language.
Step 2 – Display: for each language, upload one or more Images. At least one image is required before you can save. You can add, edit, view and delete images, and assign each a media type such as portrait, landscape or regular.
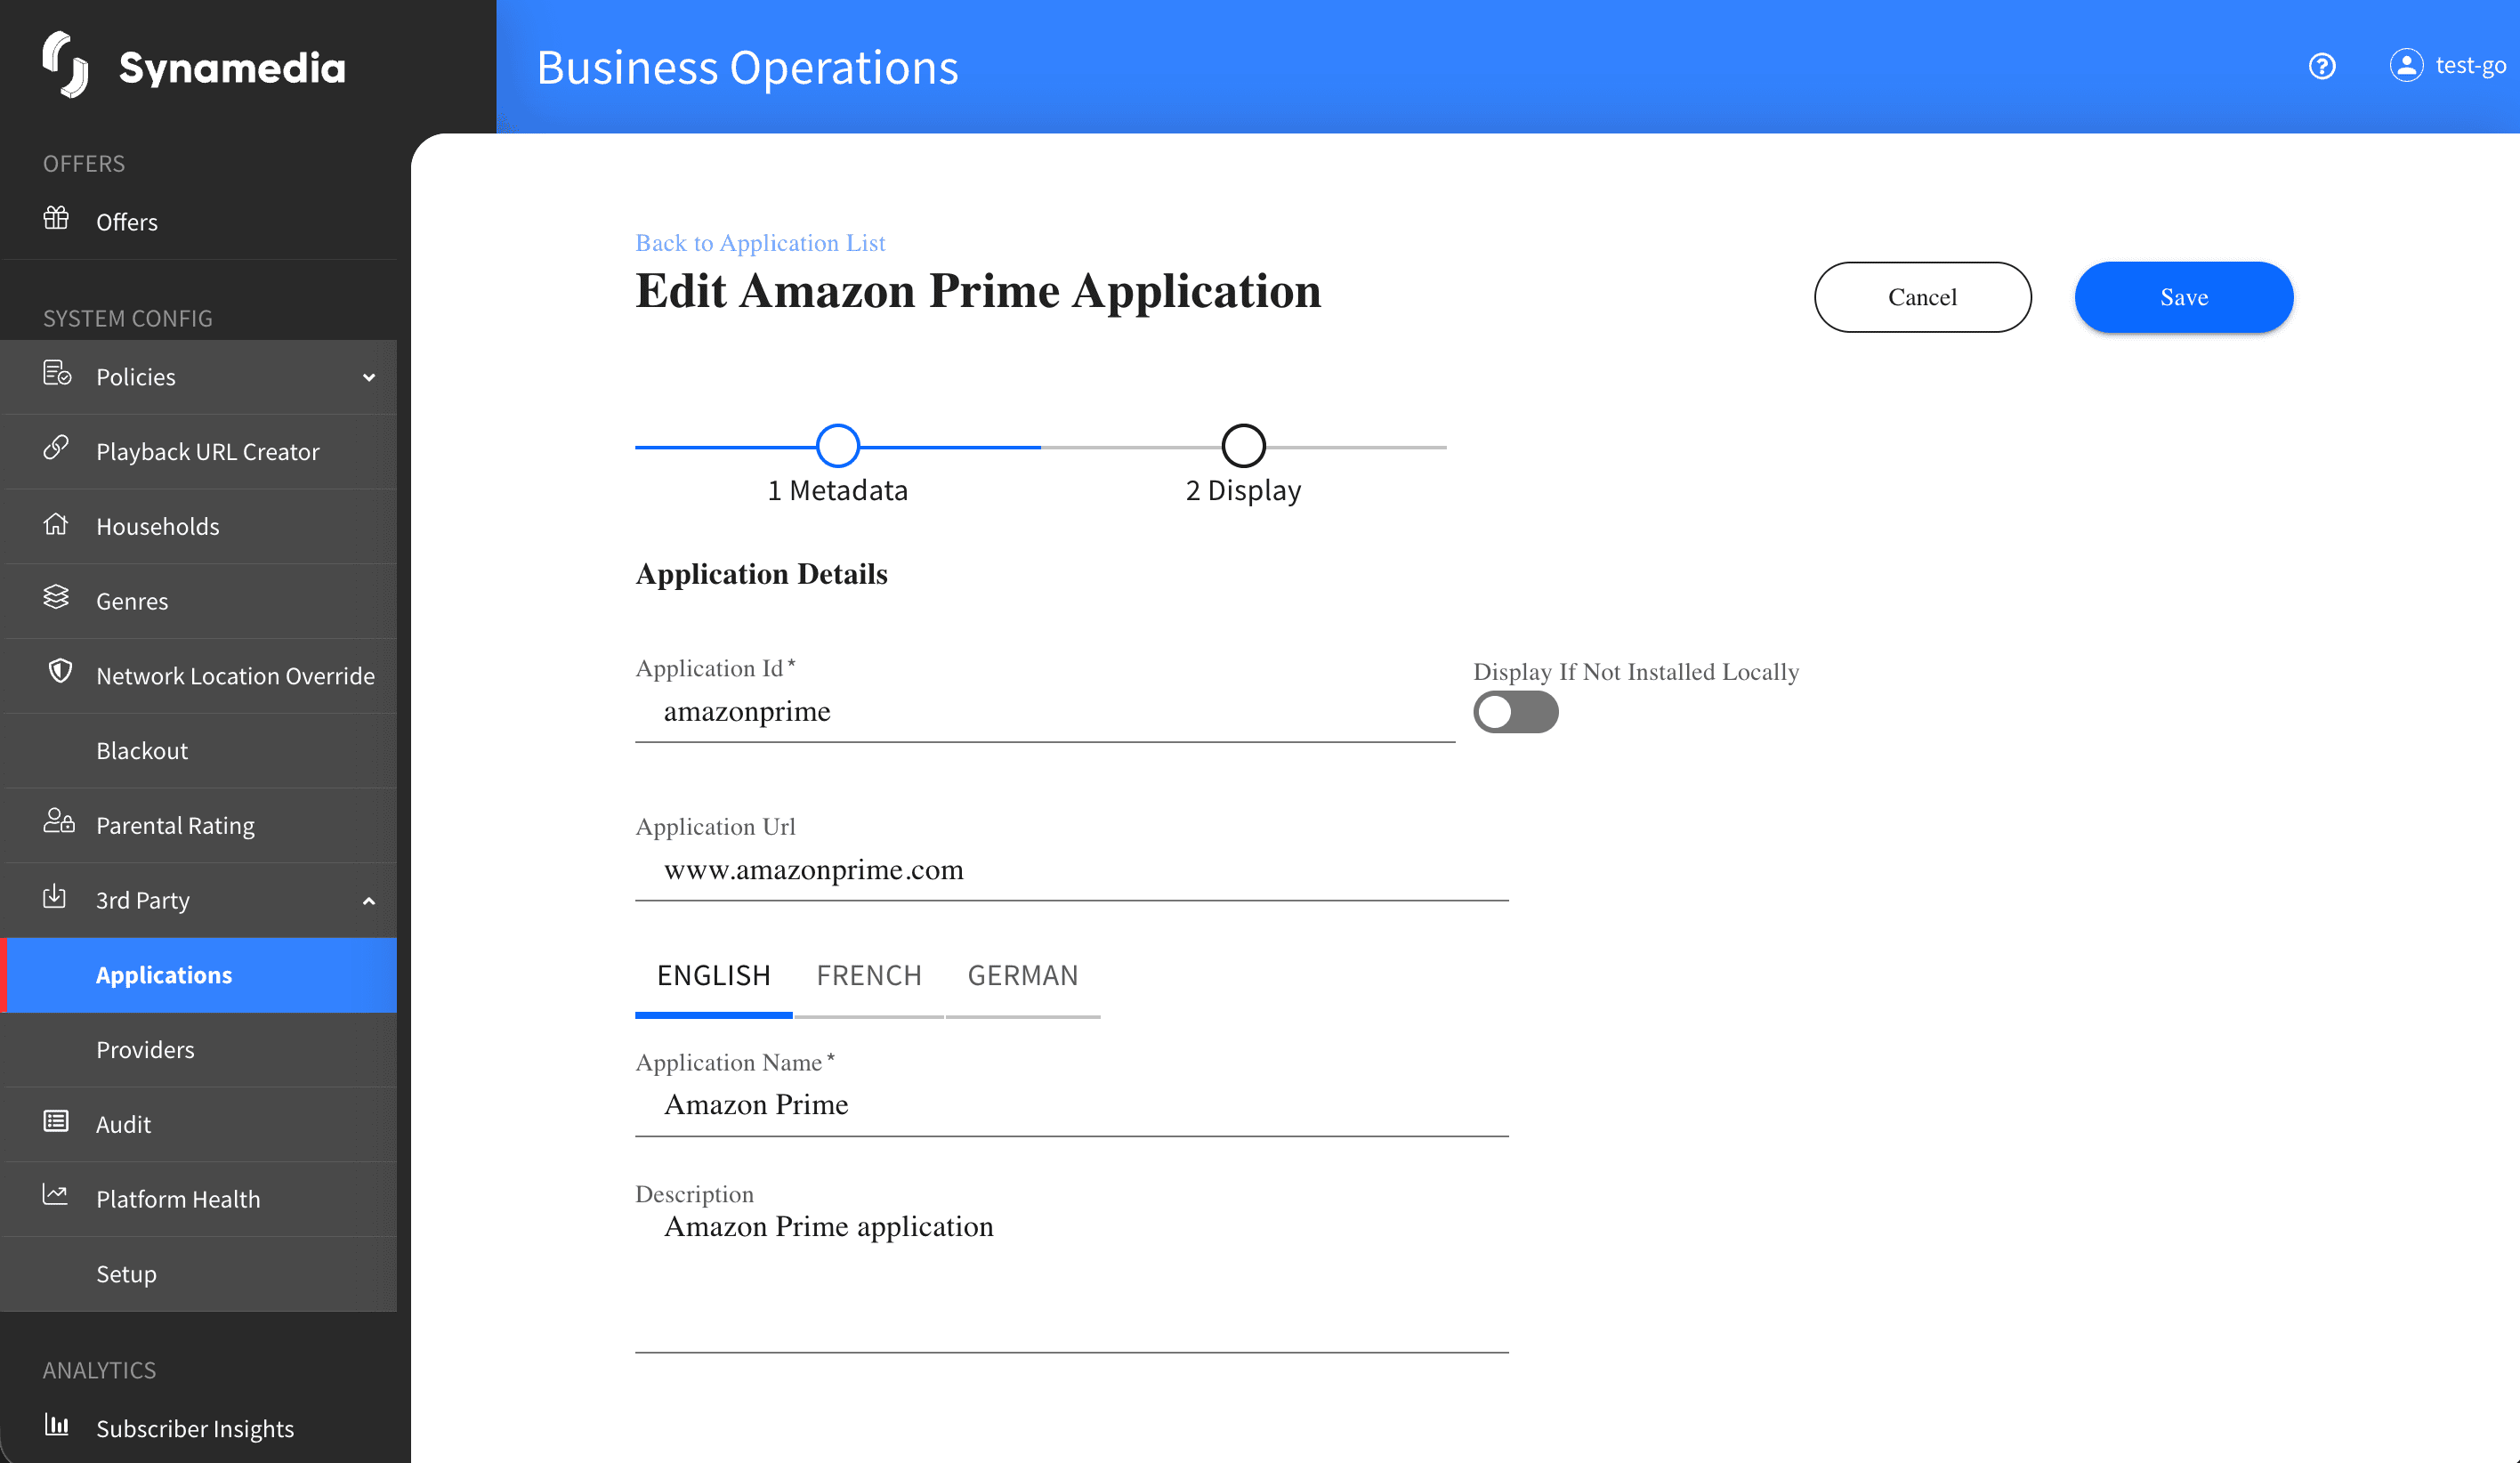
Open a card's menu and choose "Application Metadata" or "Application Display" (or click the card) to open the form in edit mode. You can change all fields except the Application ID, which is read-only once the application exists. If you try to leave with unsaved changes, a prompt asks whether you want to save first. Metro-sourced applications open read-only.
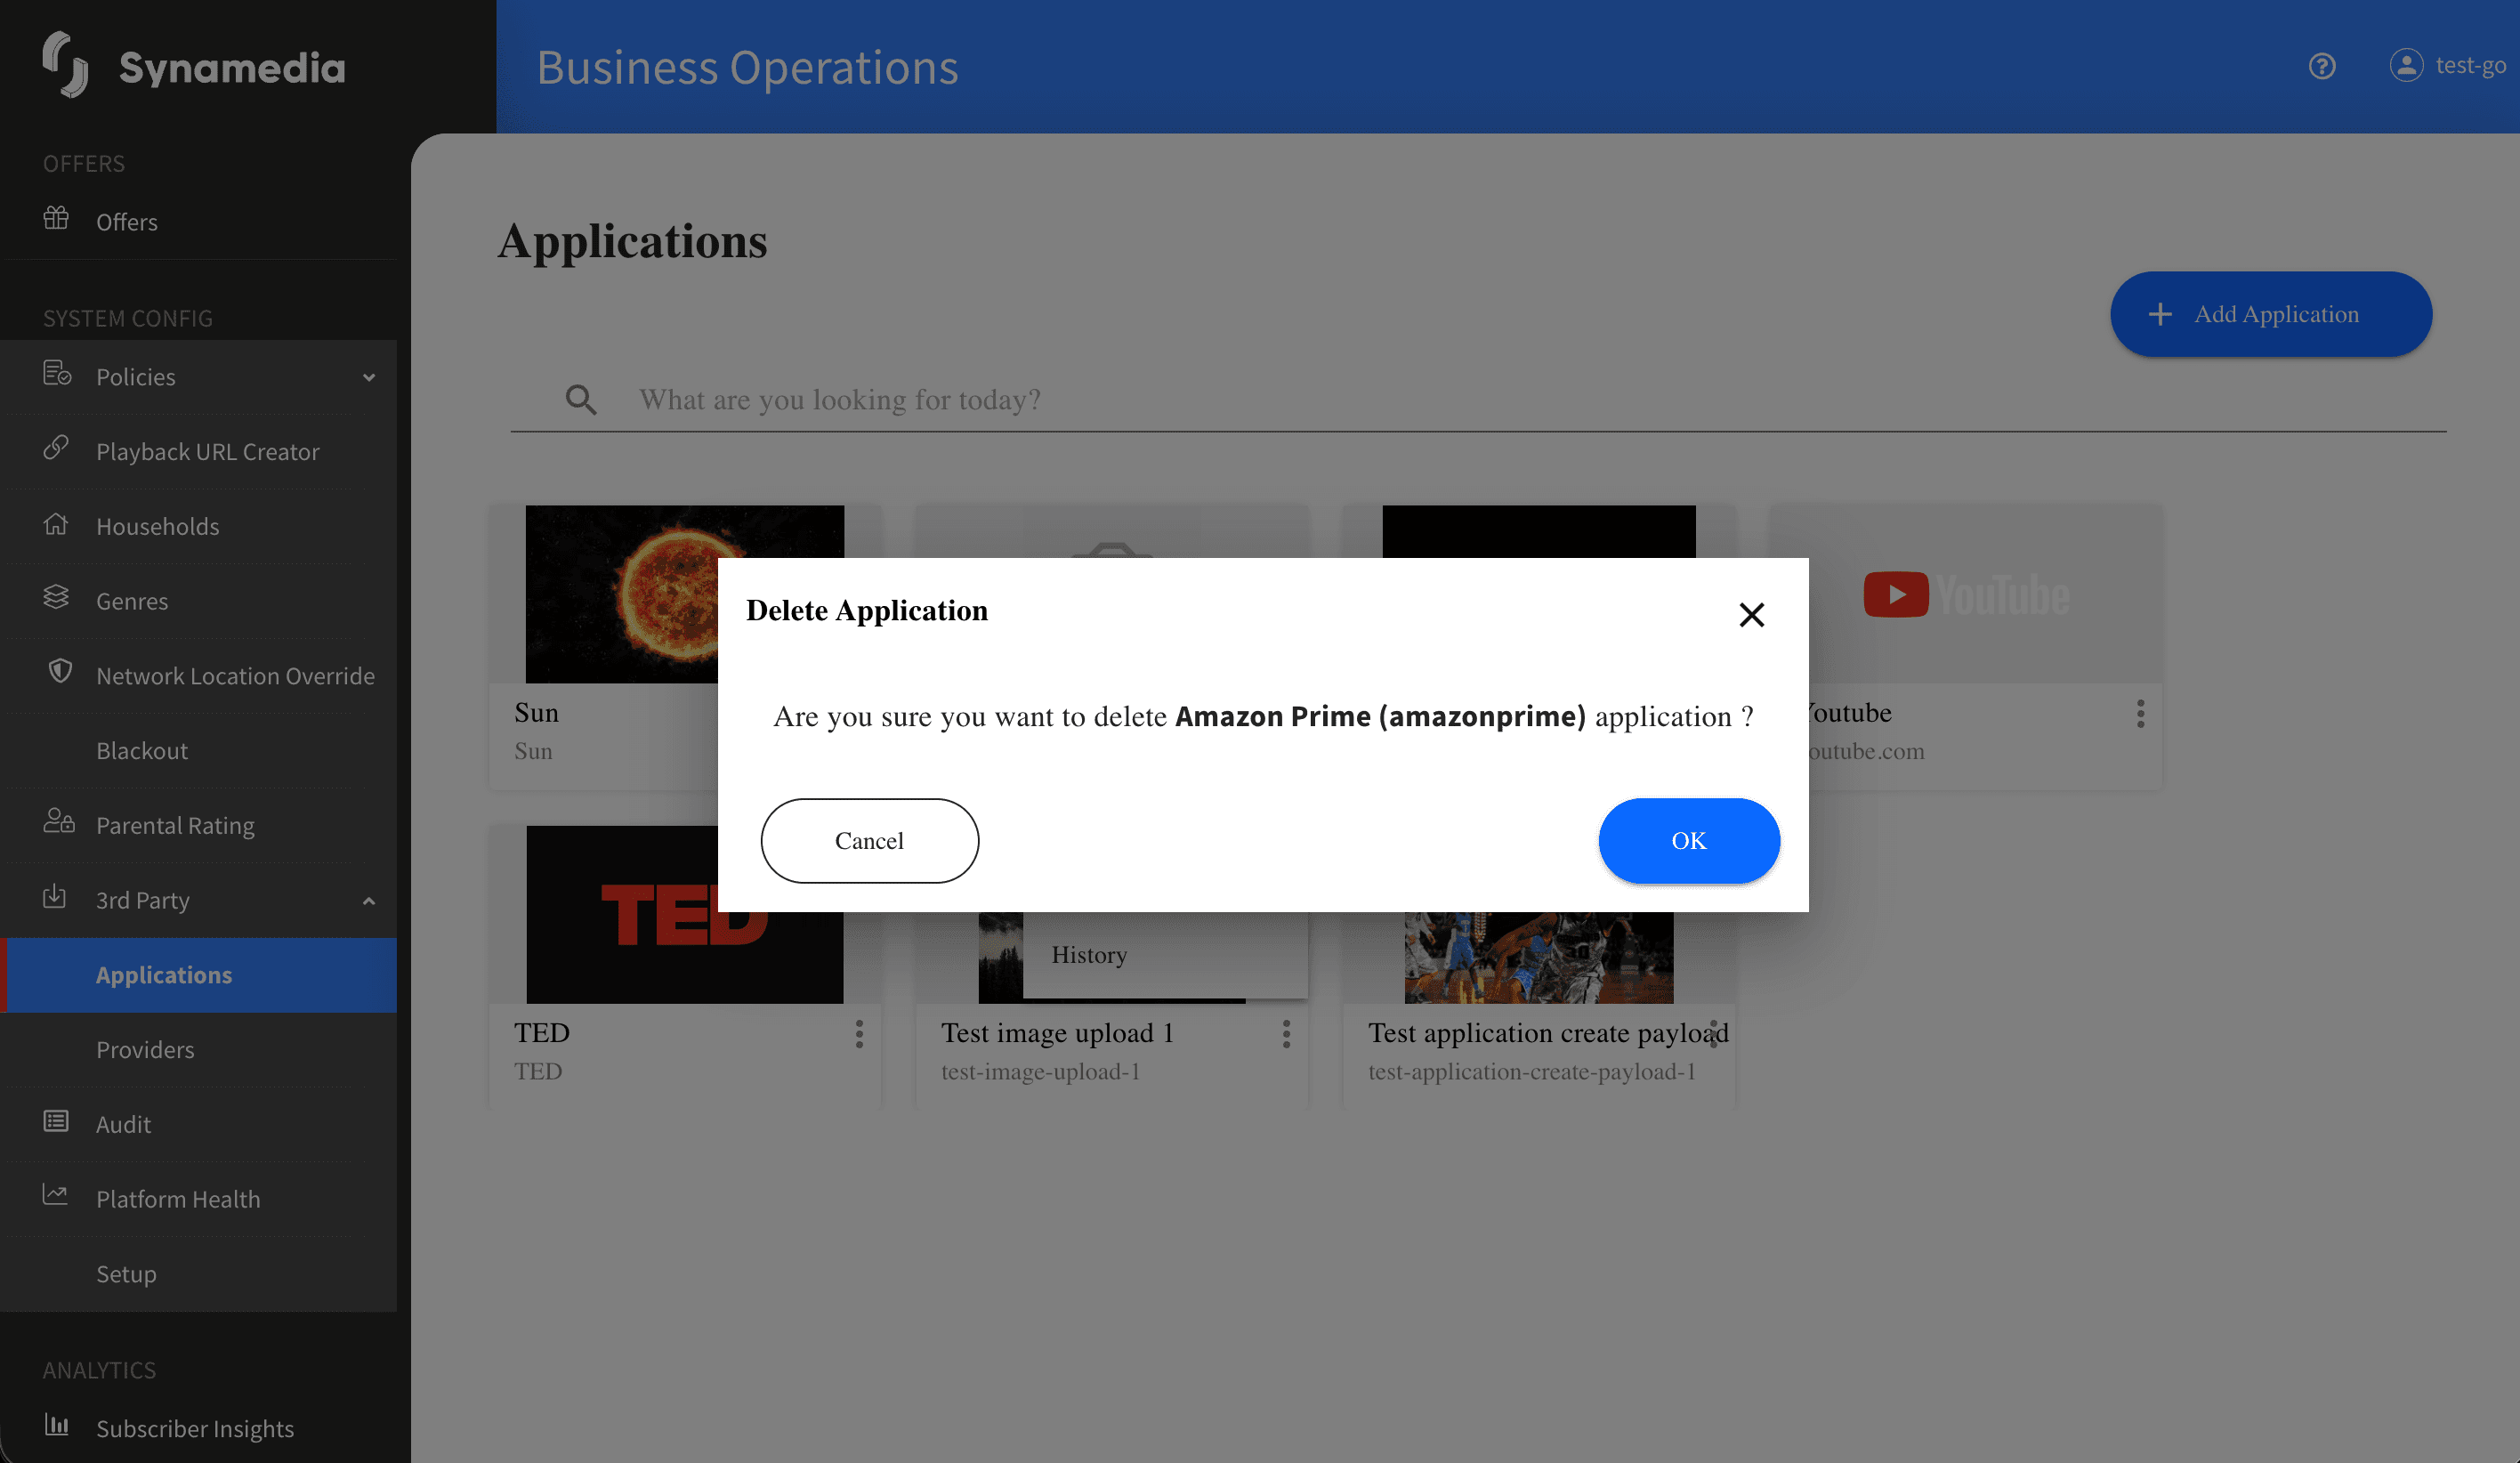
Open a card's menu and choose "Delete Application". A confirmation dialog titled "Delete Application" asks you to confirm deletion of the named application. On success a message confirms it was deleted. Metro-sourced applications cannot be deleted.
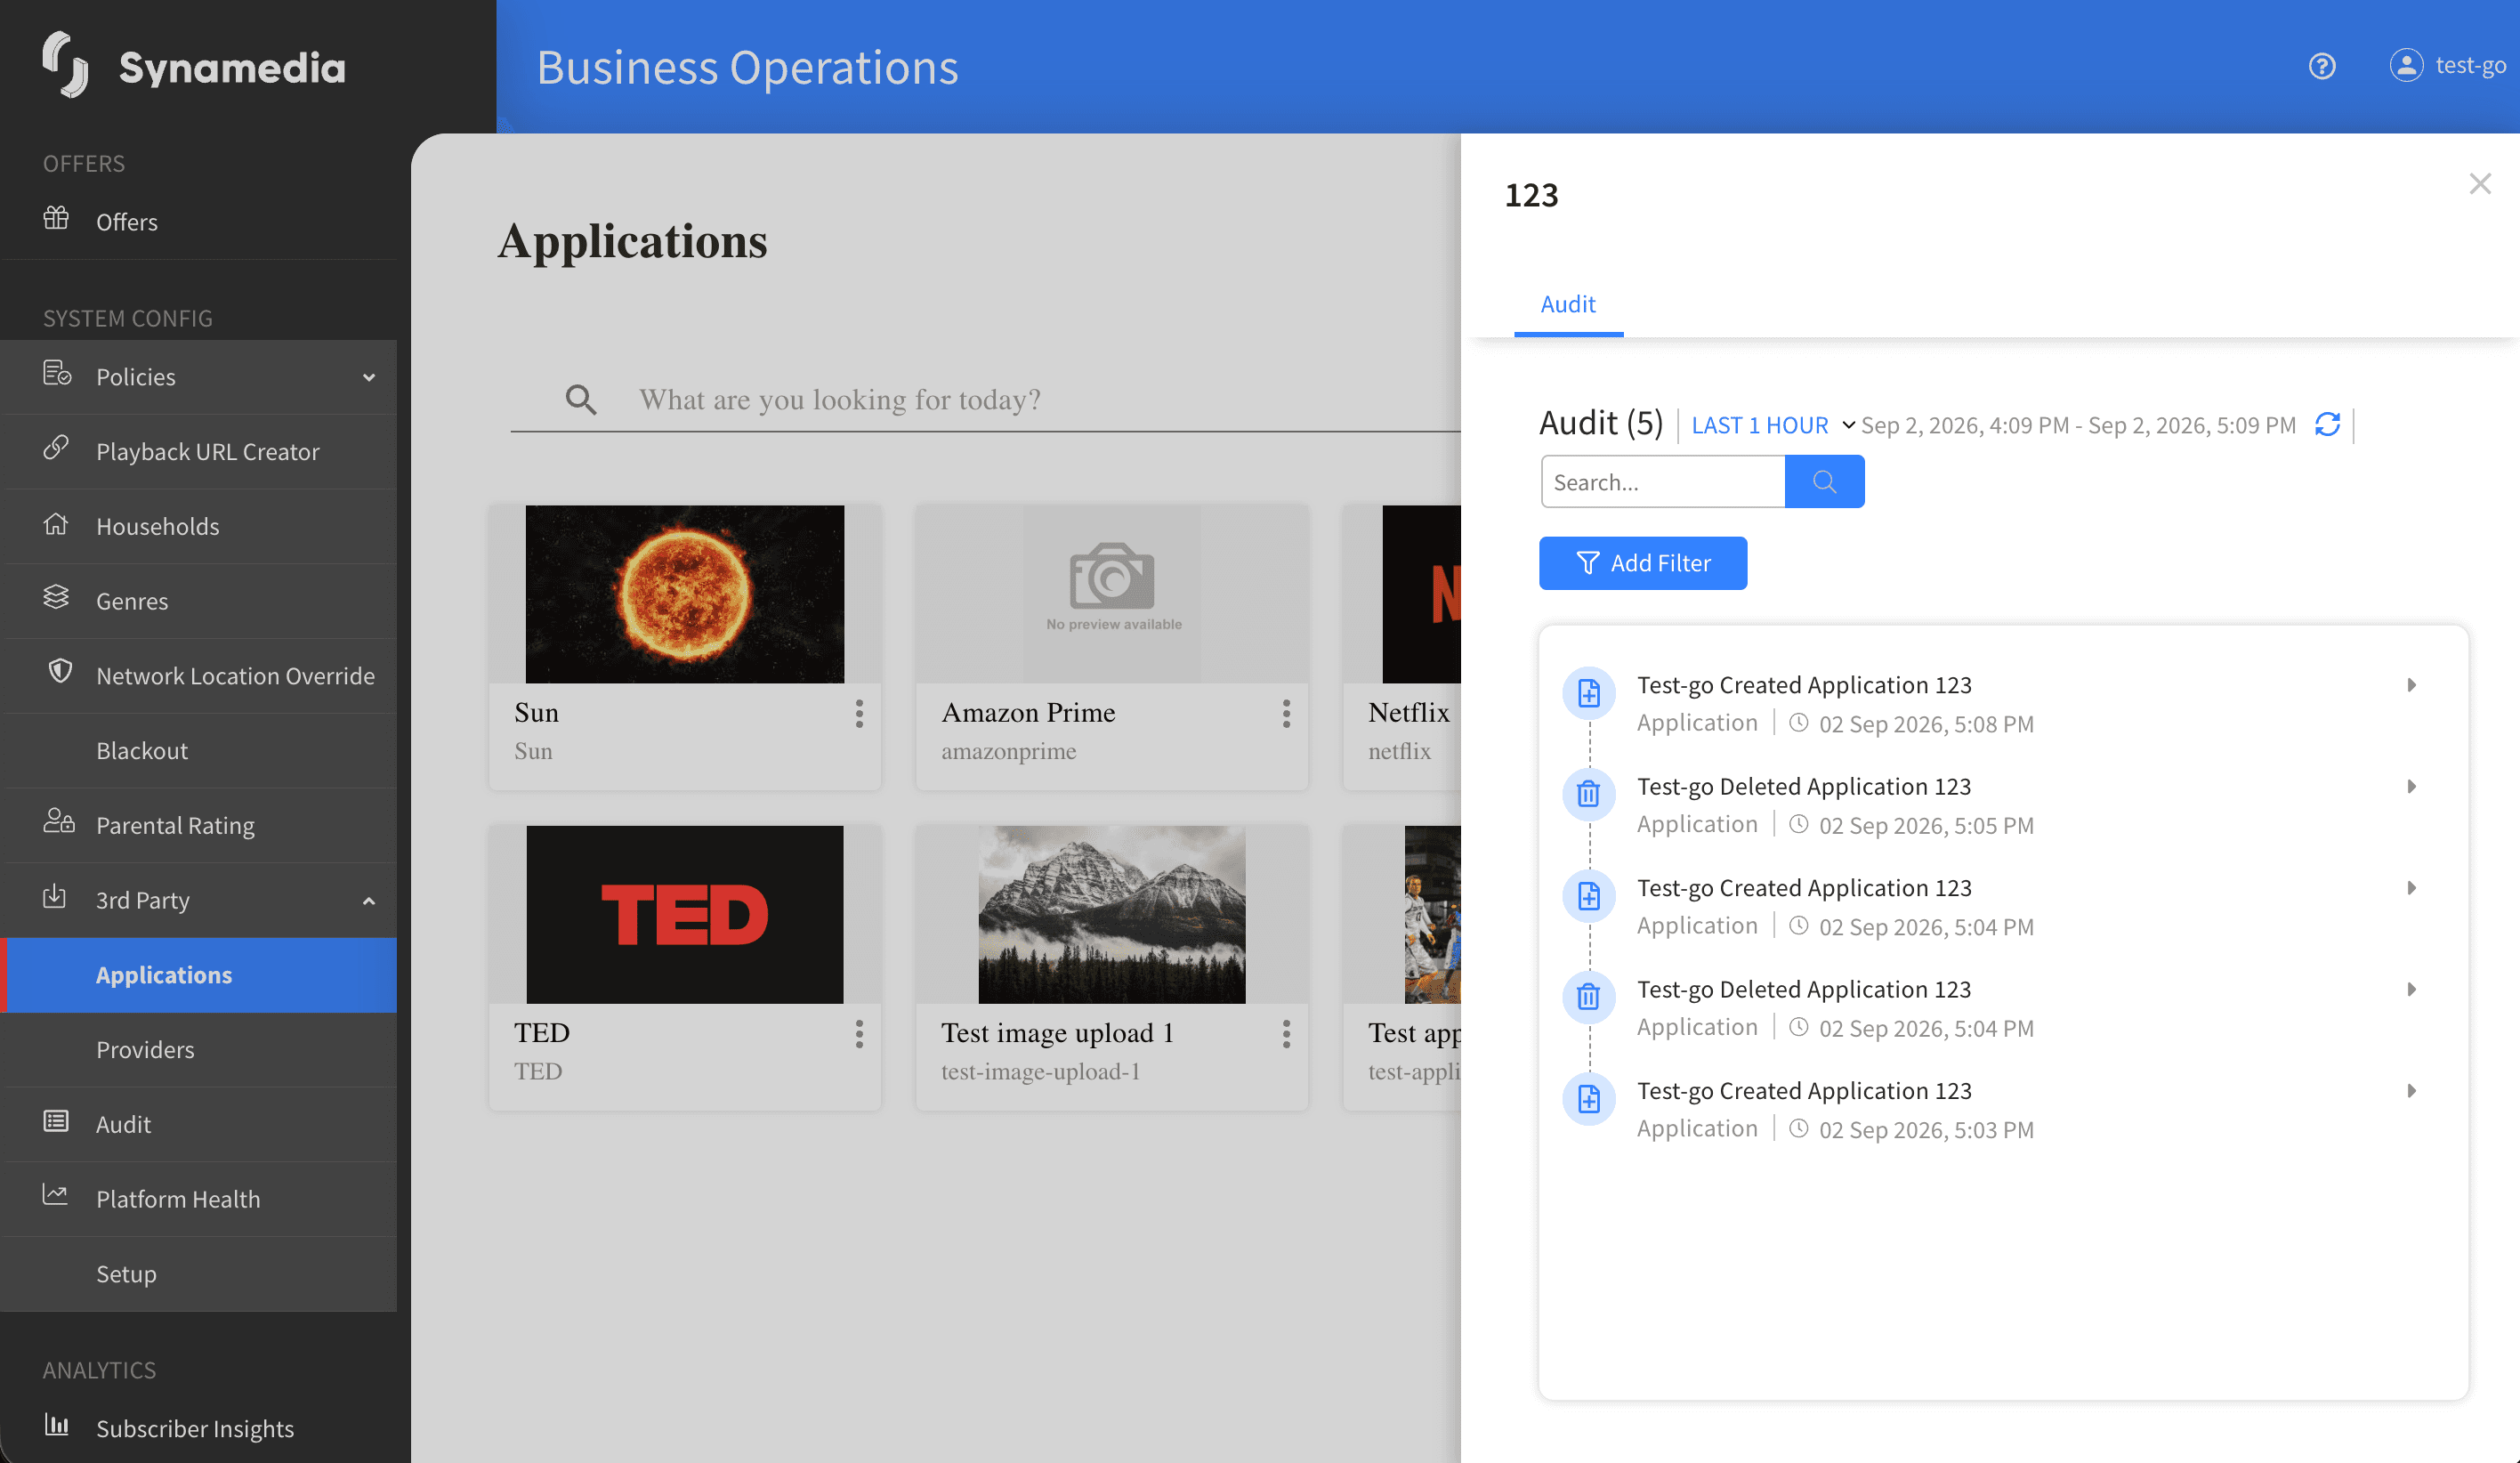
Open a card's menu and choose "History" to open a side panel with an Audit tab showing who changed the application and when.
The Application ID is permanent once the application is created, so choose it carefully.
Provide the application name in every supported language, or that language will not show the app.
You cannot save an application until at least one image is uploaded, so prepare your branding first.
A "METRO" badge means the application is synced from an external system and is read-only.
Complete the Metadata step first, then the Display step, to move smoothly through the form.
If you are warned about unsaved changes, save or discard deliberately to avoid losing work.

