


The short video below walks through Providers: browsing the provider cards, adding a provider through the three-step form, setting shop details and theme, previewing, editing and deleting a provider, and importing or exporting providers.
Providers are the third-party content or service providers you register in the system, such as a streaming service or a news source. Each provider holds its metadata (its ID, title and description per language), its branding (logos, backgrounds, colours and other theme media), and its URLs (terms and conditions, promotional video, and device-specific shop links). Providers appear to users as a browsable, branded catalogue.
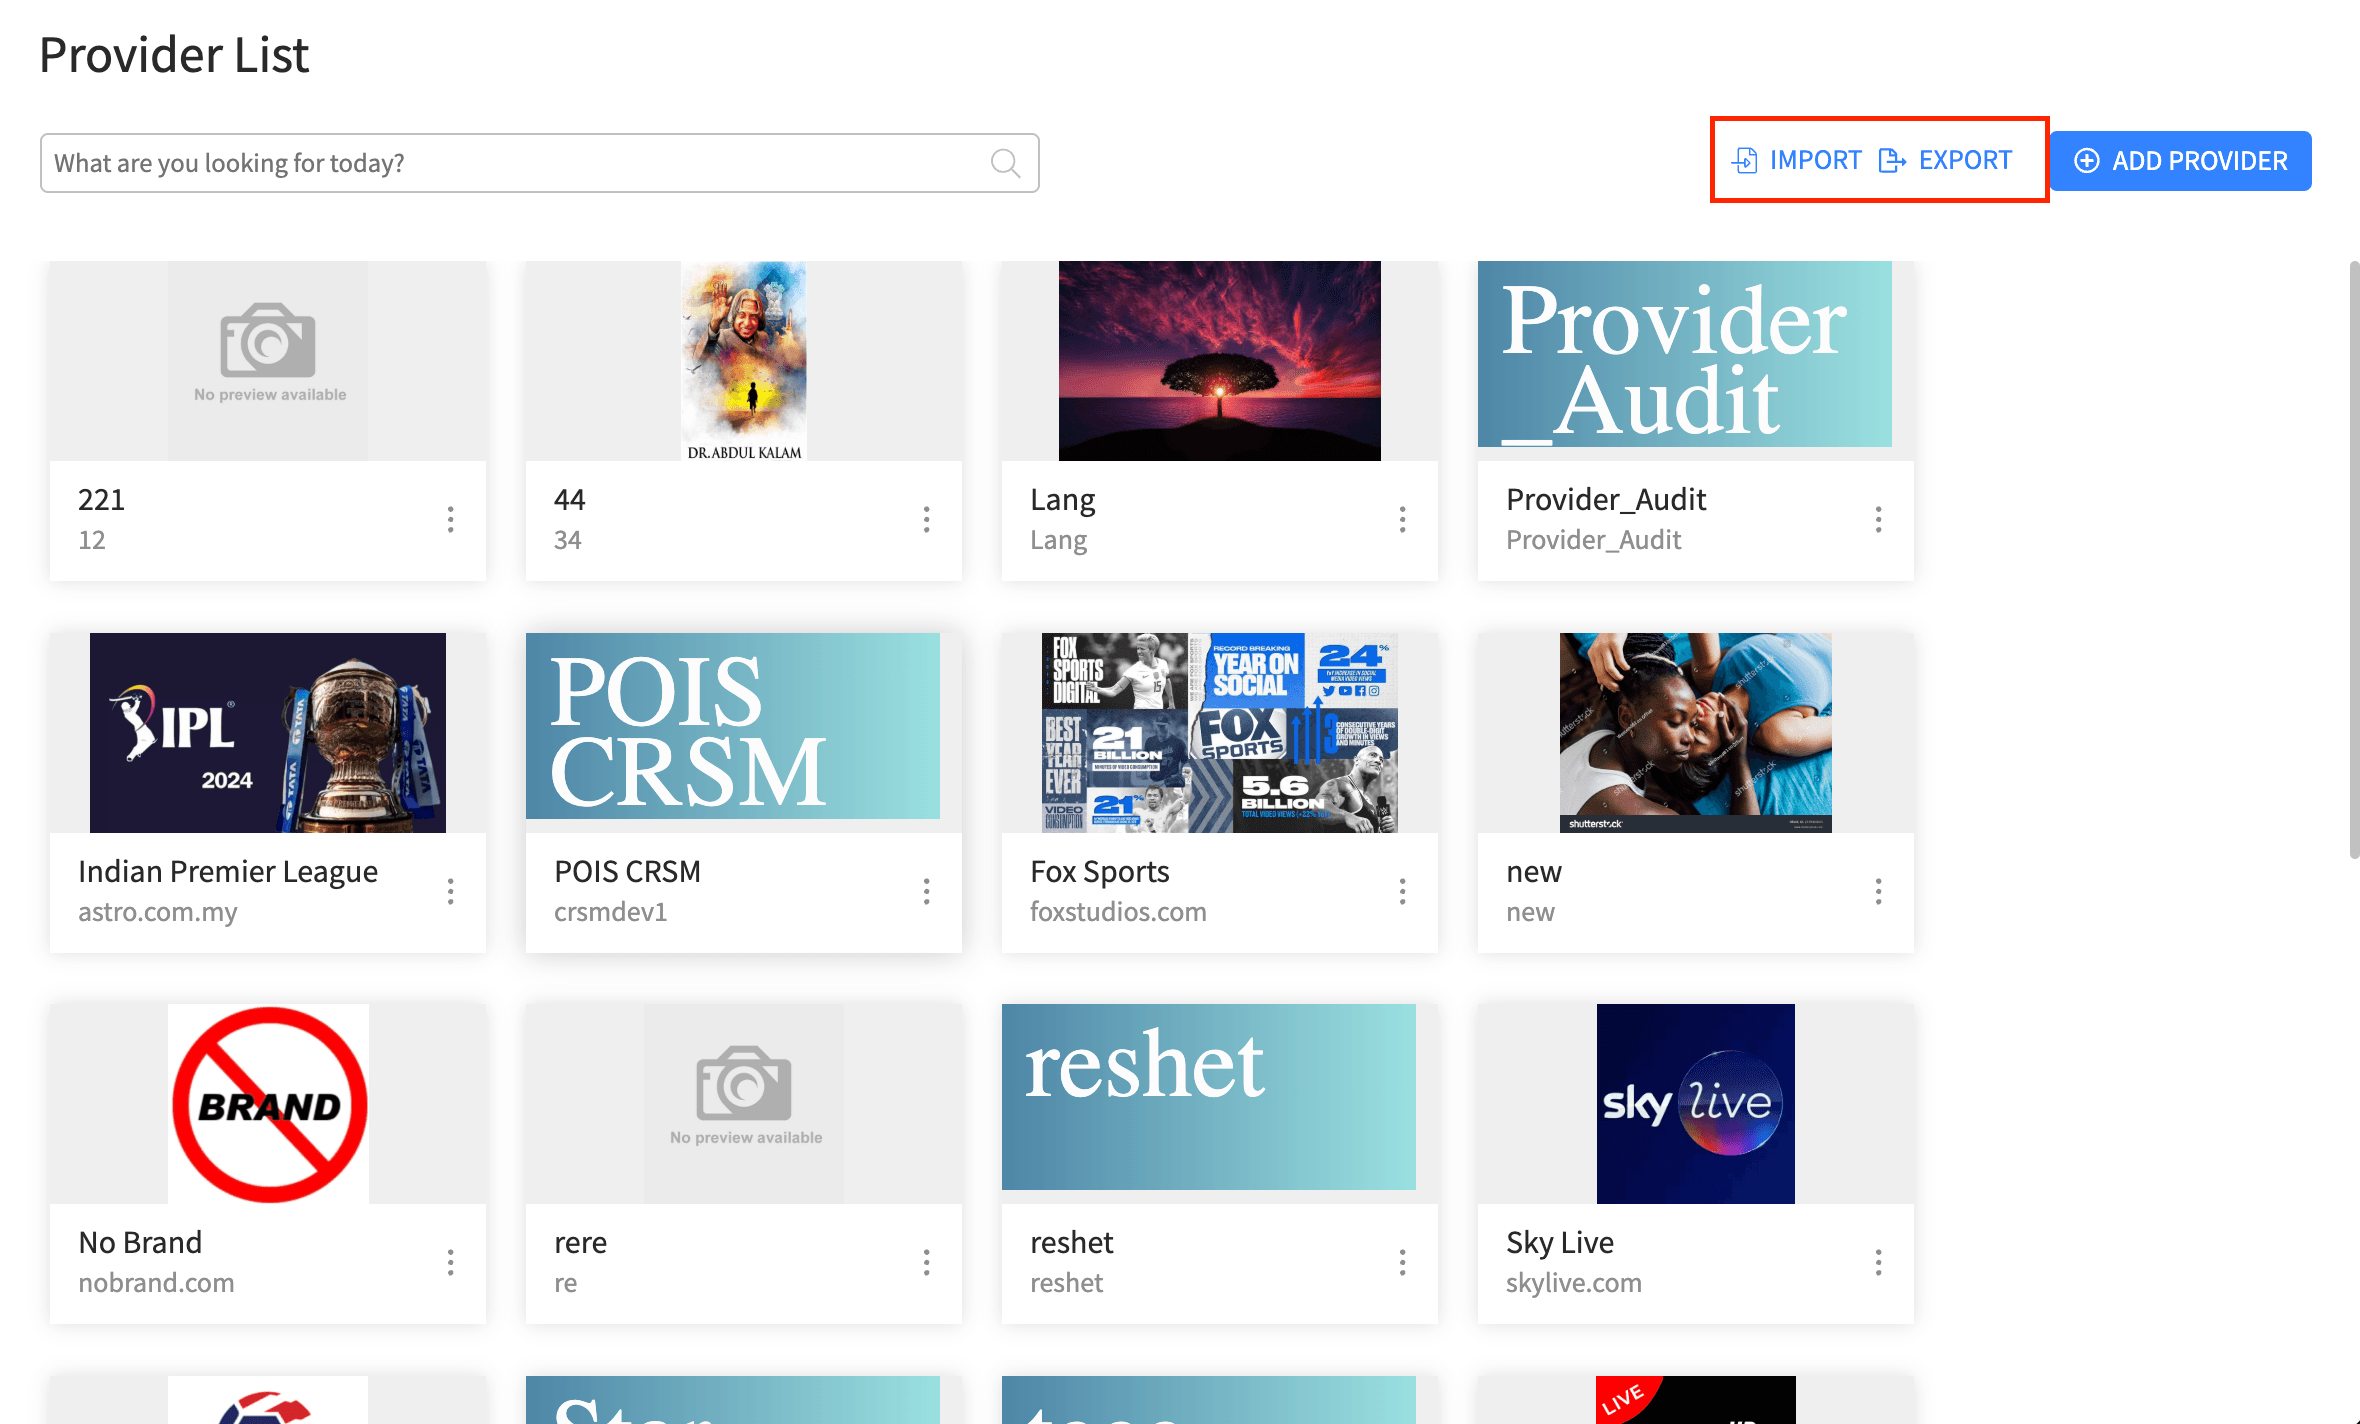
The module is opened from the sidebar under System Config > 3rd Party > Providers. Providers are shown as a grid of cards.
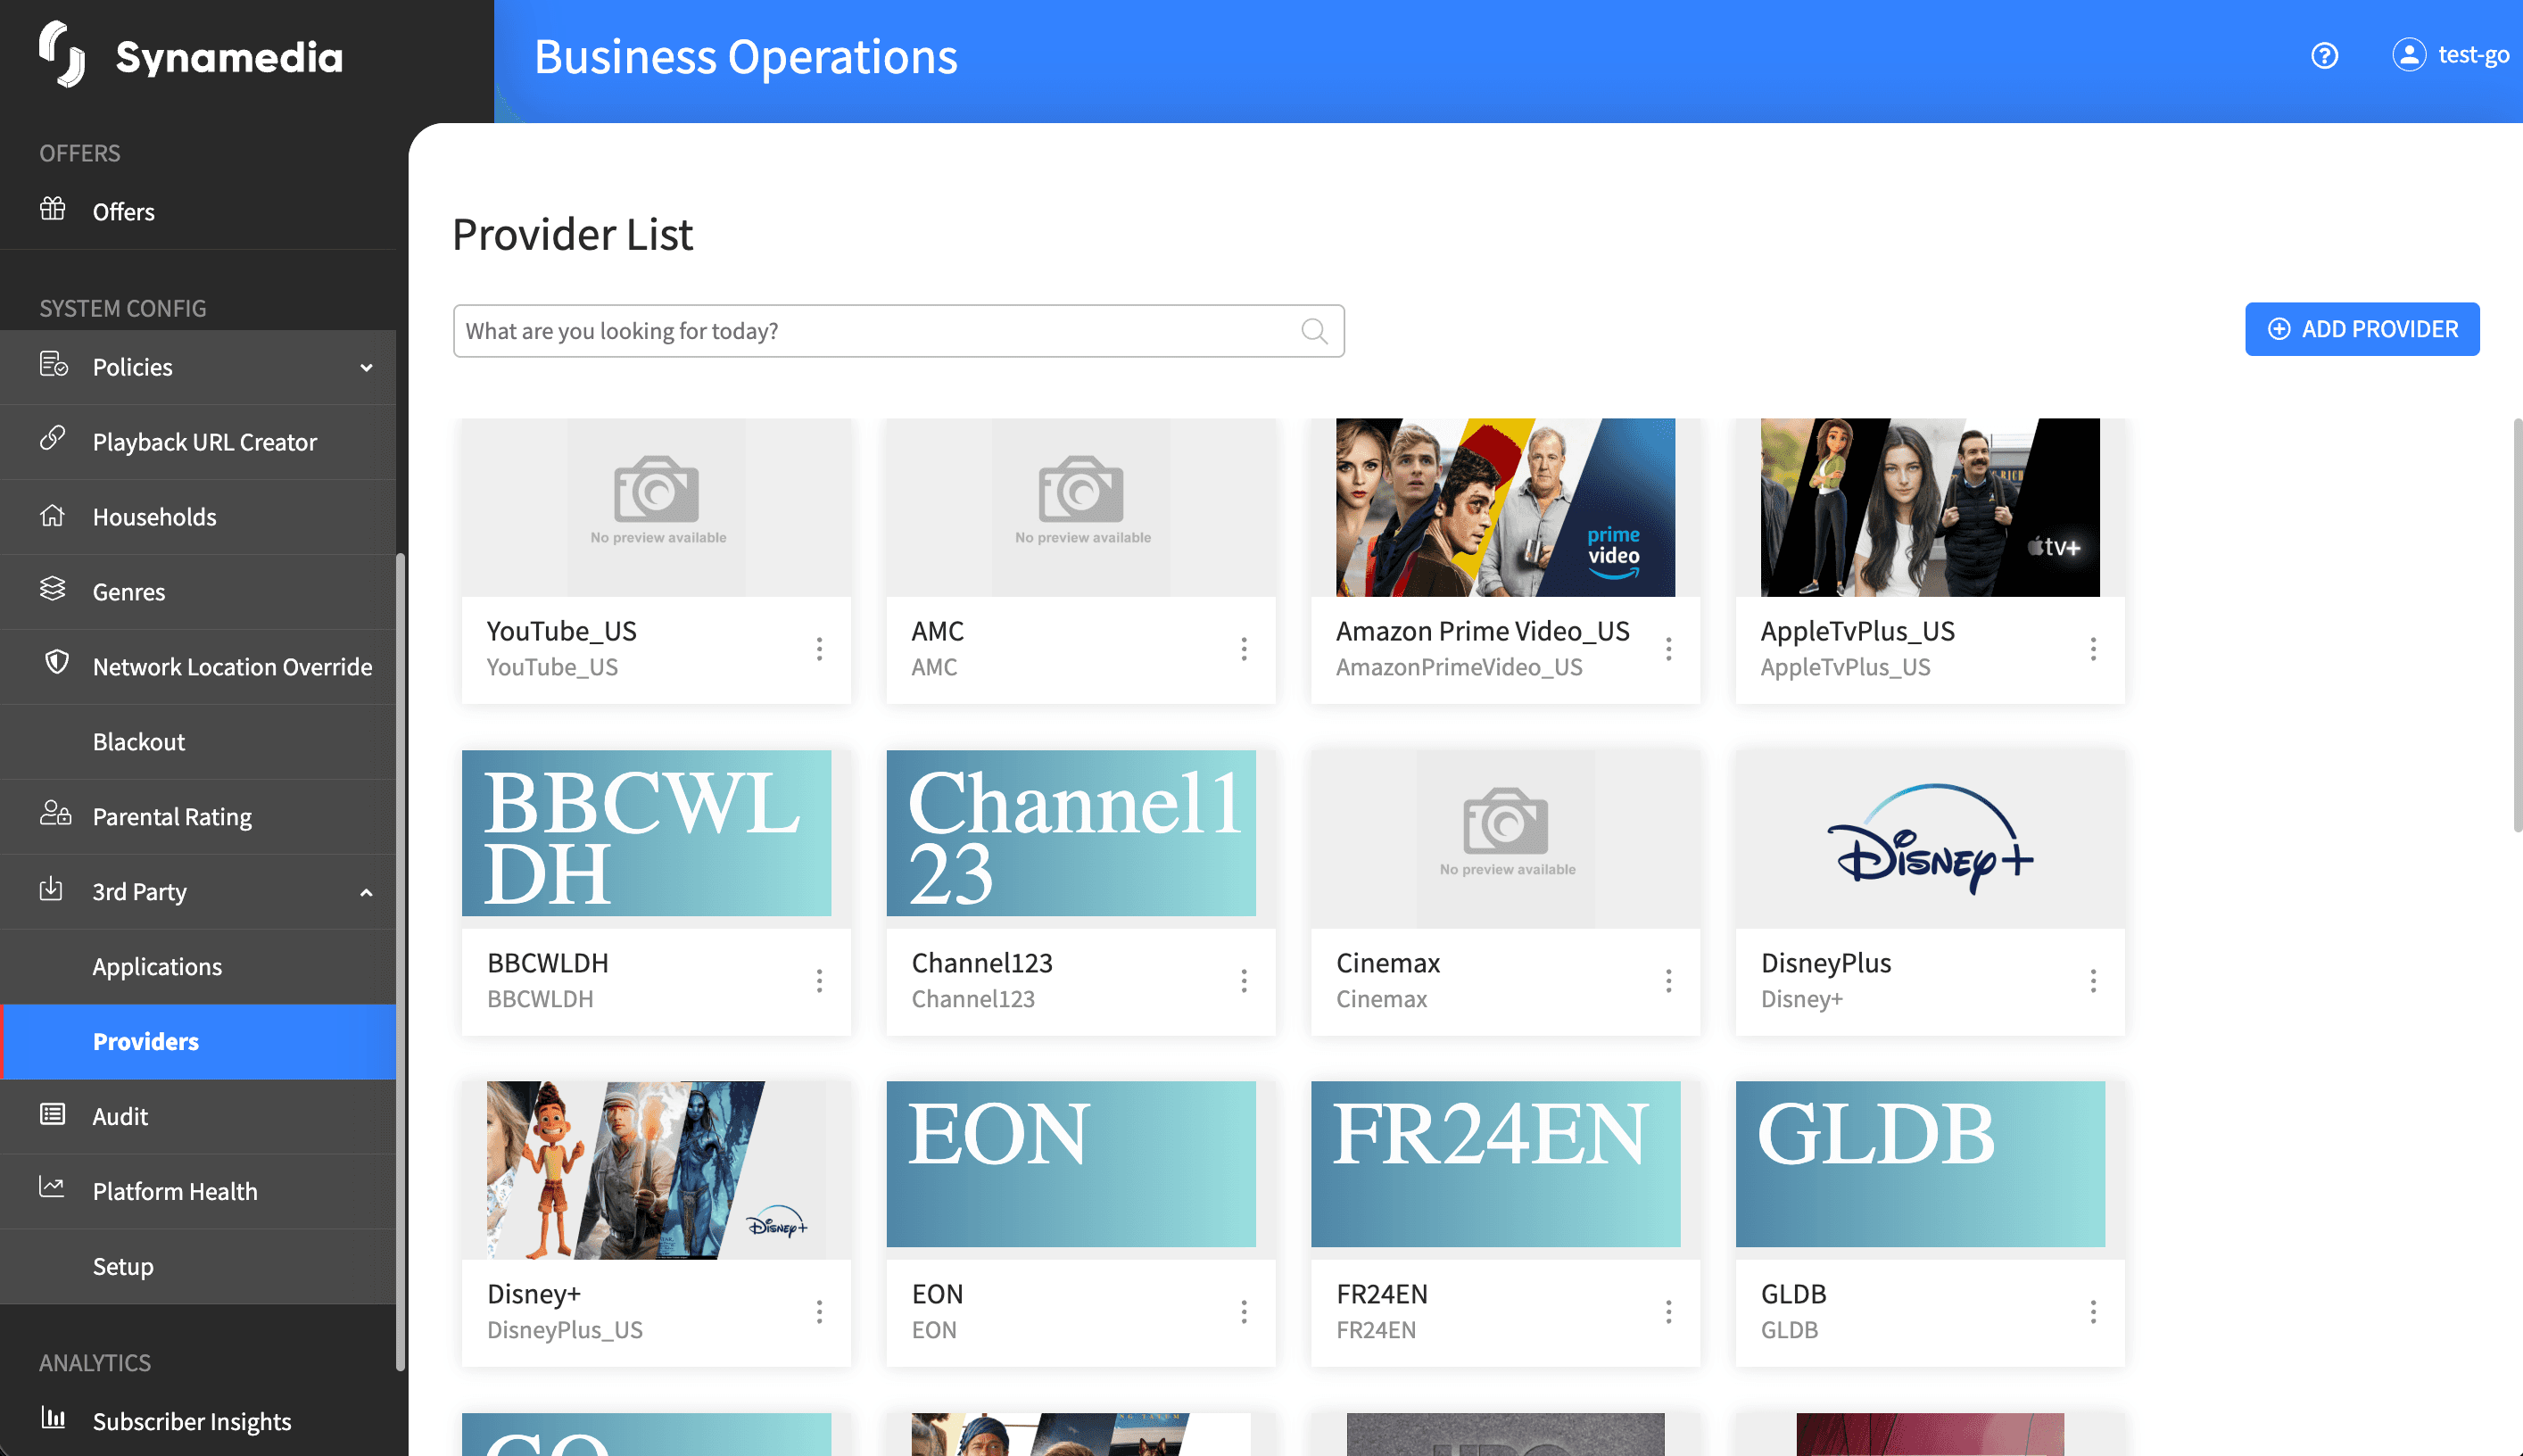
Each card shows the provider's logo (or its name on a coloured background where there is no image), the provider name, and the provider ID, plus a menu for further actions. Use the search box ("What are you looking for today?") to filter cards by provider ID or title in real time. Where enabled, Import and Export buttons appear in the toolbar for bulk operations.
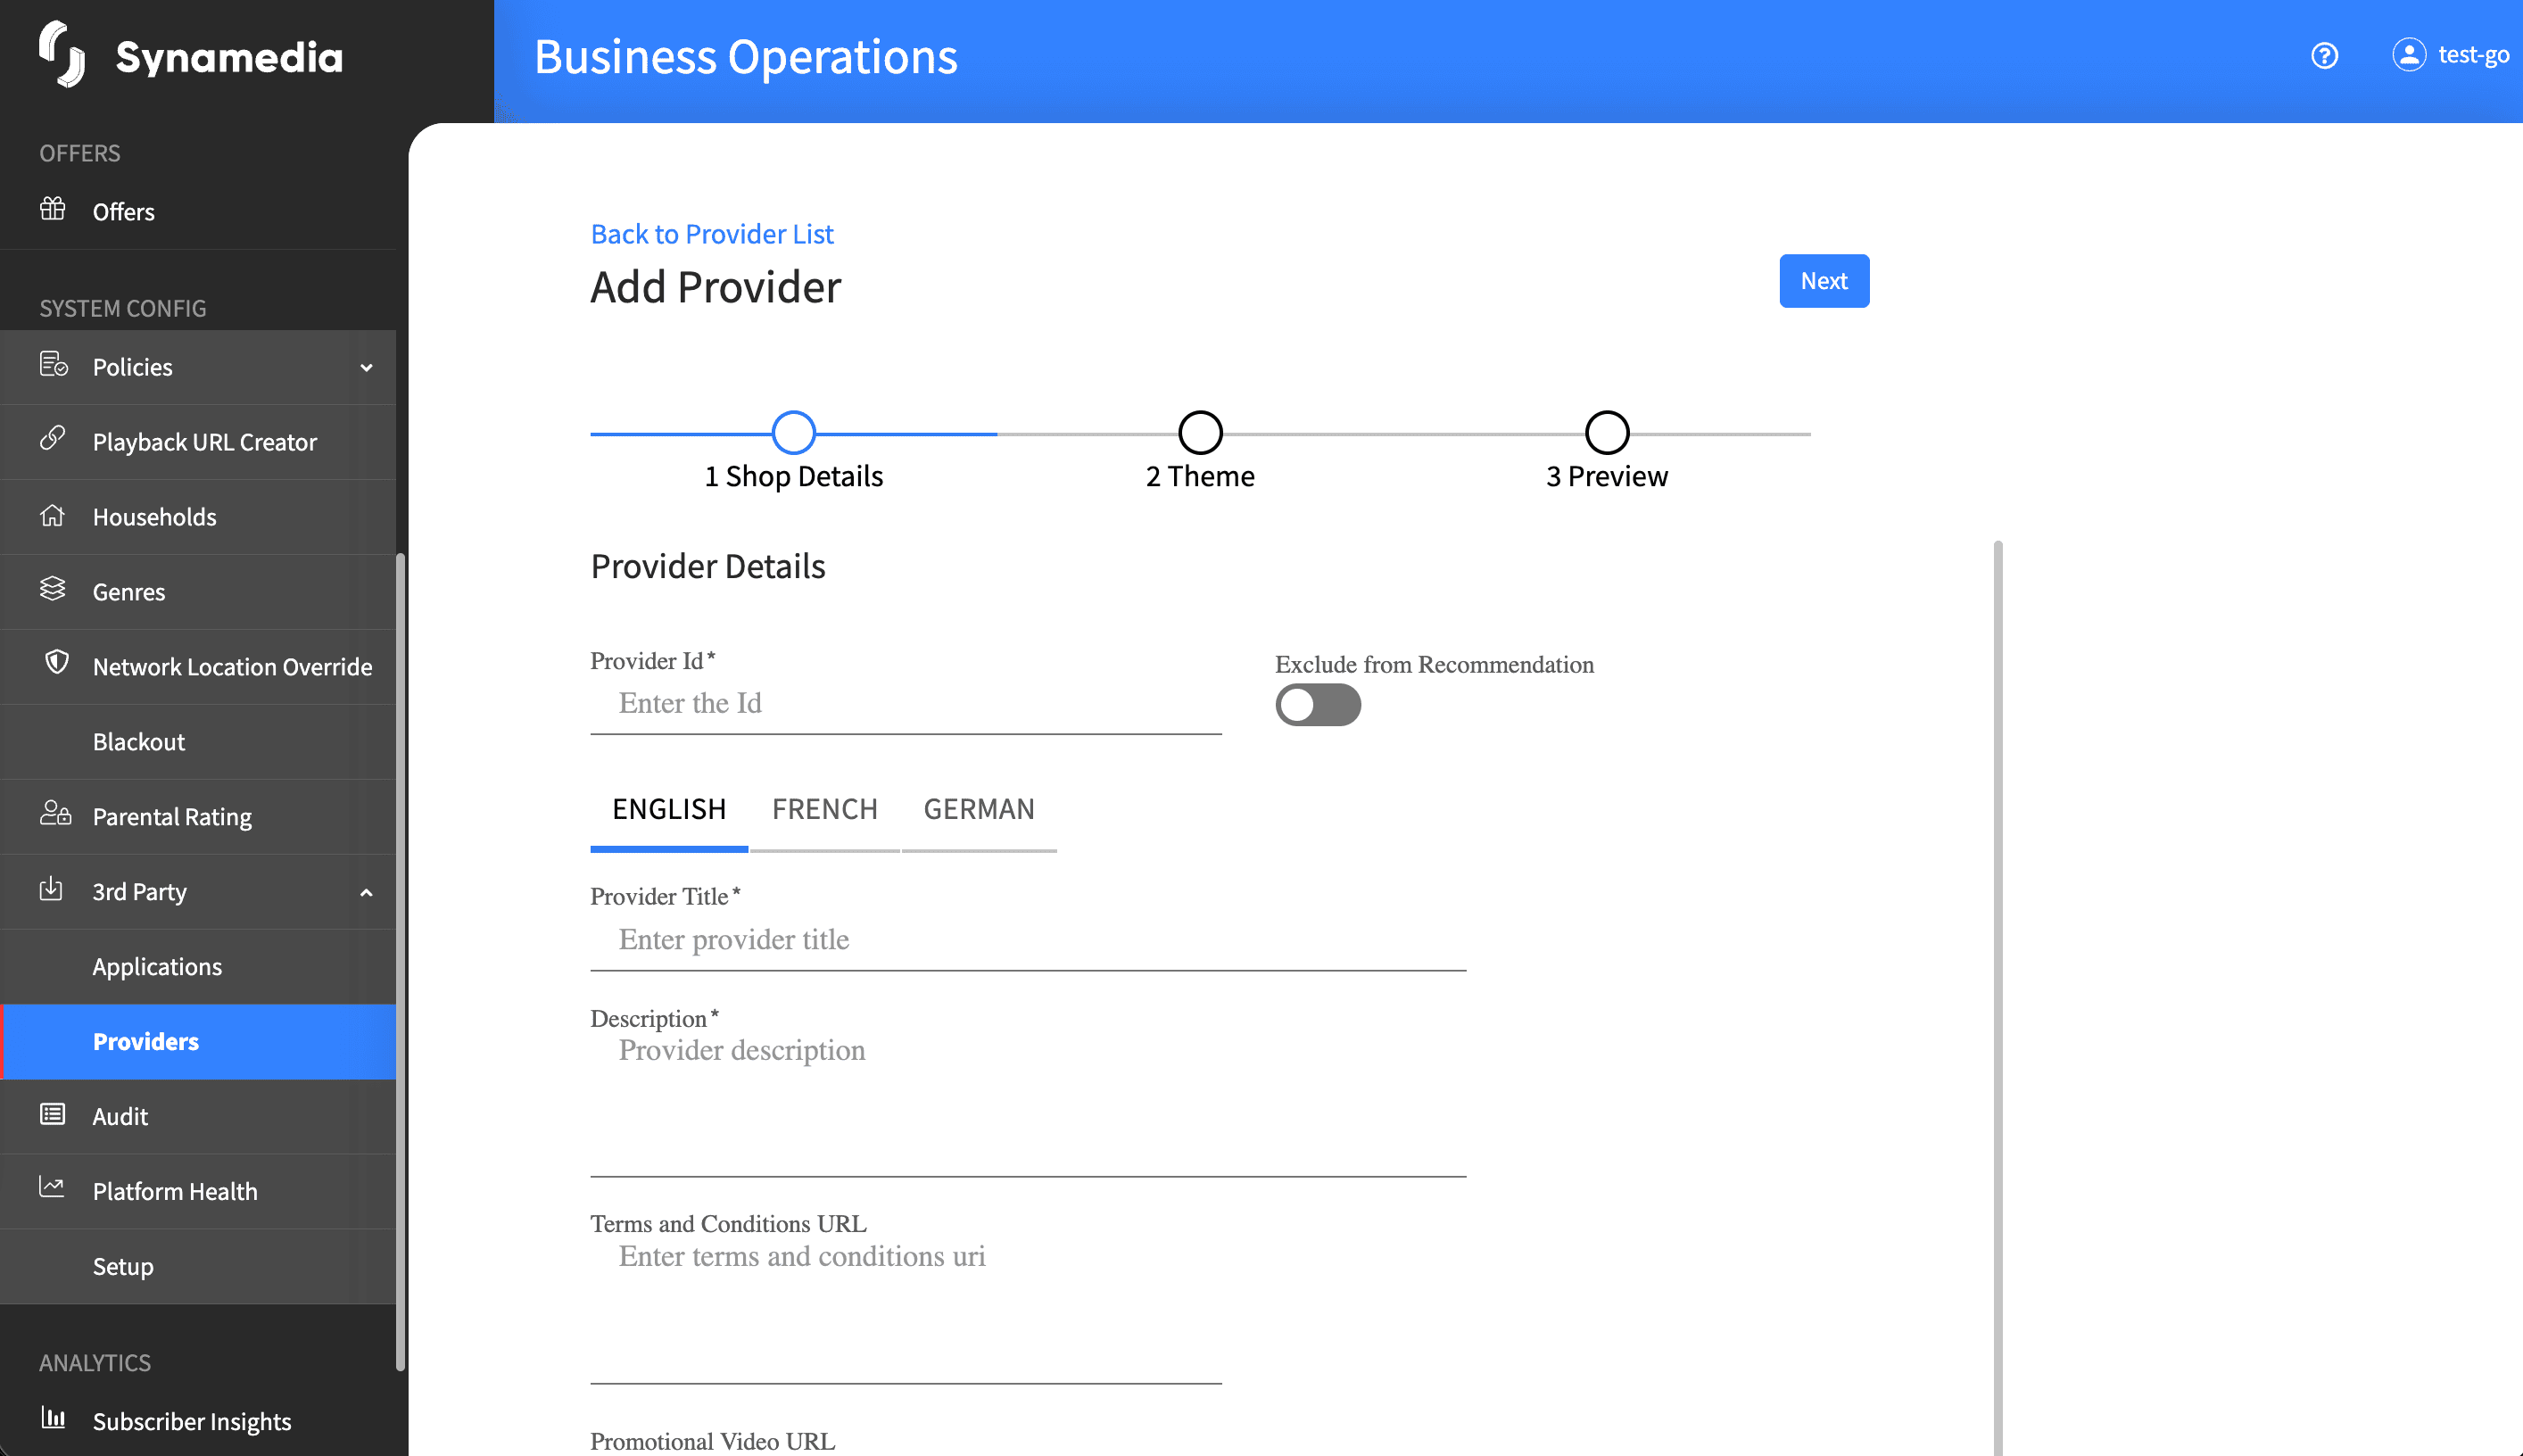
Click "Add Provider" to open the three-step form.
Step 1 – Shop Details:
Provider Id: required and must be unique, and cannot contain a "/" character; this cannot be changed after the provider is created.
Exclude from Recommendation: a toggle to keep the provider out of recommendation lists.
Provider Title: required for each language.
Description: required for each language.
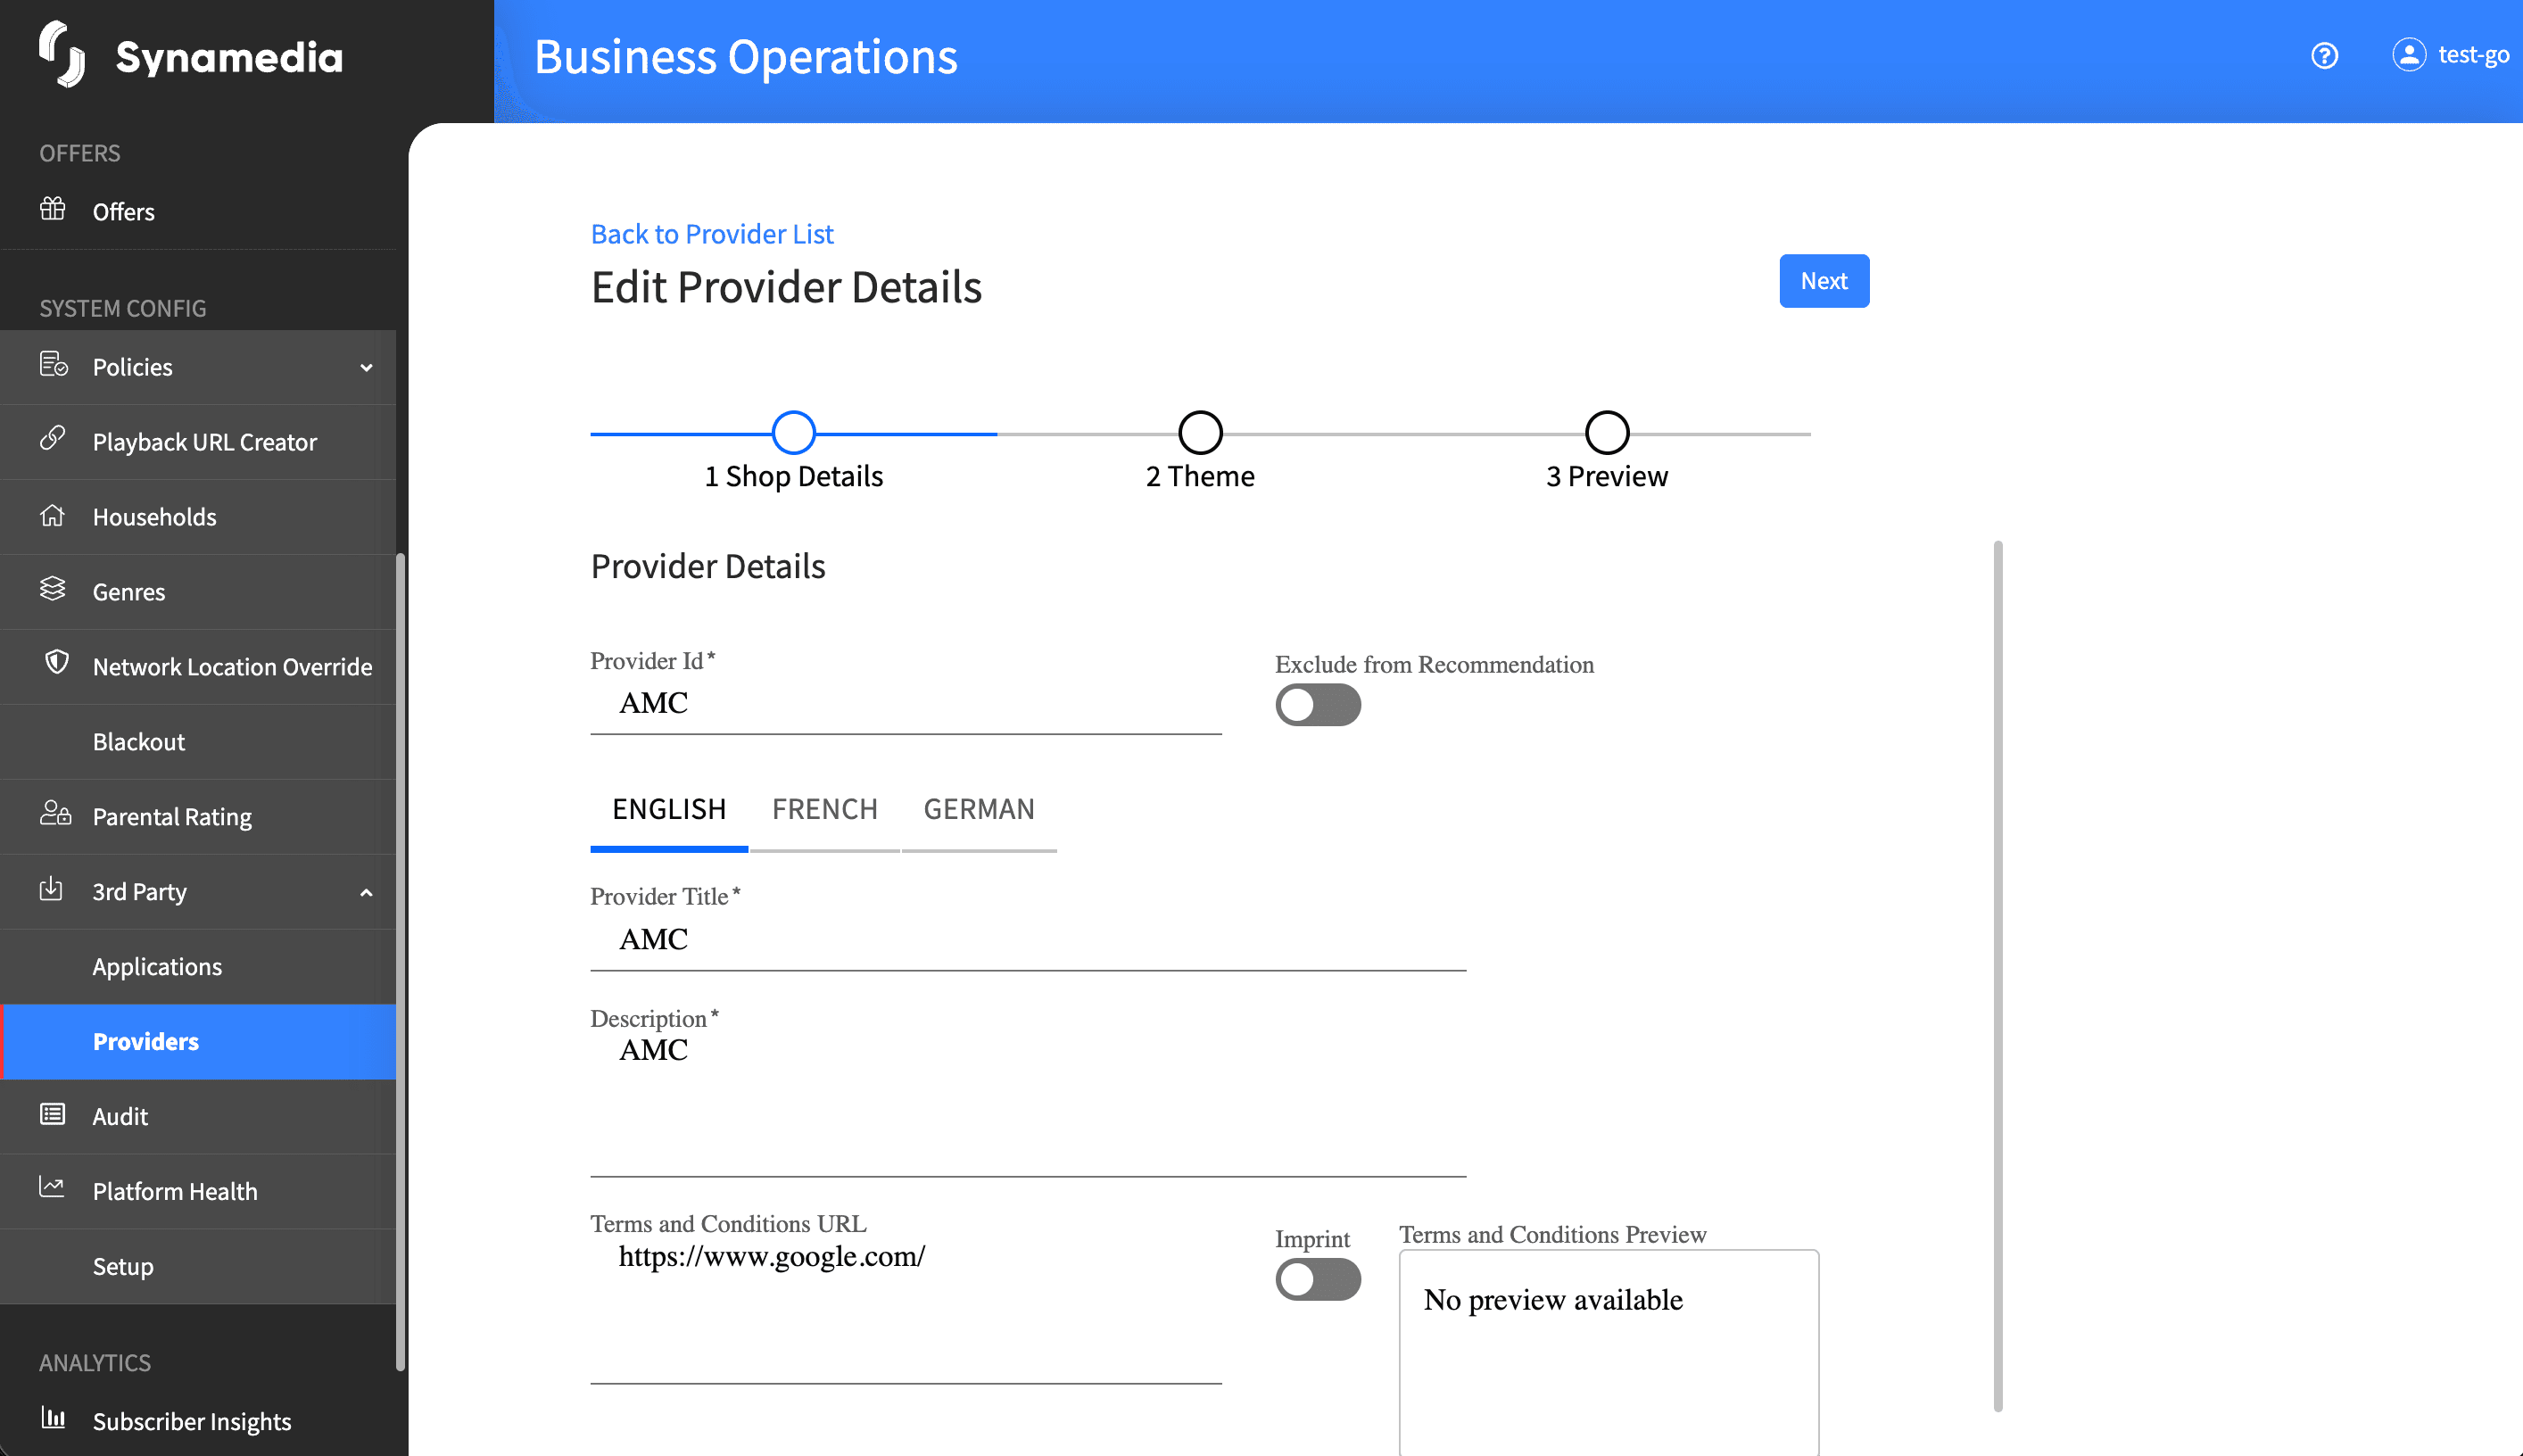
Terms and Conditions URL: optional; the system fetches a preview, showing "No preview available" if the URL cannot be reached.
Promotional Video URL: optional.
Add Shop Link: a toggle that reveals a launch URL field per device type.
Step 2 – Theme: for each language, add presentation media such as poster, top and bottom logos, backgrounds and text colours. Media is optional but improves how the provider is branded.
Step 3 – Preview: review a mock-up of how the provider will appear to end users, with the stored colours and artwork applied.
Open a card's menu and choose "Edit" (or "View" where you only have view access) to open the three-step form. You can change all fields except the Provider ID, which is read-only once the provider exists. If you try to leave with unsaved changes, a prompt asks whether you want to save first.
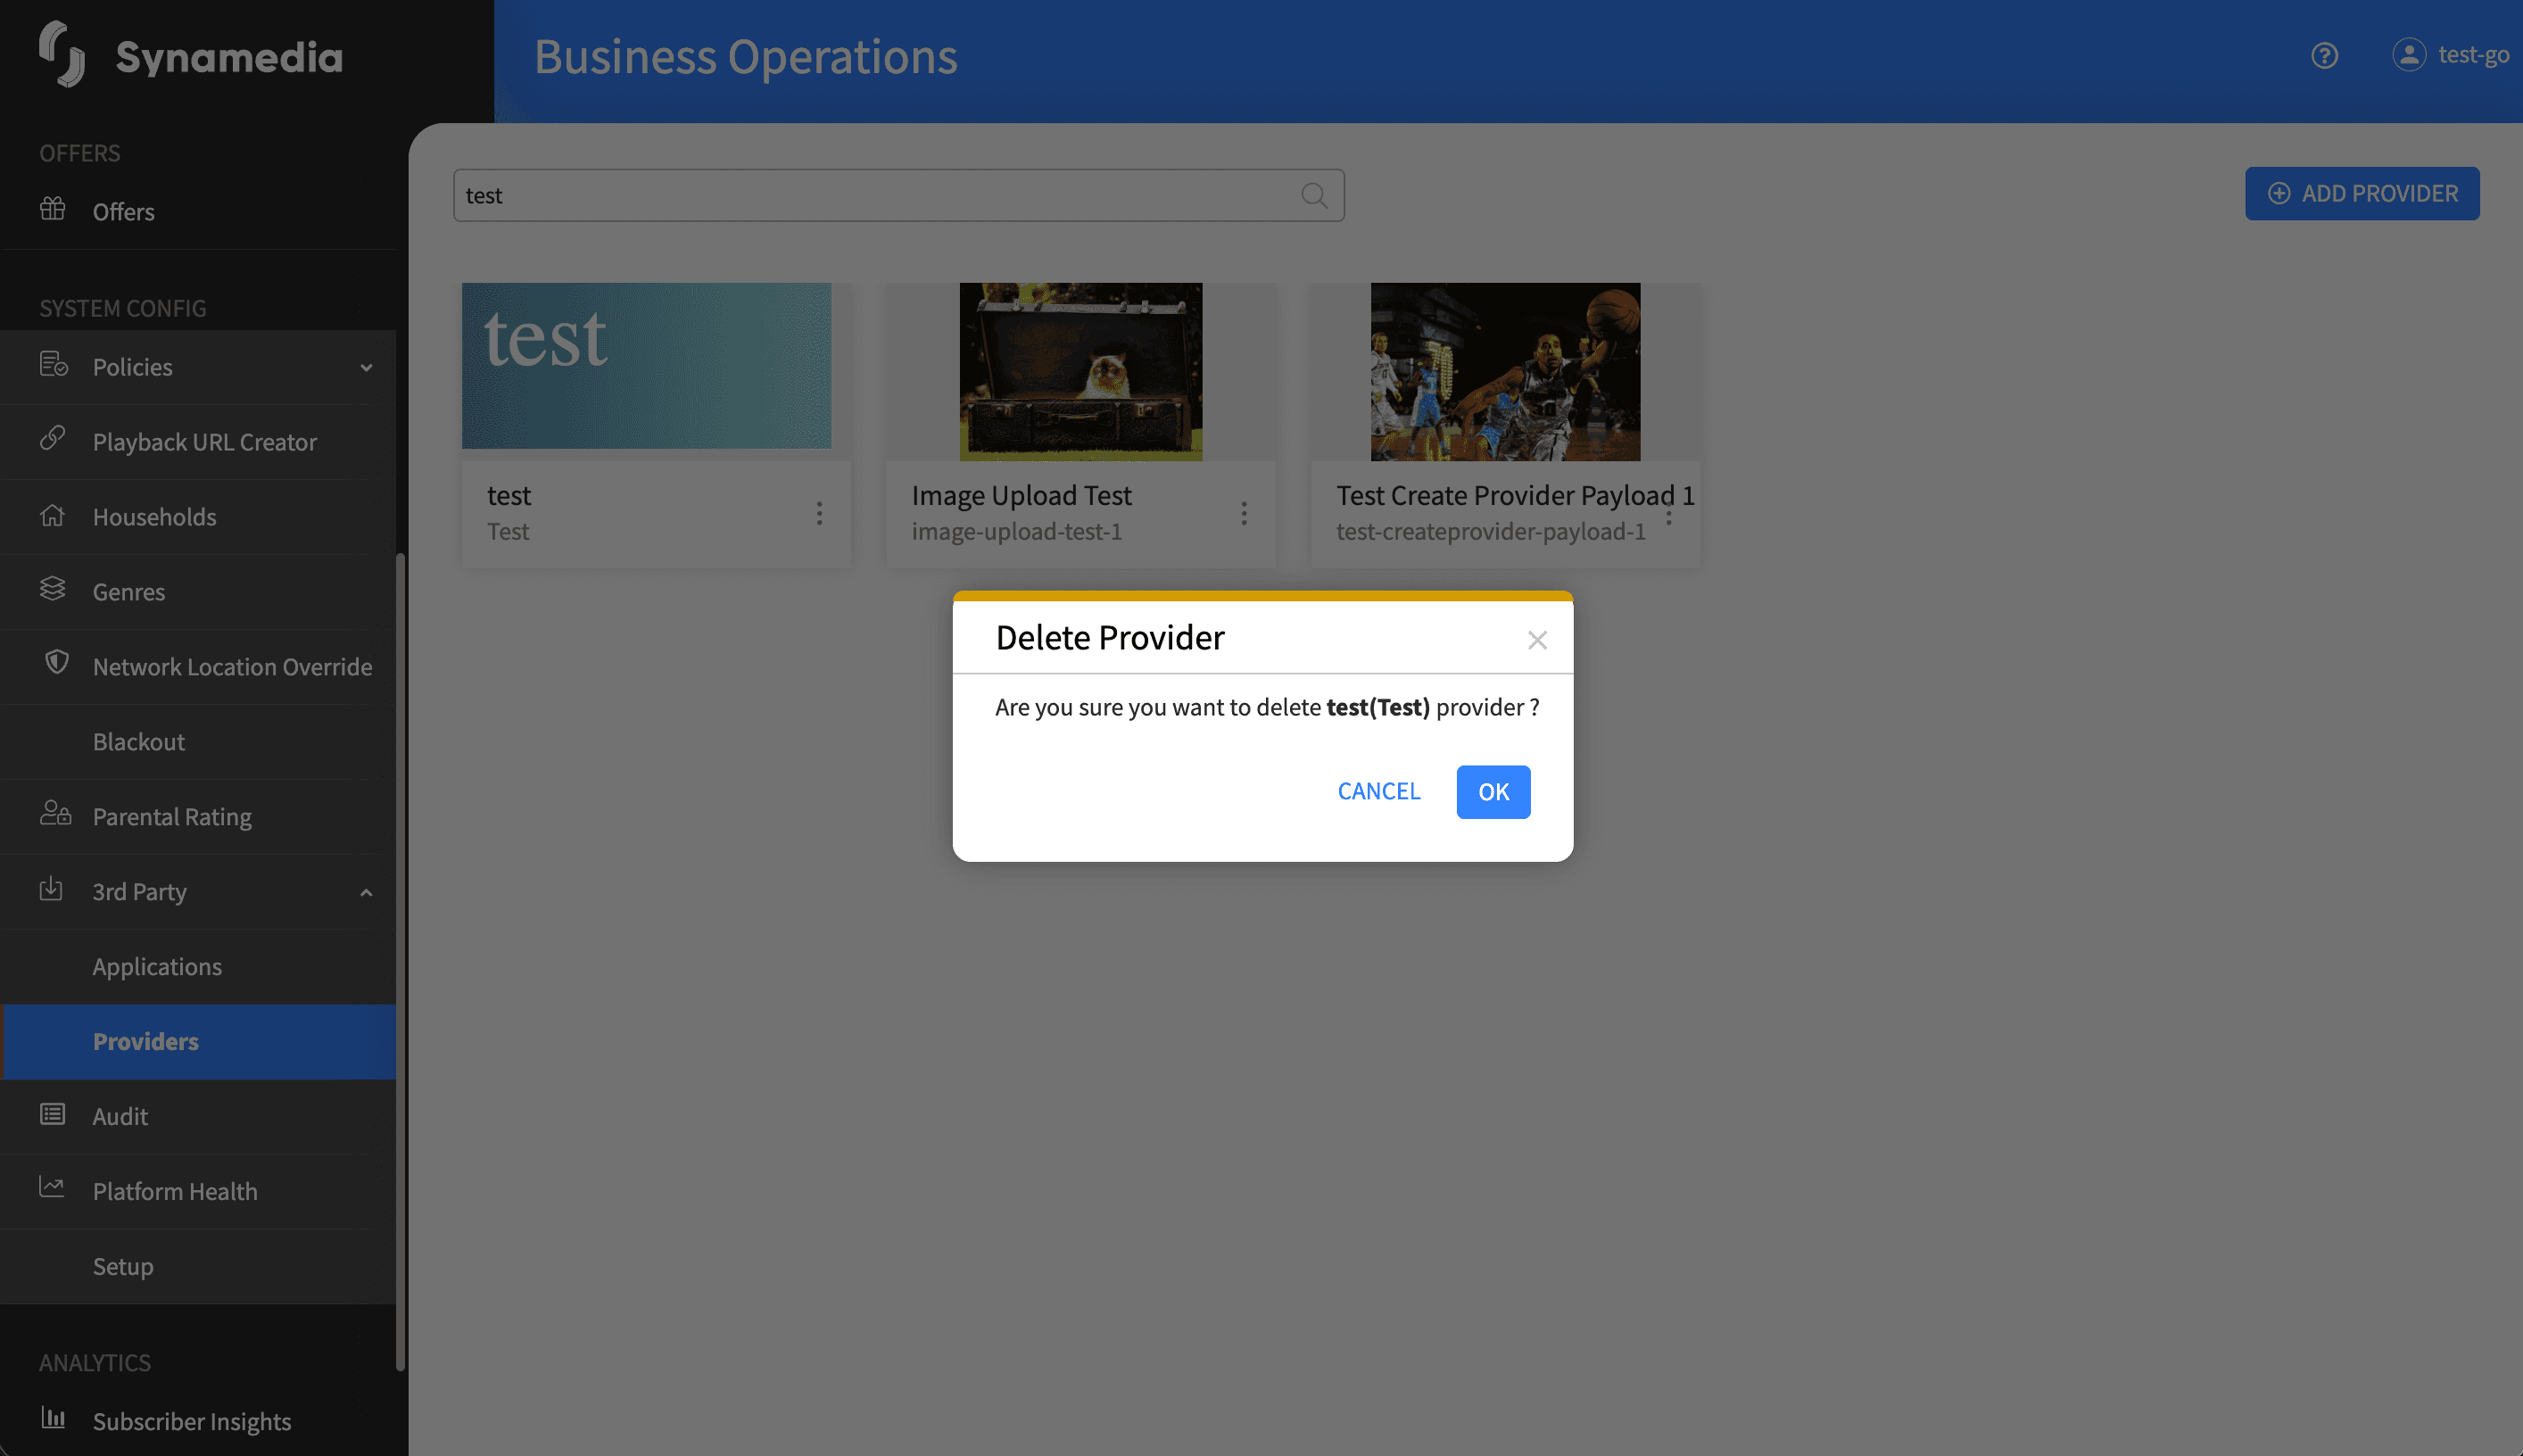
Open a card's menu and choose "Delete". A confirmation dialog titled "Delete Provider" asks you to confirm deletion of the named provider. On confirmation the provider is removed.
Where enabled, Export downloads a JSON file of all providers, and Import uploads a JSON file to create or update providers in bulk. The import dialog warns that the operation cannot be reversed and might affect associated entities, so use it carefully.
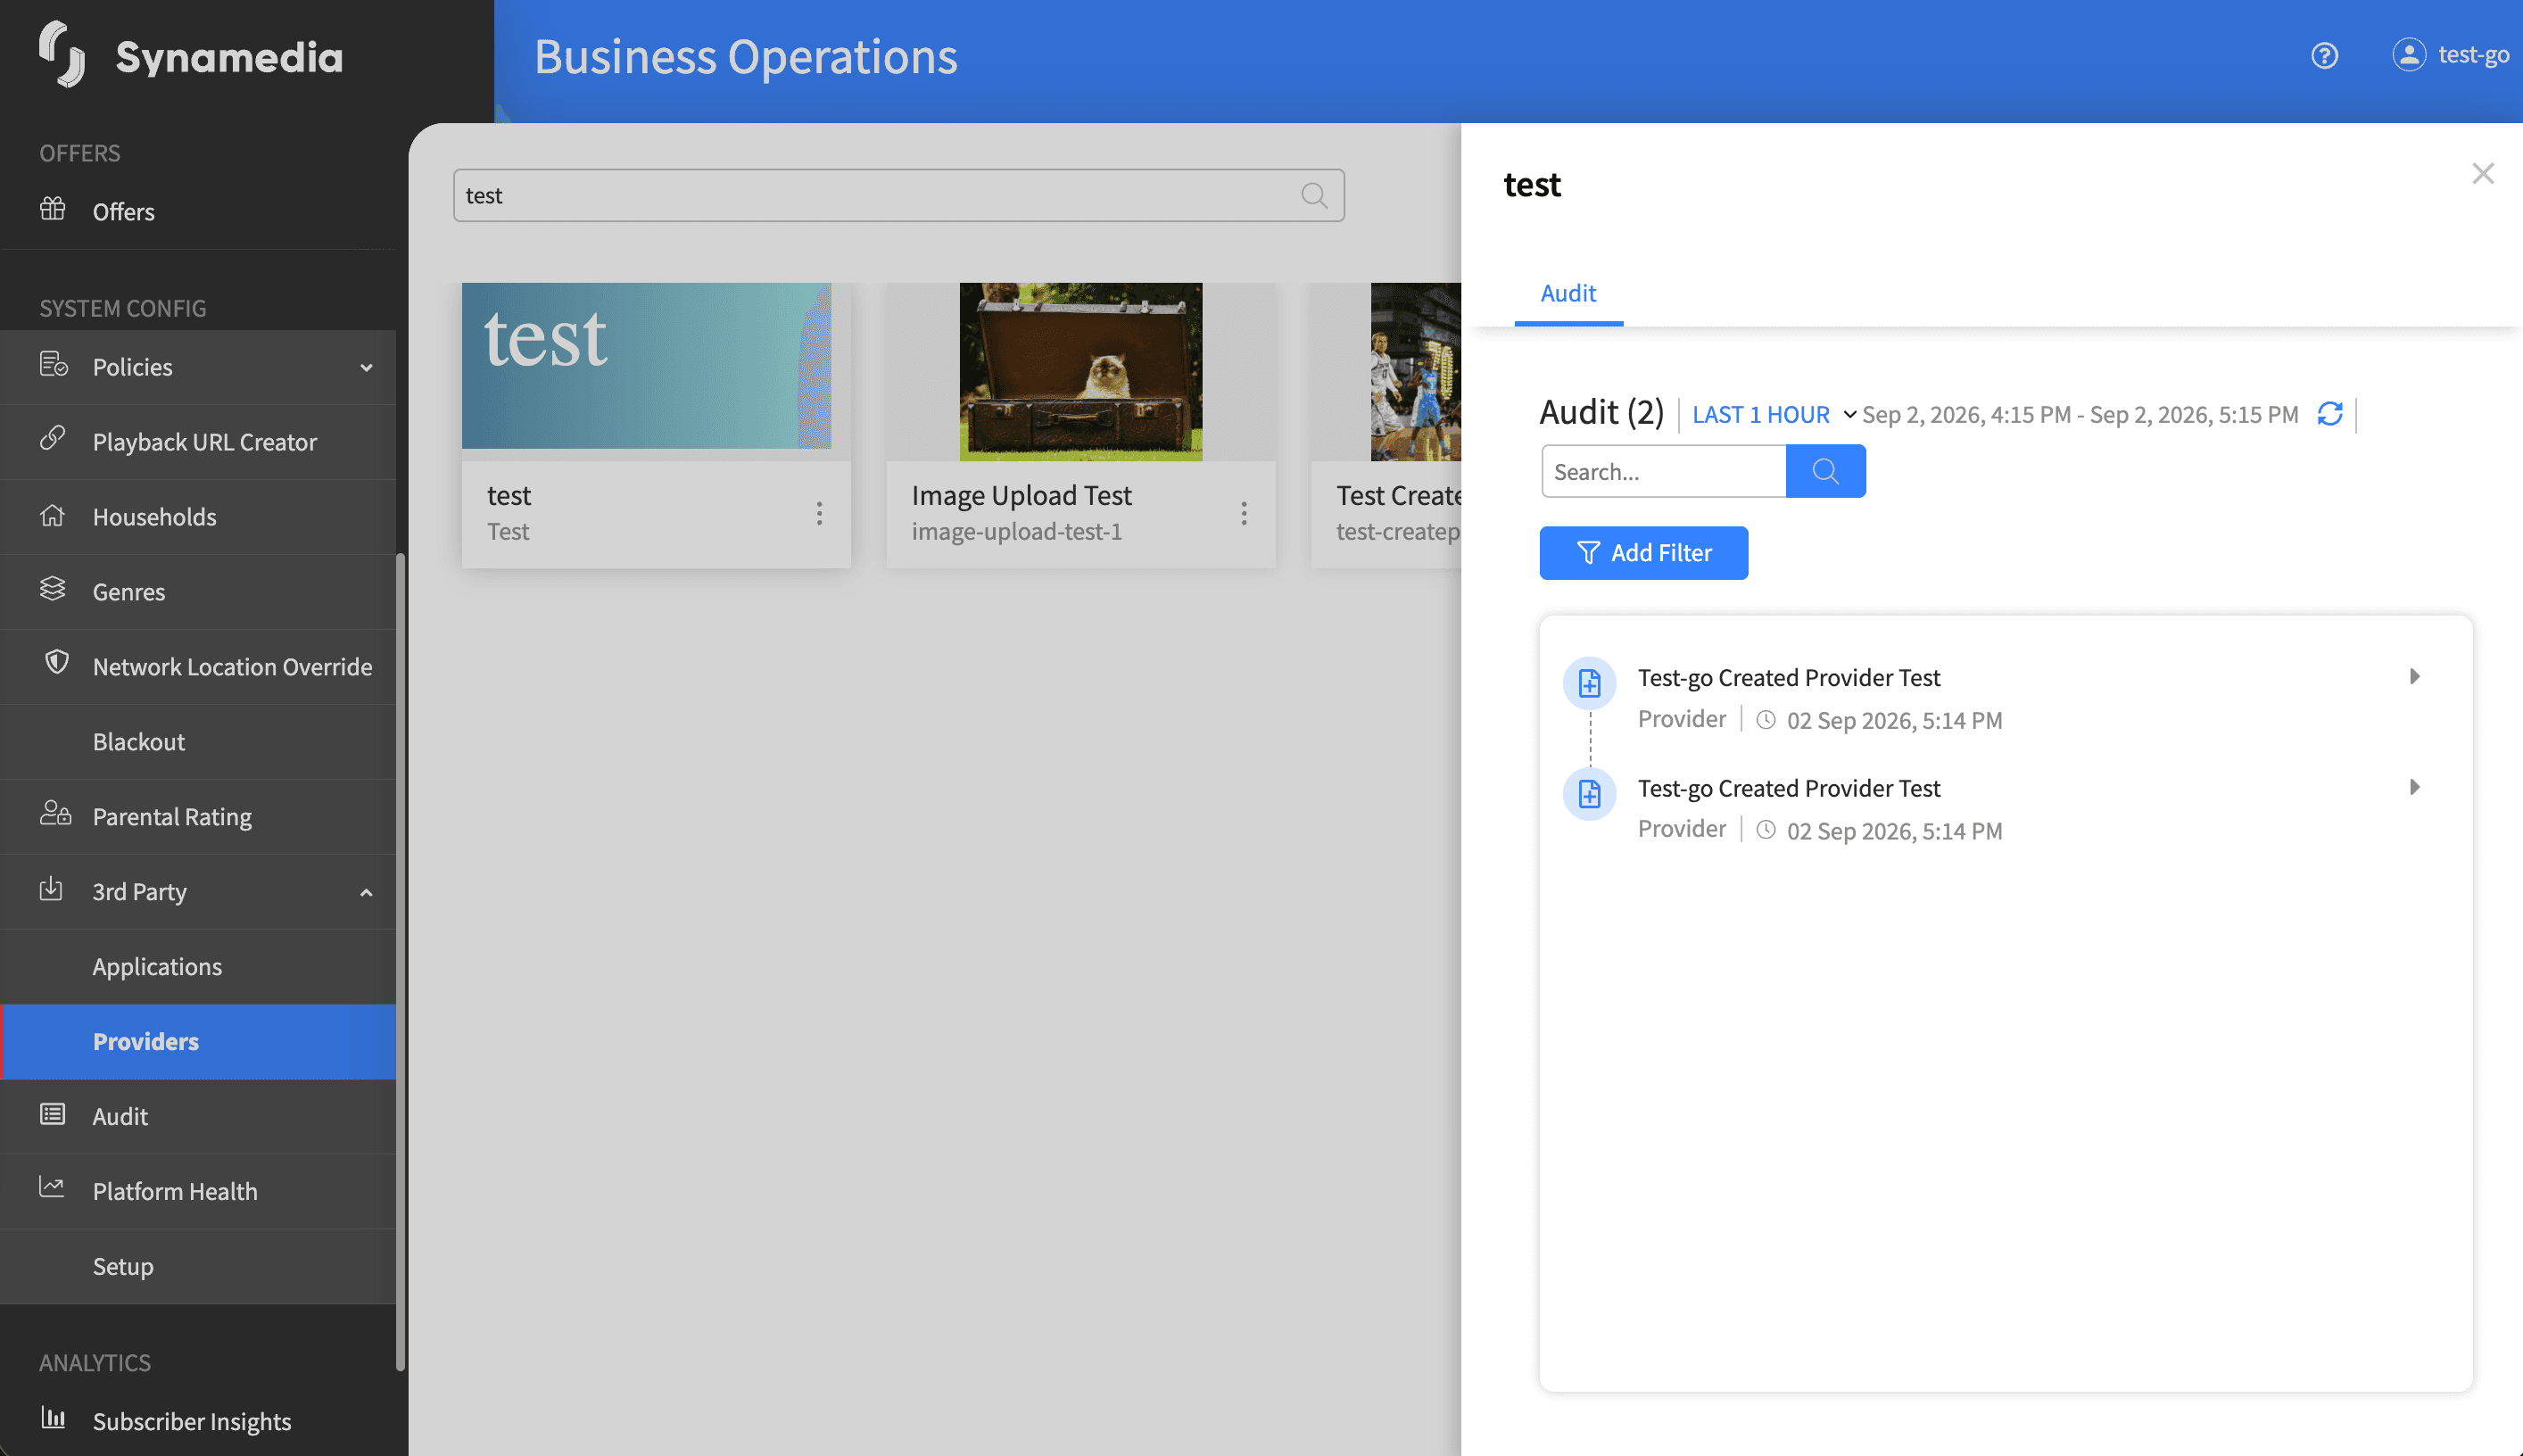
Open a card's menu and choose "History" to open a side panel with an Audit tab showing who changed the provider and when.
The Provider ID is permanent once the provider is created, and it cannot contain a "/" character, so plan it carefully.
Provide the provider title and description in every supported language; the form will not save without them.
Work through the three steps in order: shop details, then theme, then preview.
If a terms and conditions URL shows "No preview available", fix the URL and re-enter it.
Enable Add Shop Link to give each device type its own launch URL; leave a device blank to omit it.
Import cannot be reversed and can affect related content, so export a backup first and import with care.

